Photos exported from Aslana’s Facebook page.

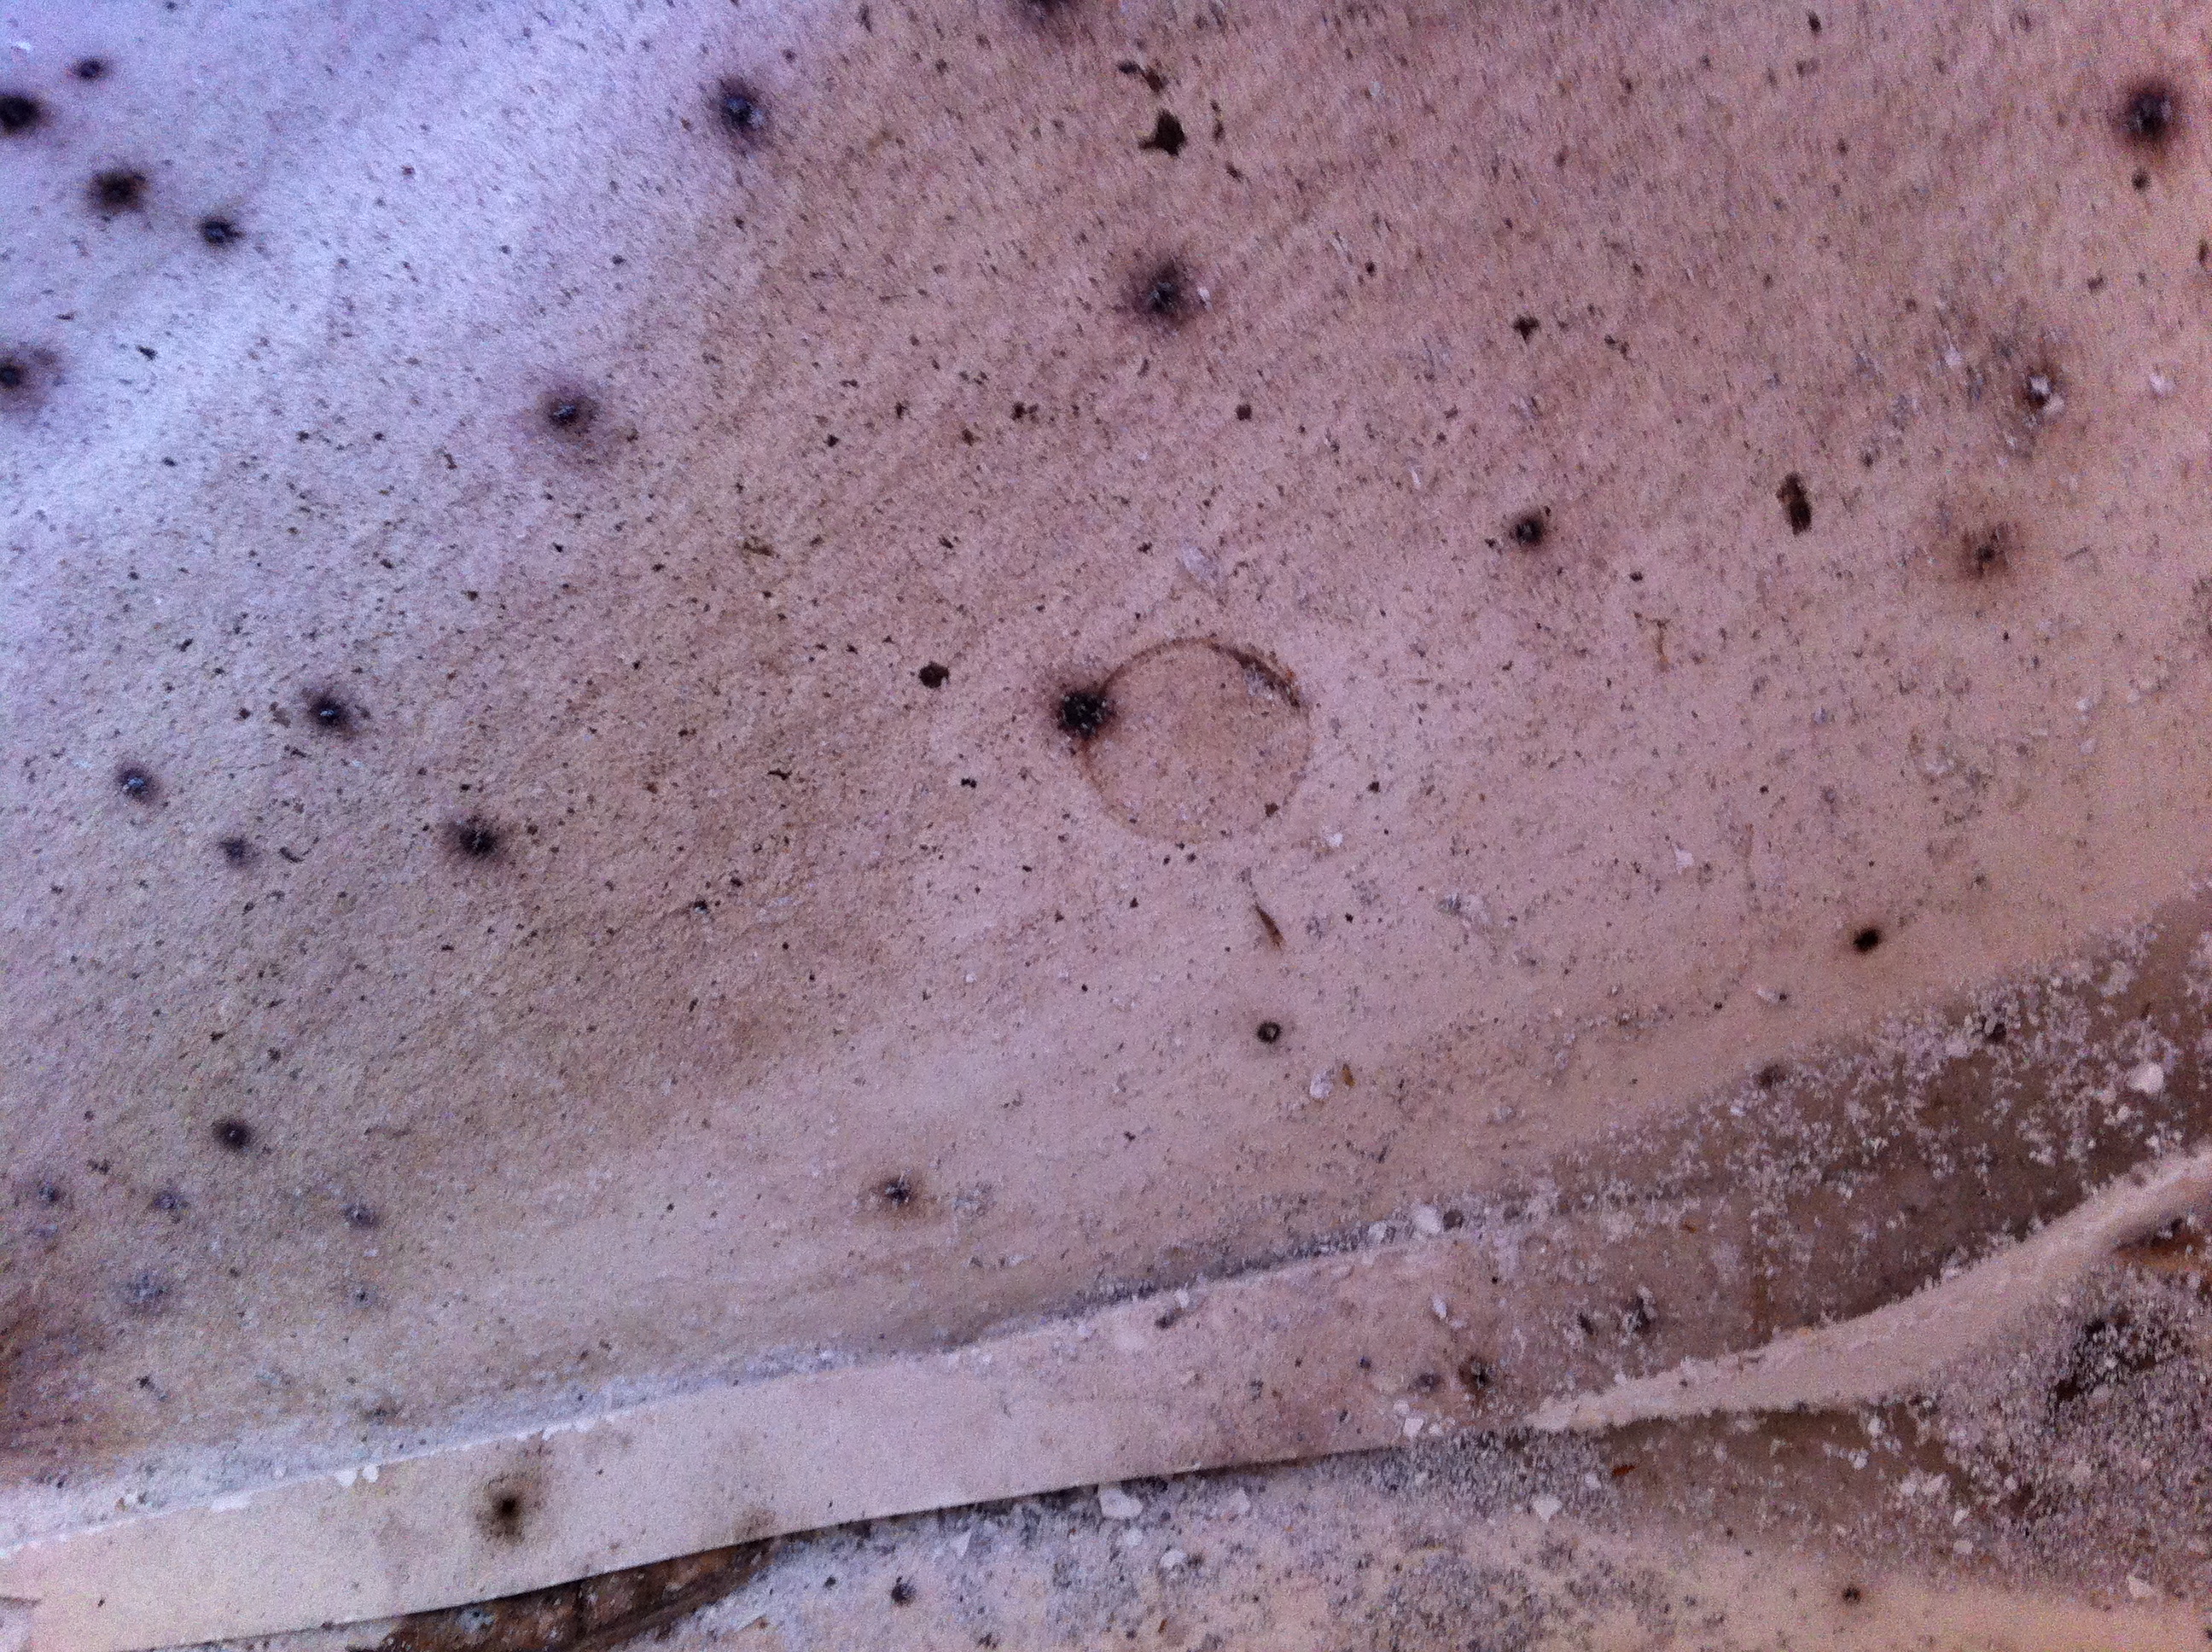
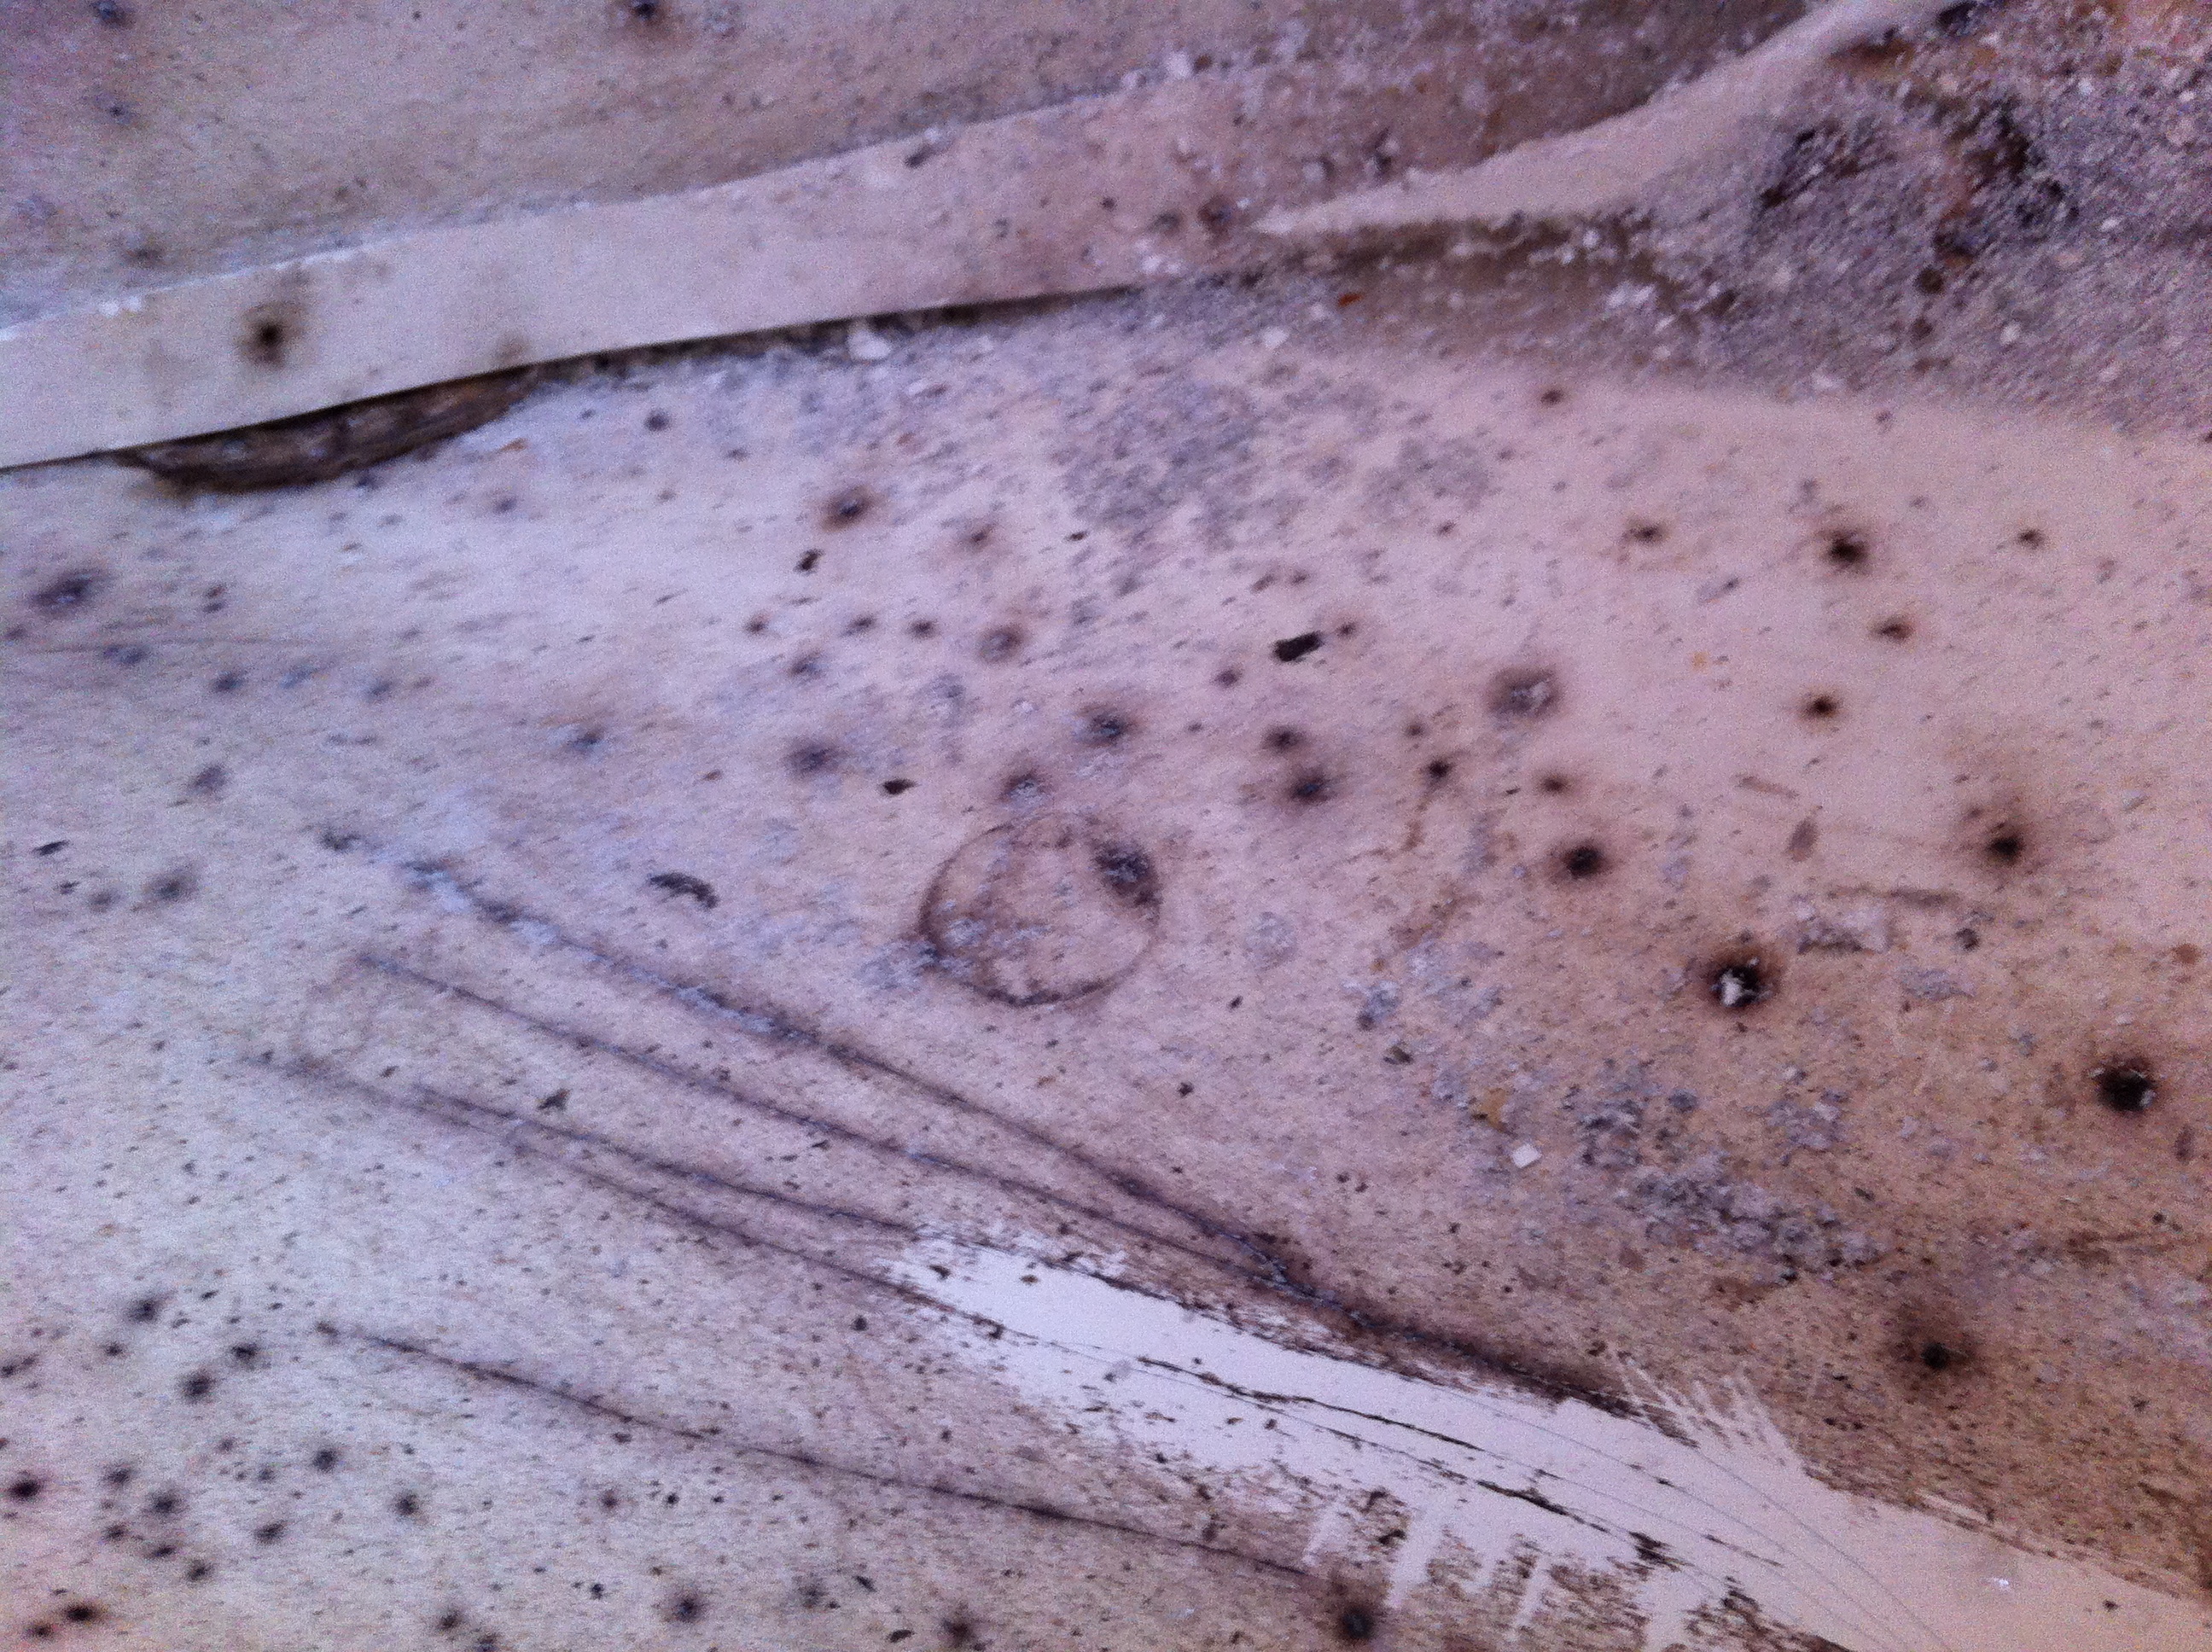
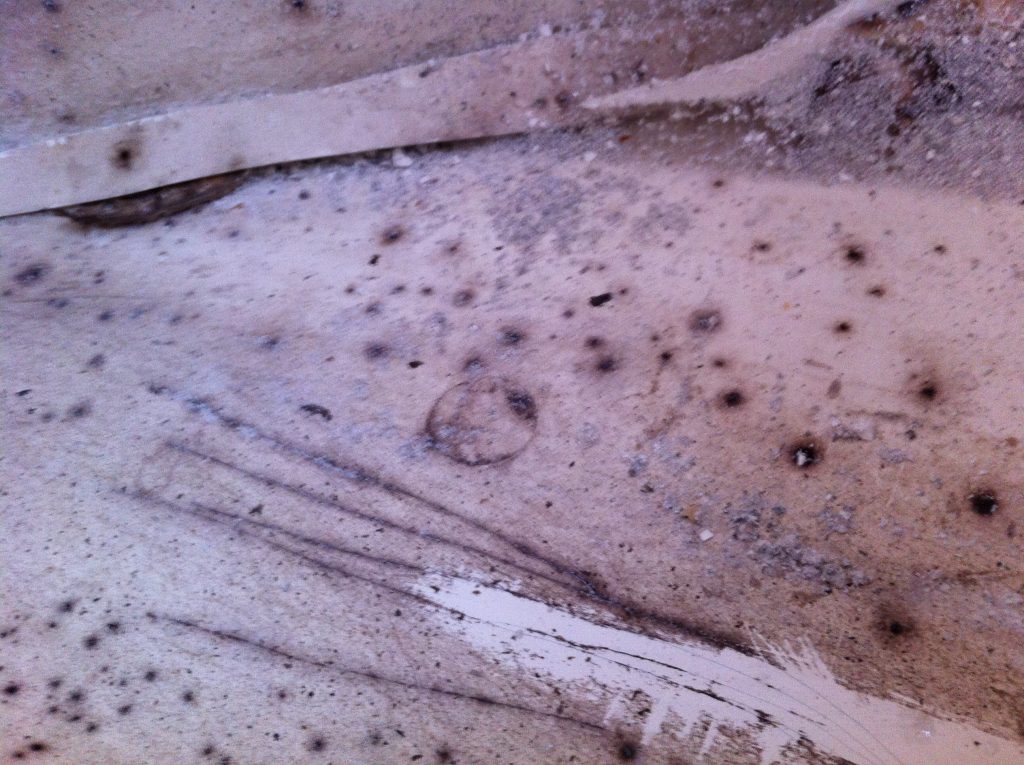
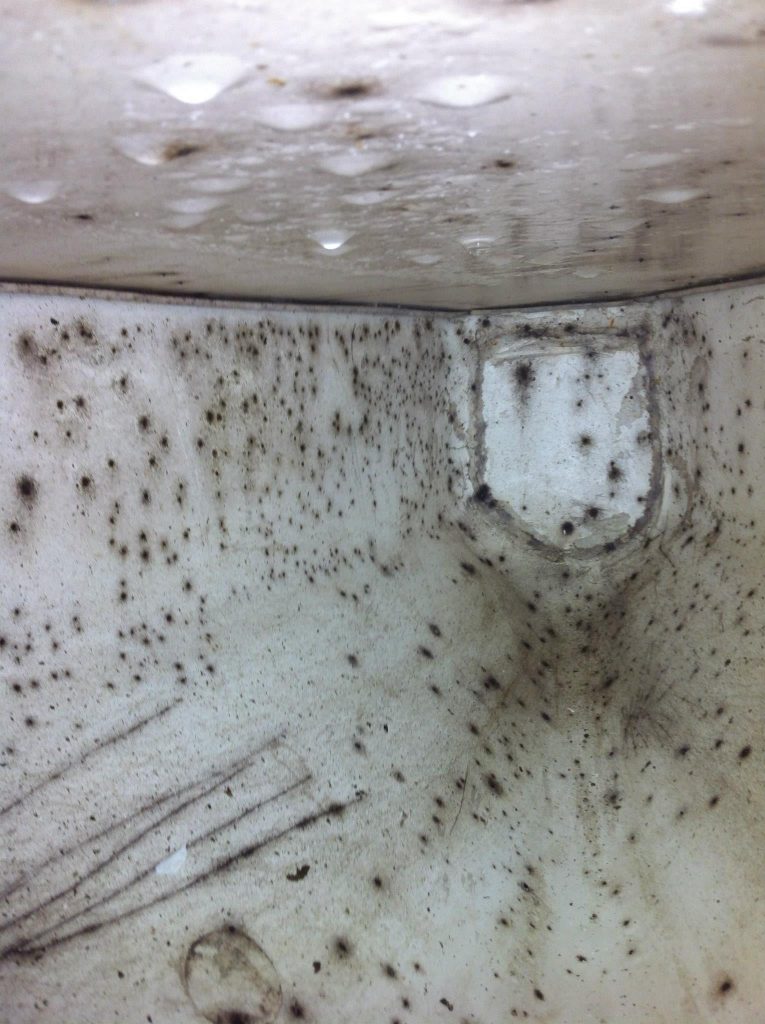
Stress fractures, and hints of osmosis-type bubbles 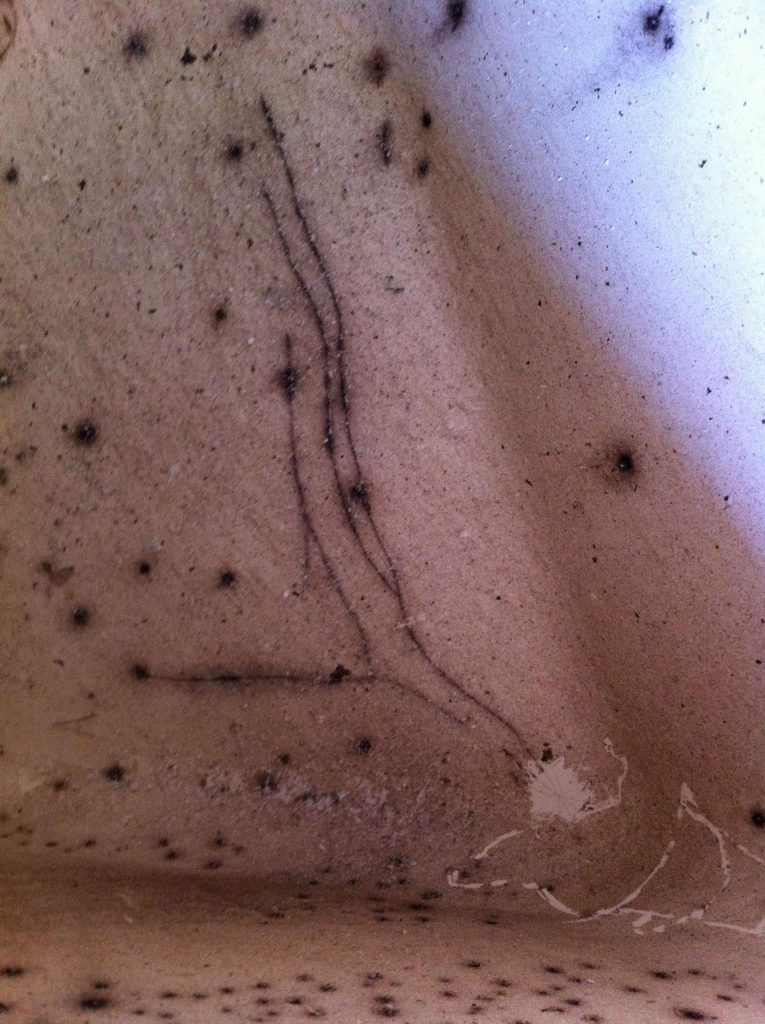
Stress fractures, and hints of osmosis-type bubbles 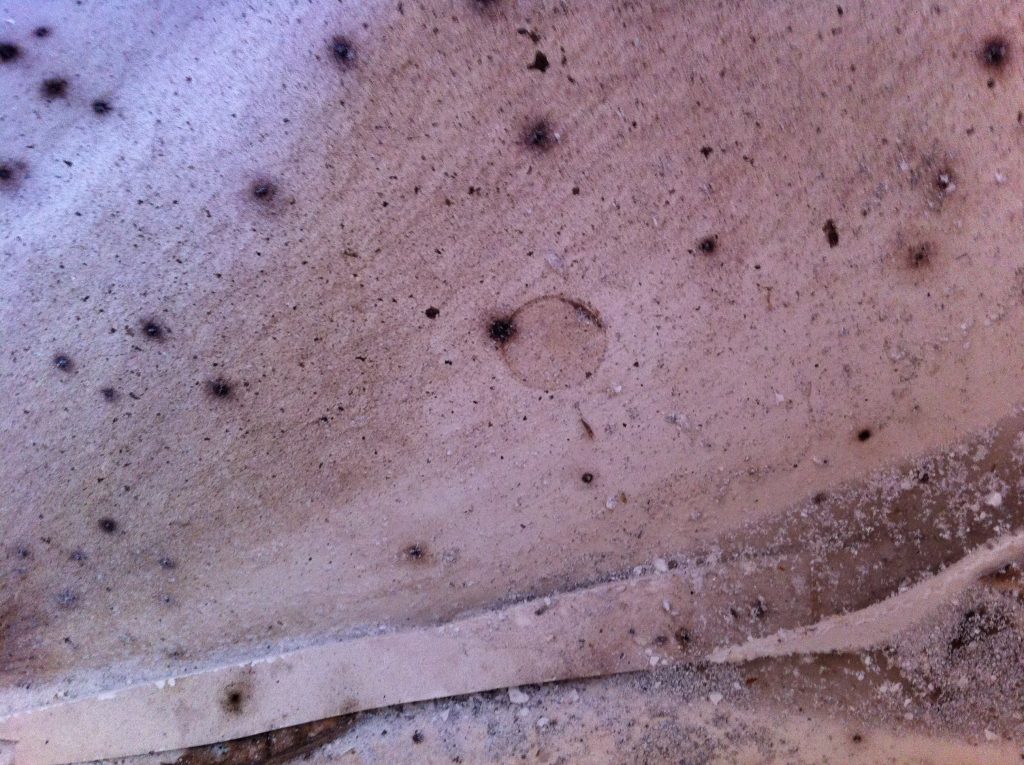
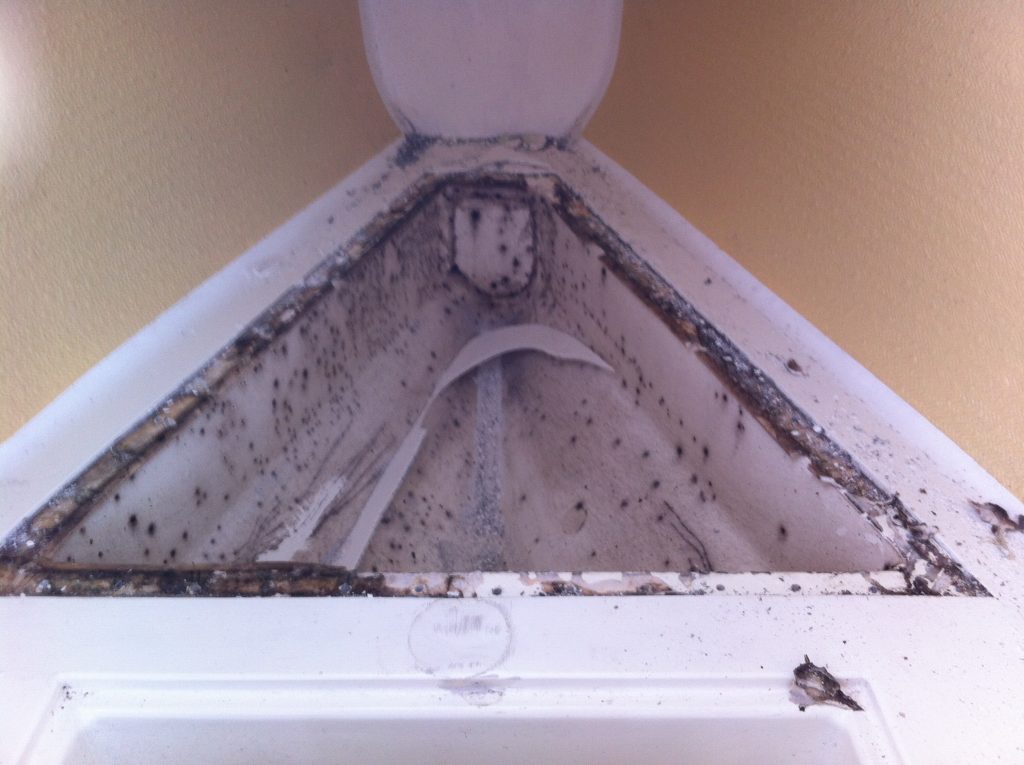
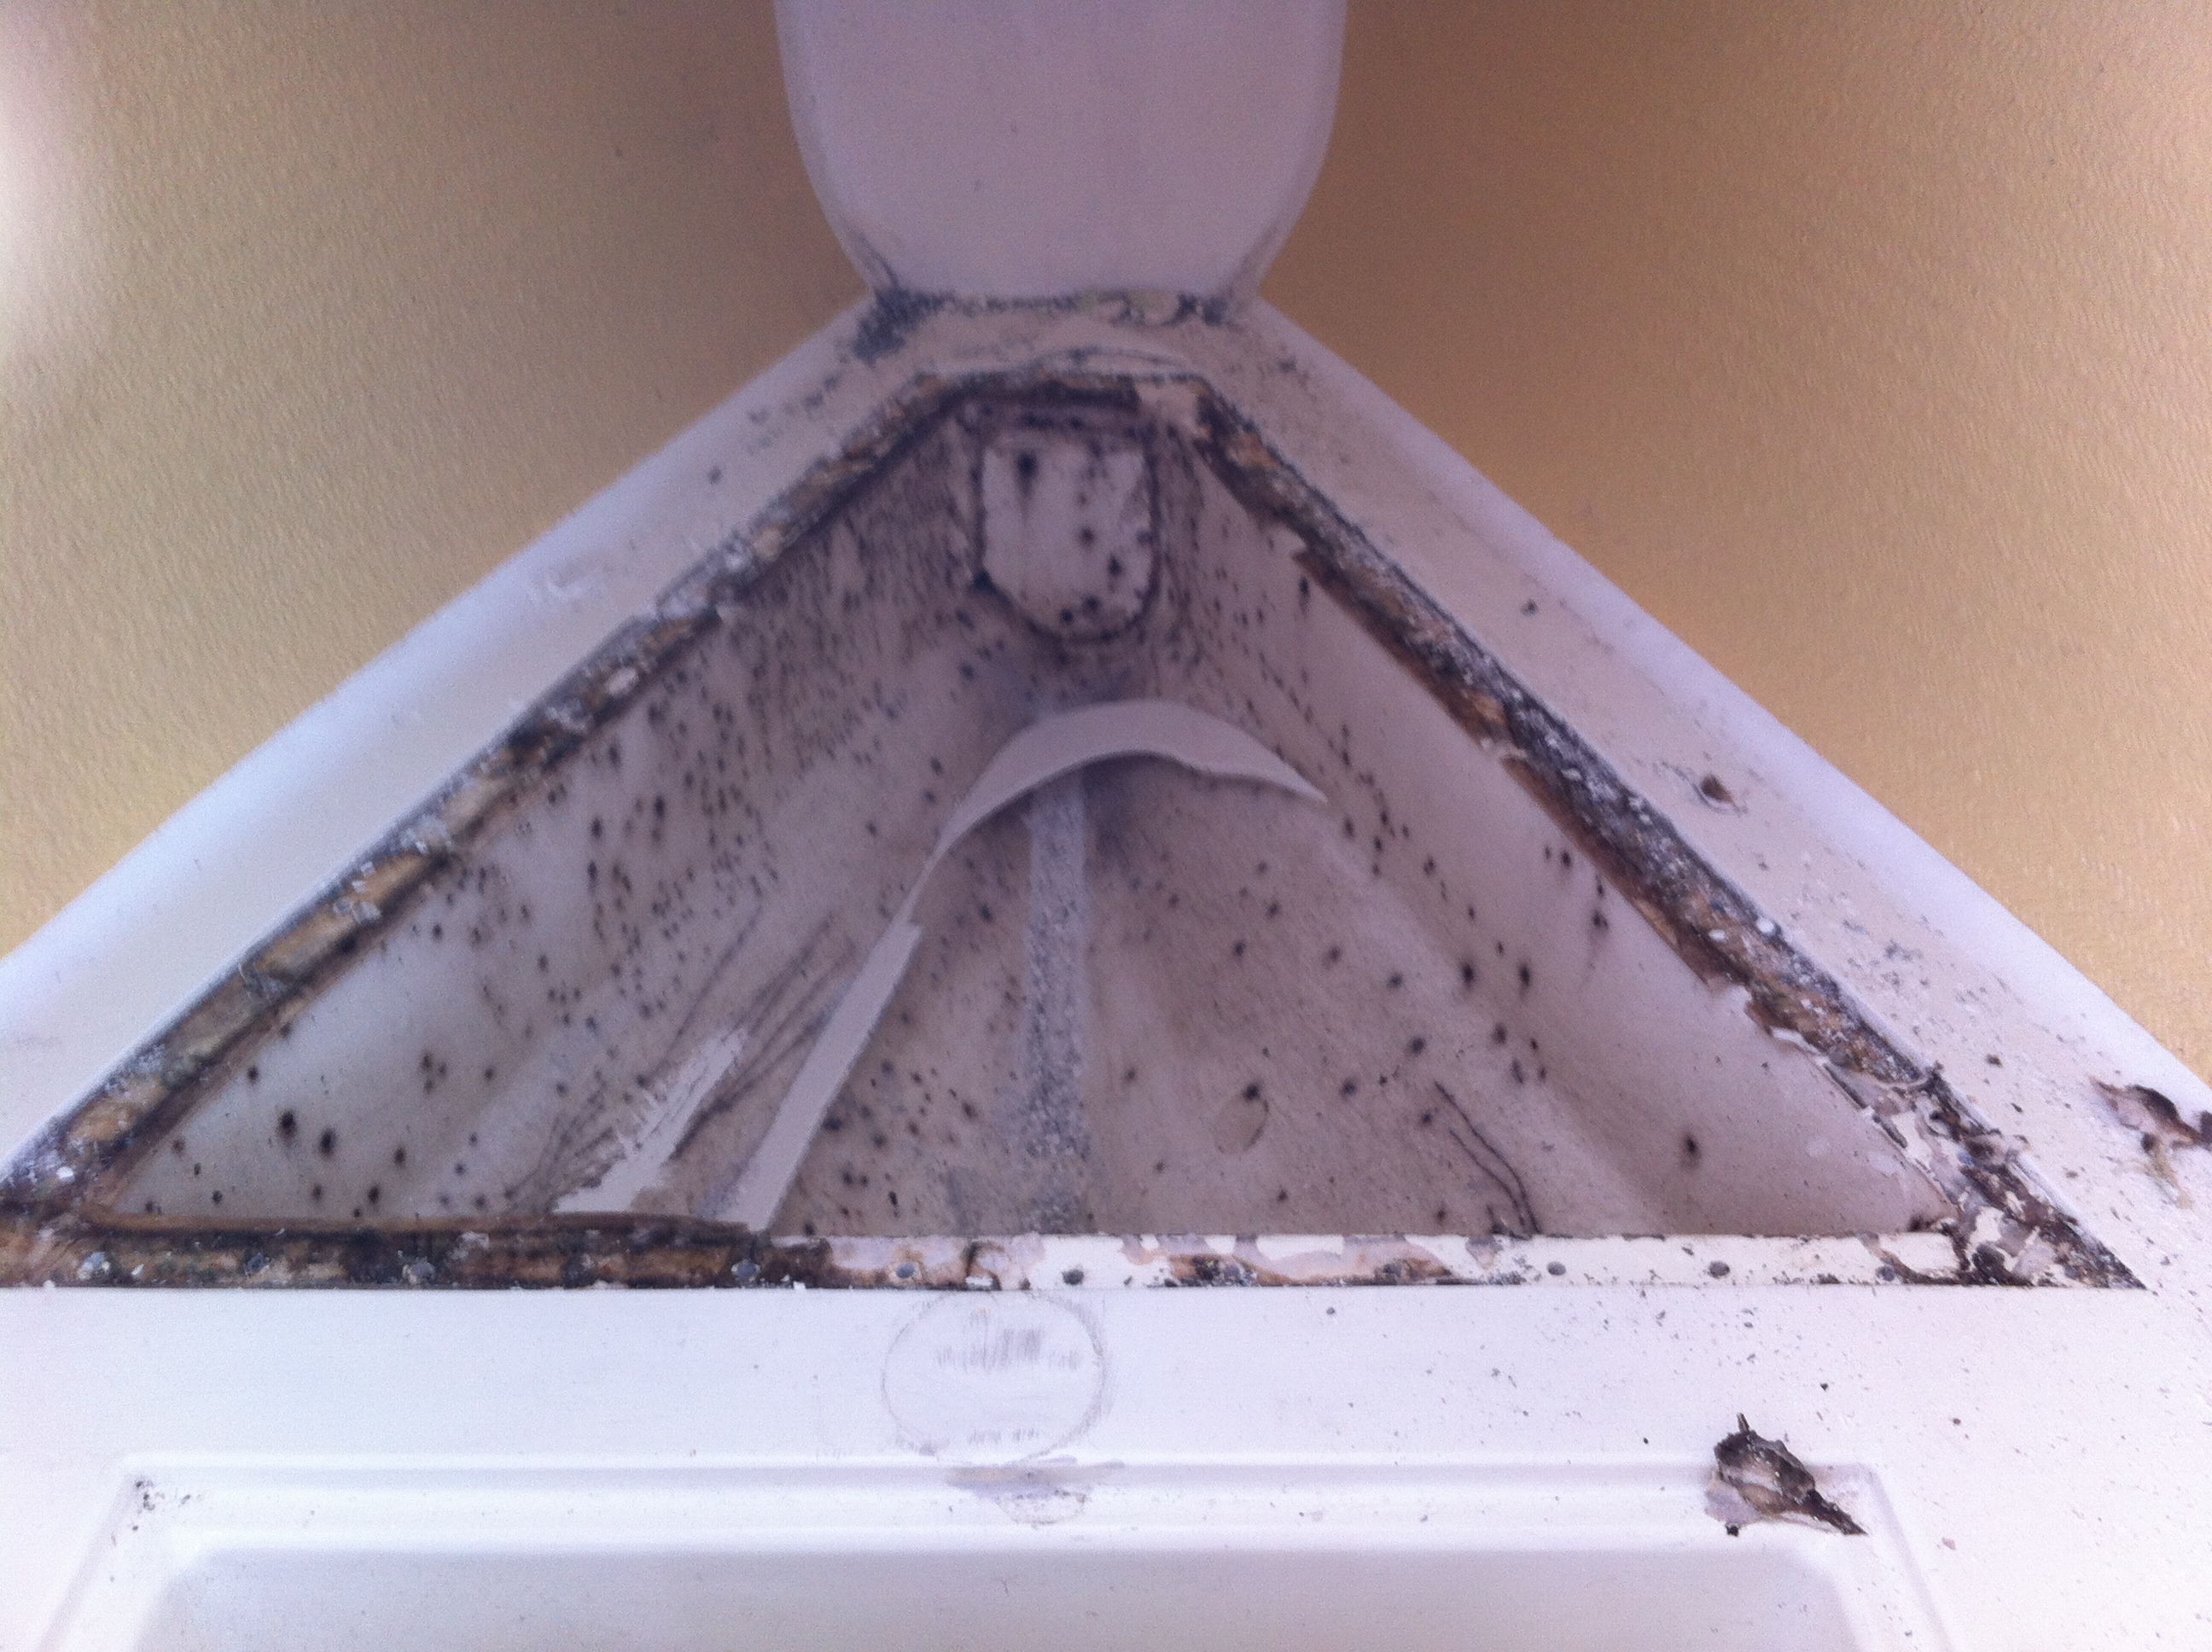
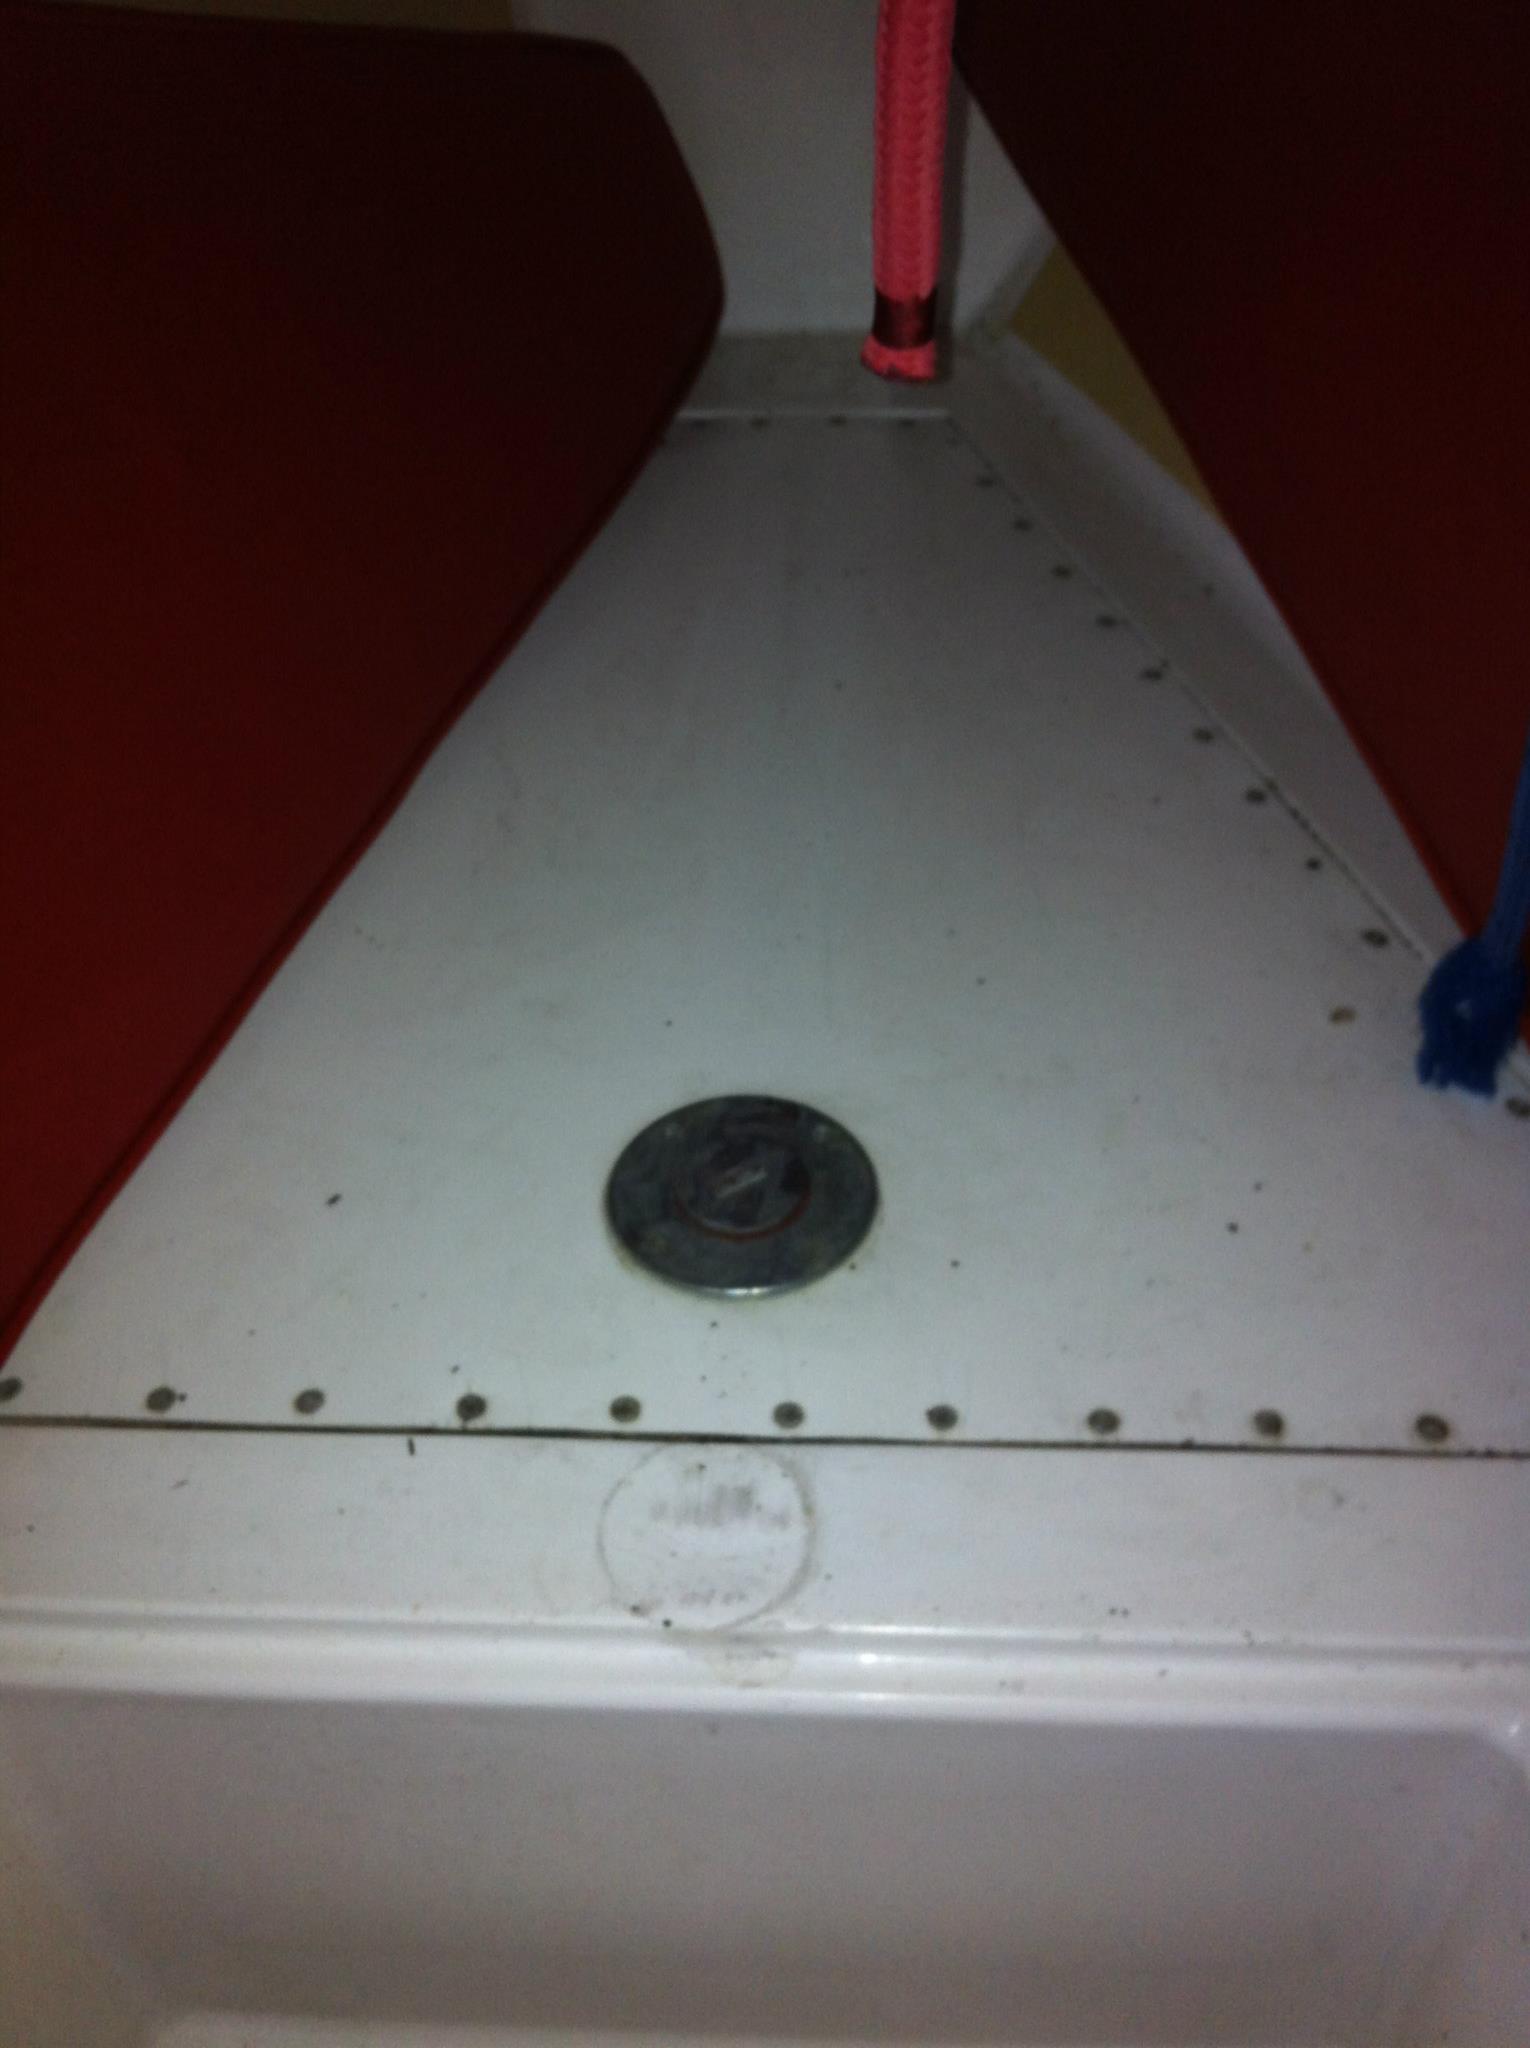
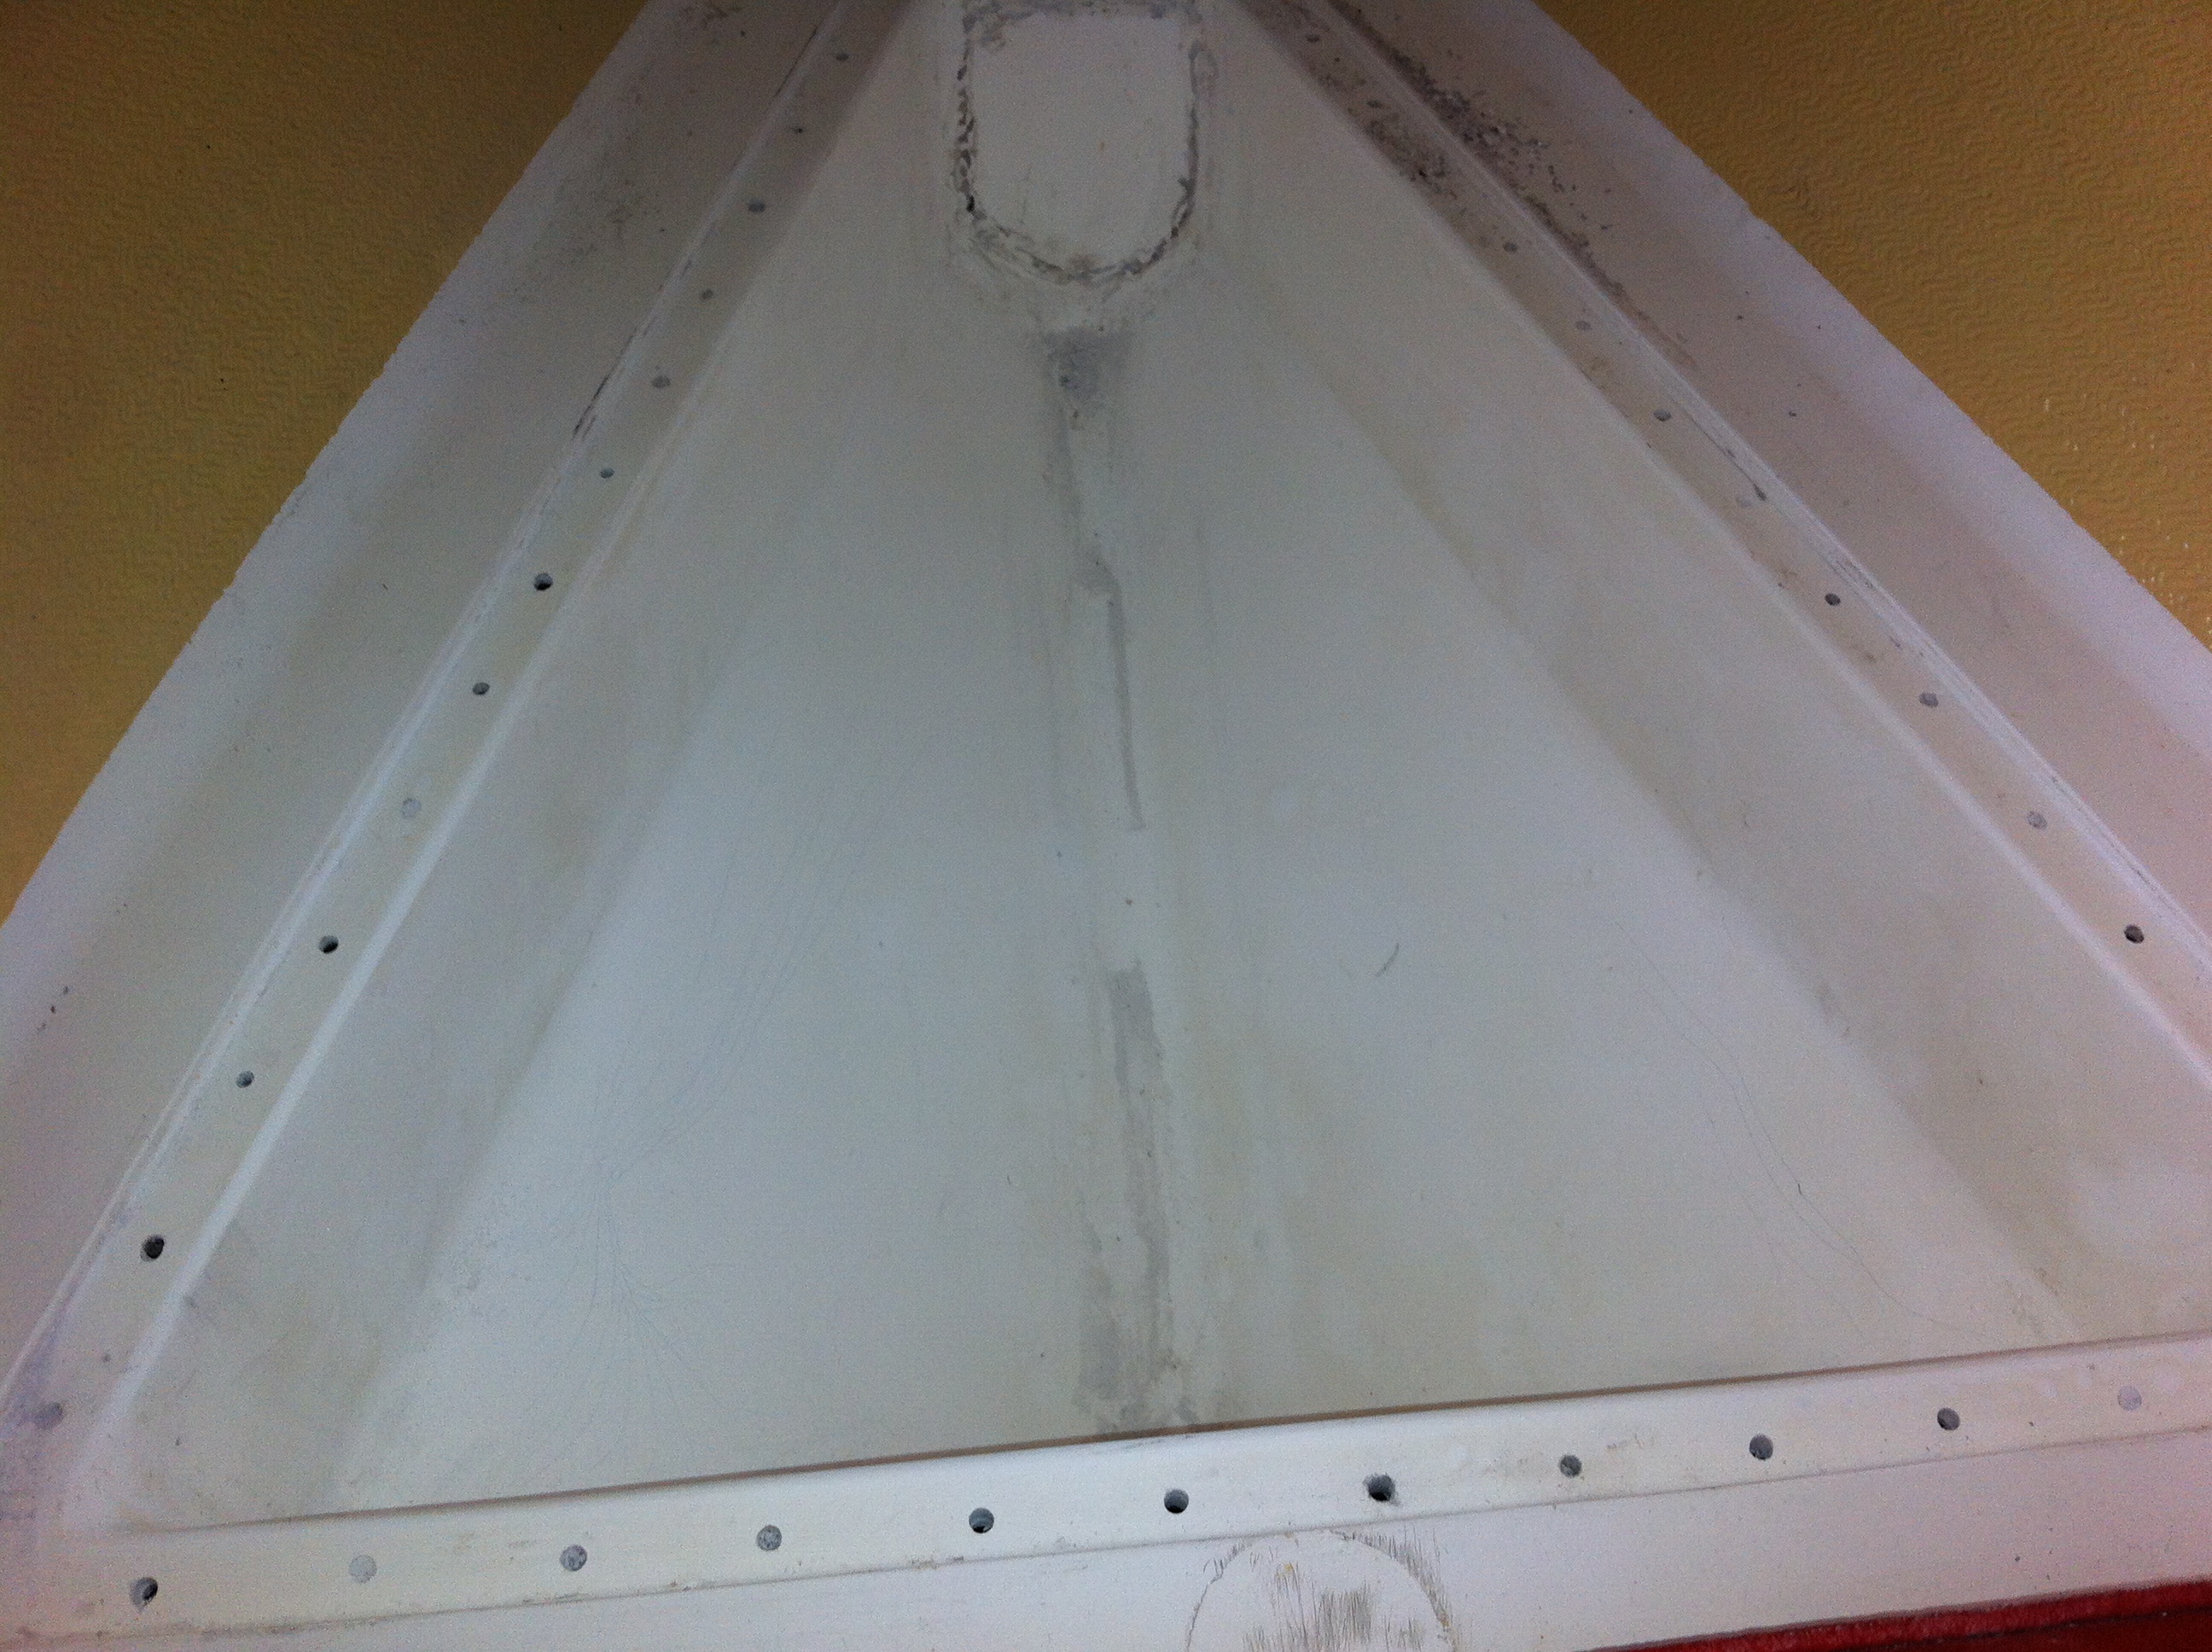
The tank certainly needs a clean, and I’ll be fitting a flexible tank in here instead. Definitely curious about the patch at the far end of the bow; suspect it leads to the anchor locker. 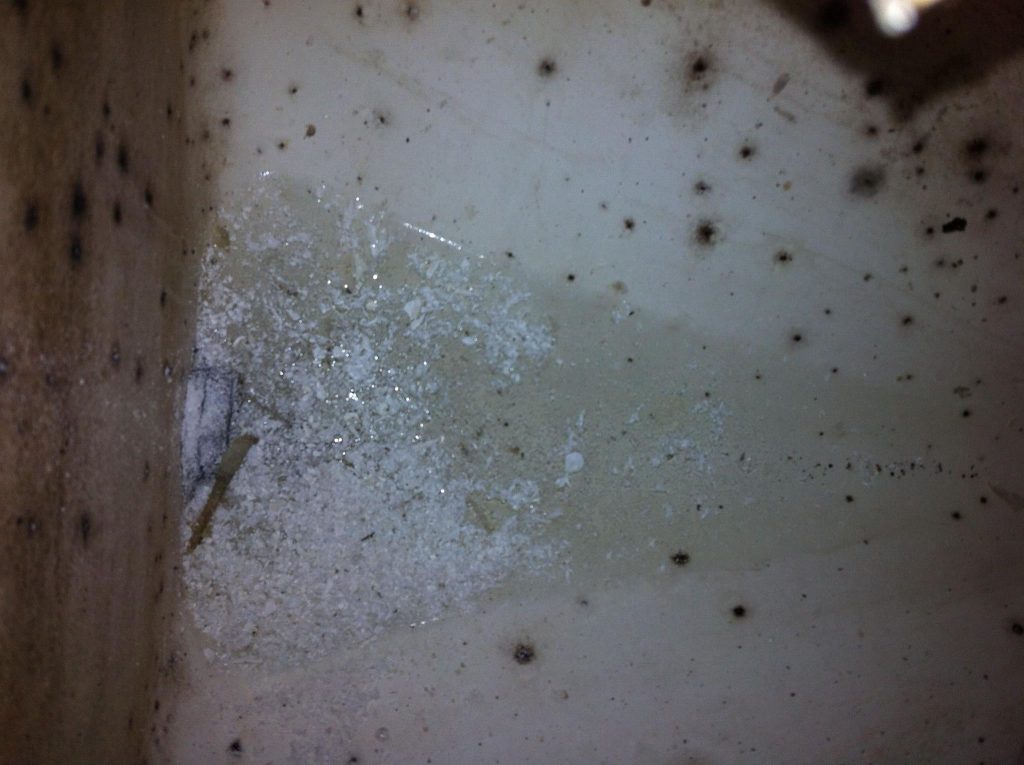
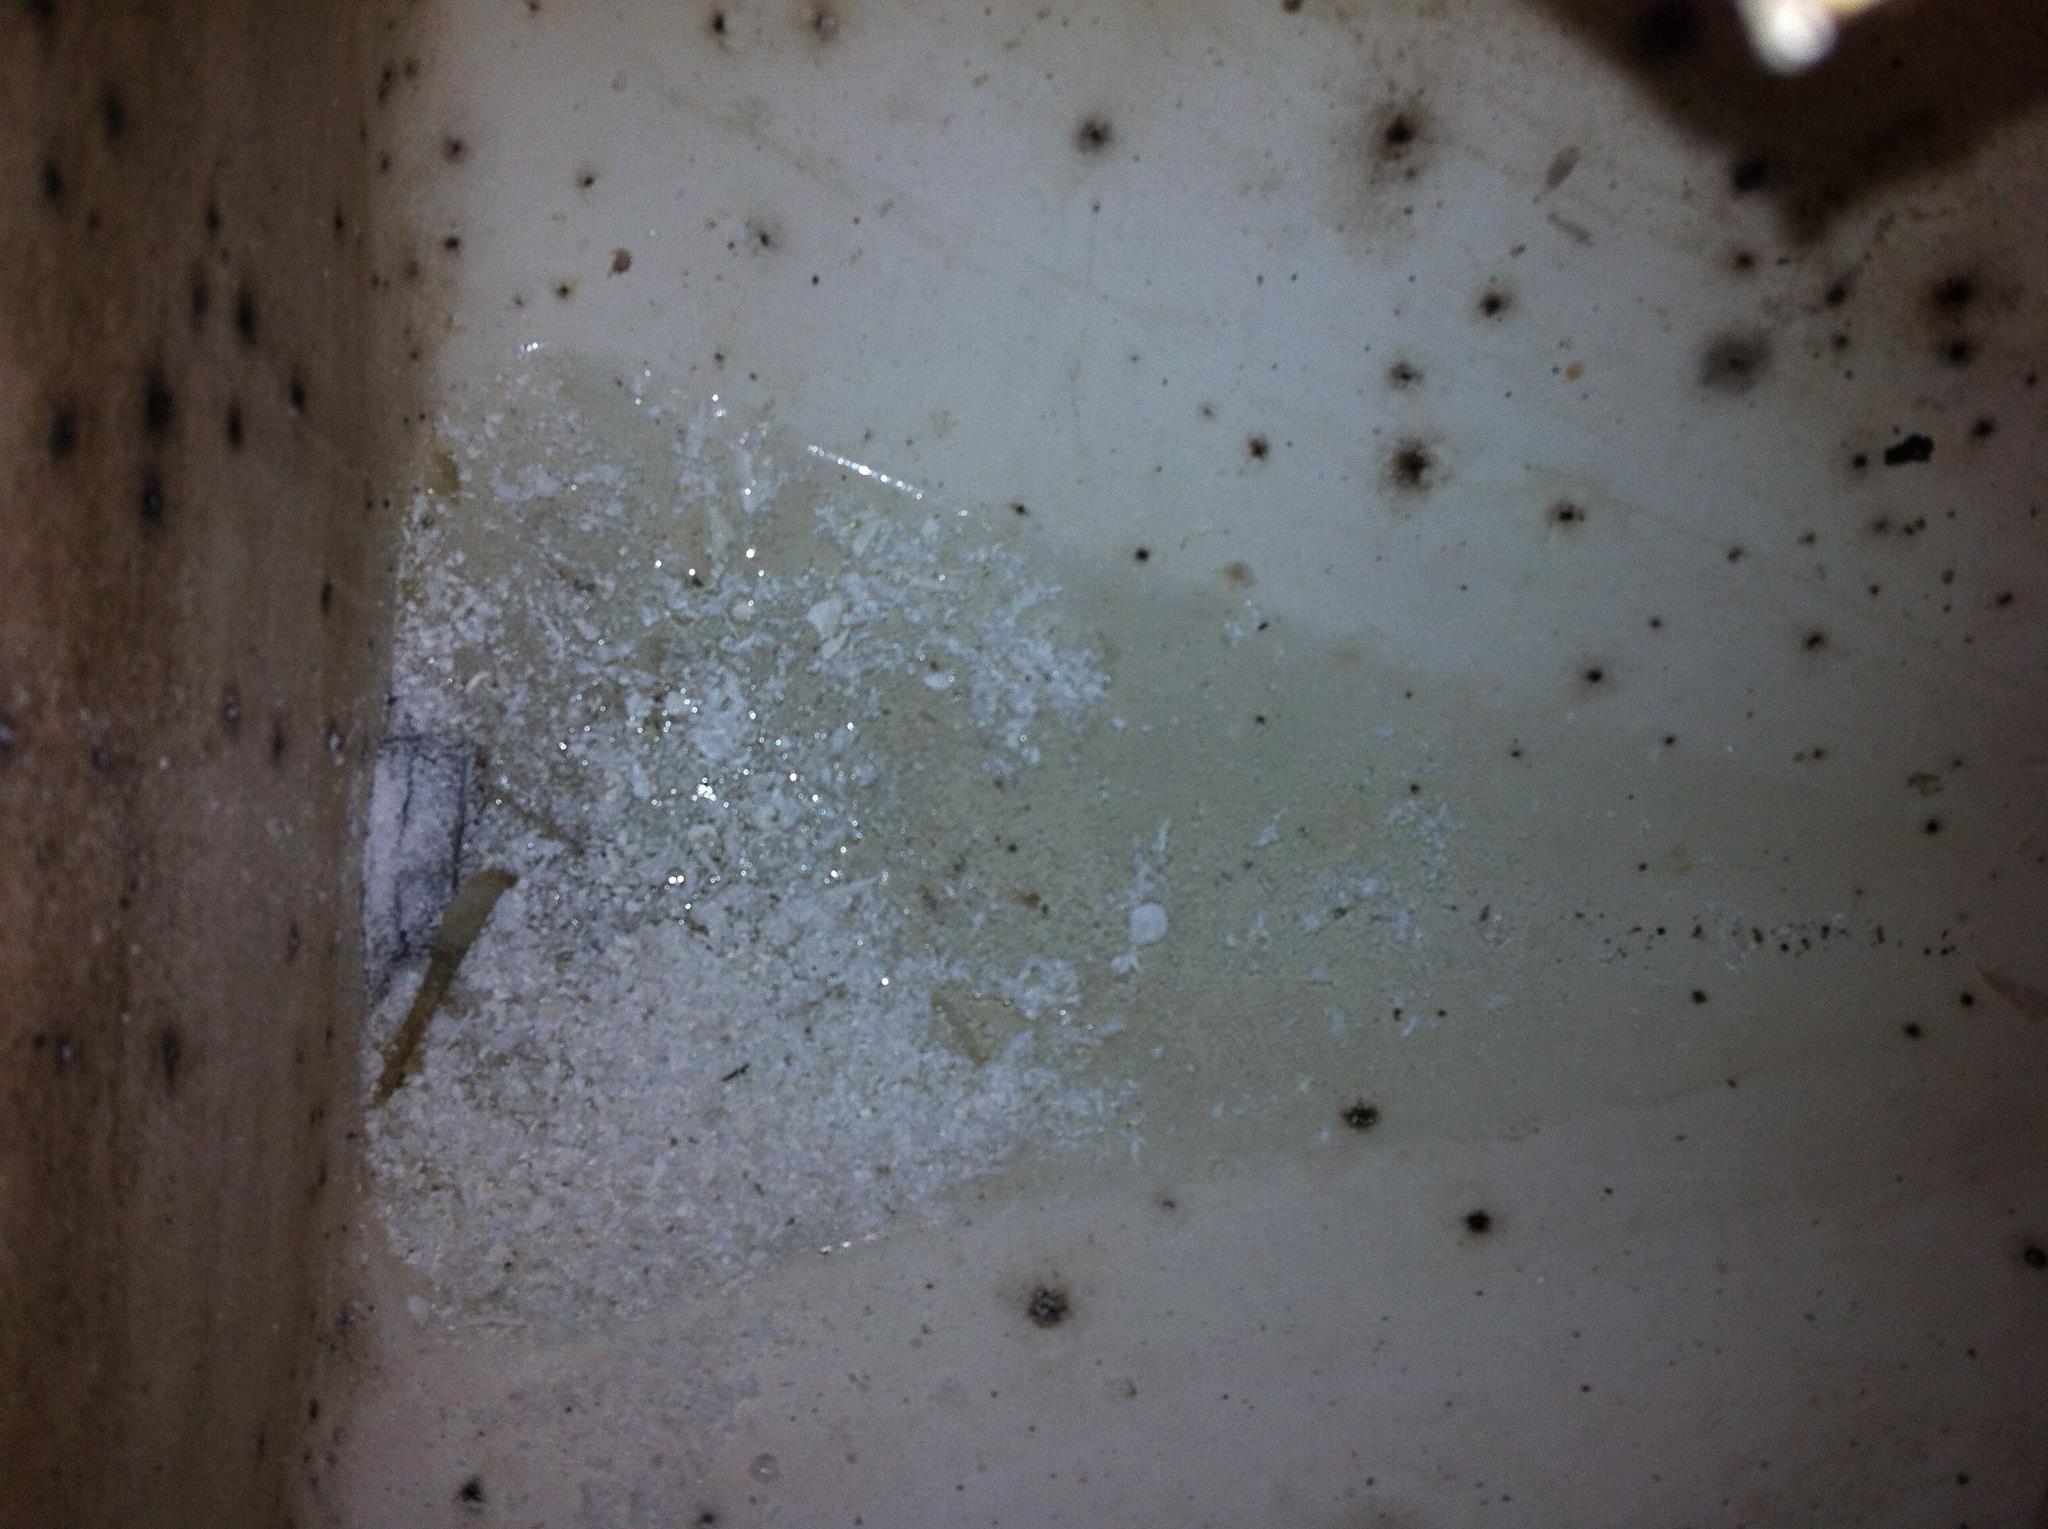
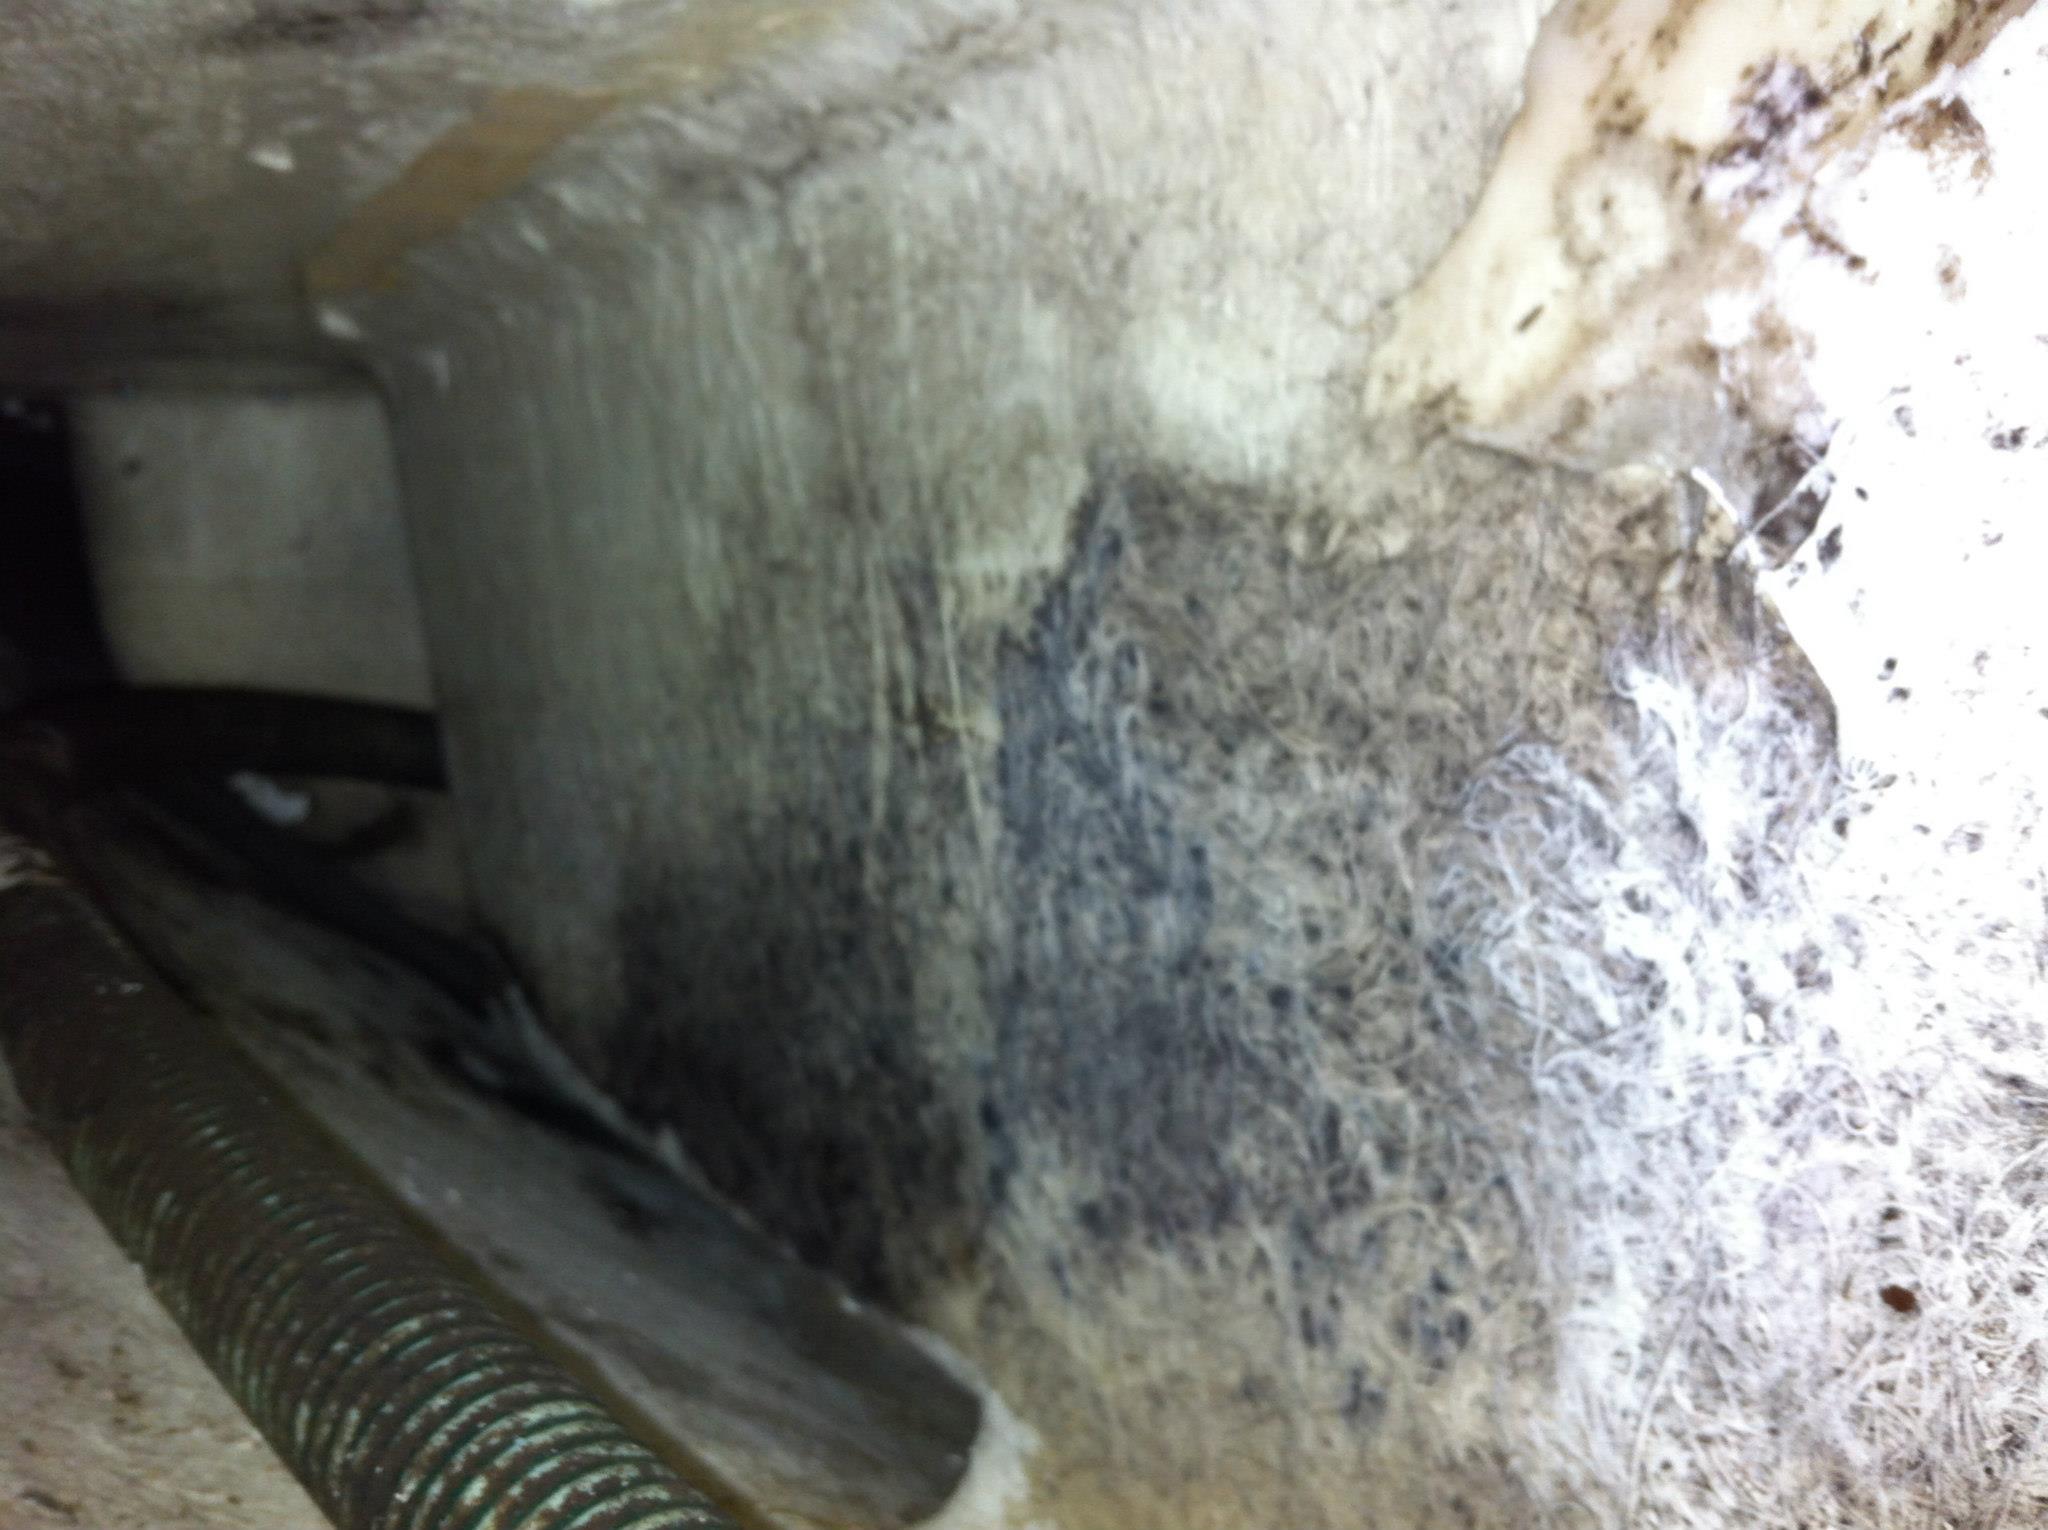
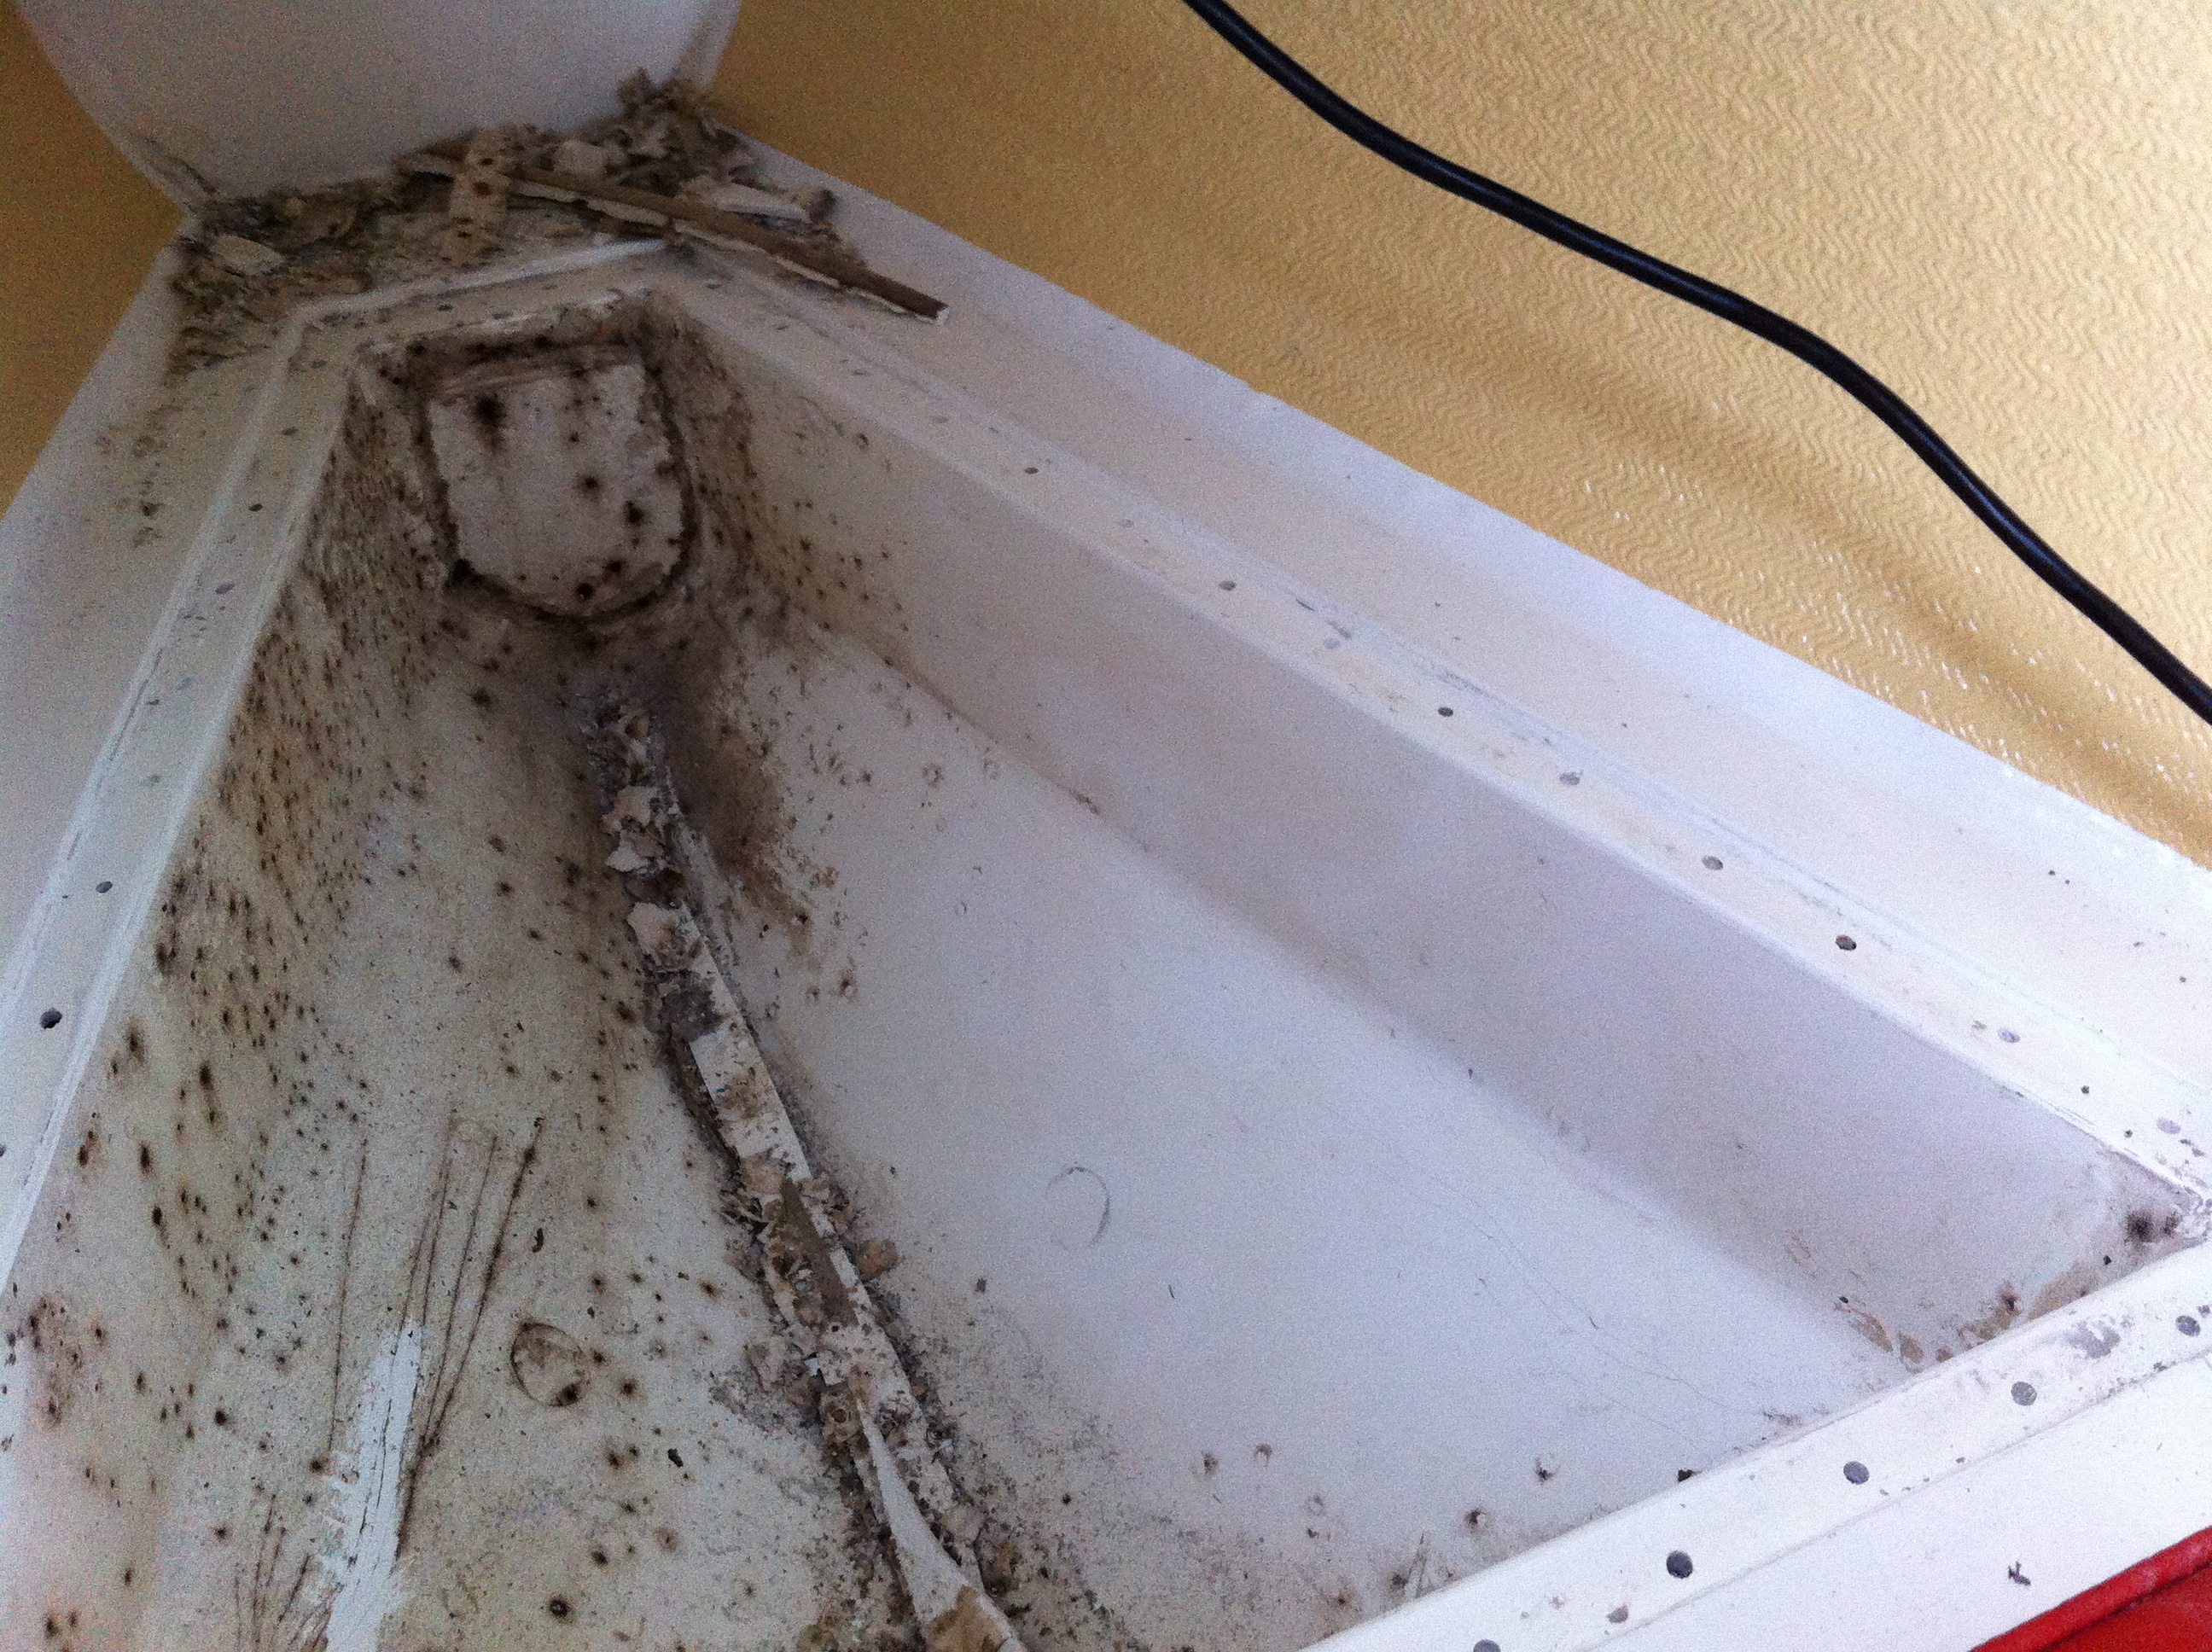
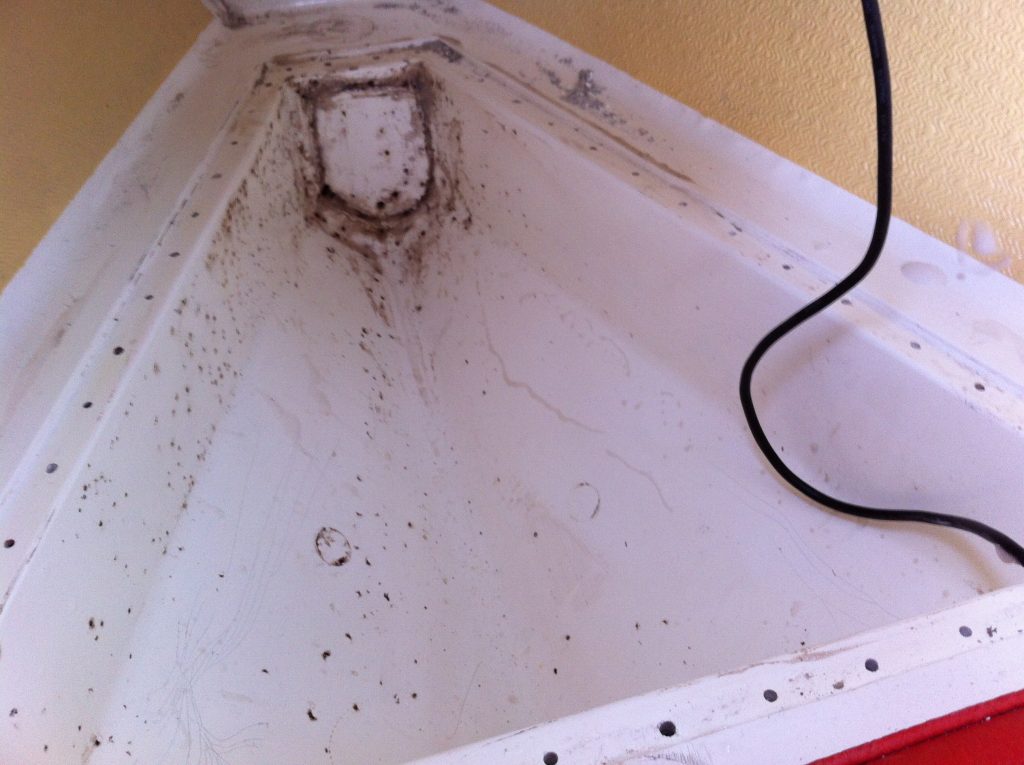
Inside the water tank, looking from the lid down into the cavity (white stuff is fibreglass from drilling holes into the lid). Kinda dirty, definitely not water I want to be drinking! 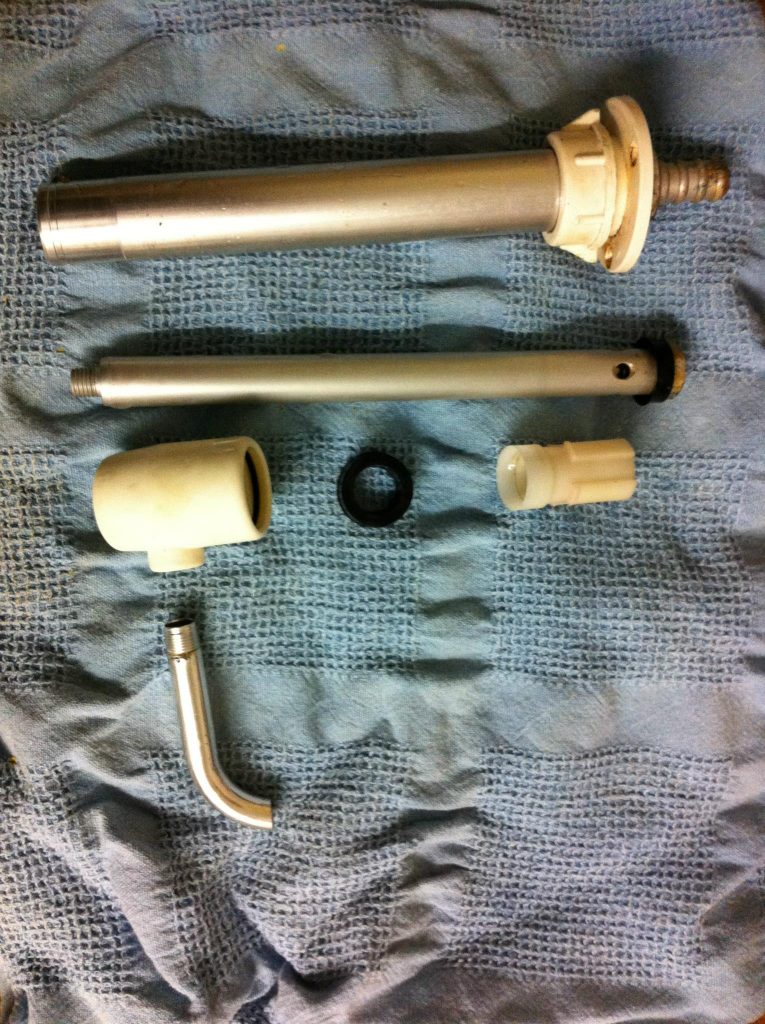
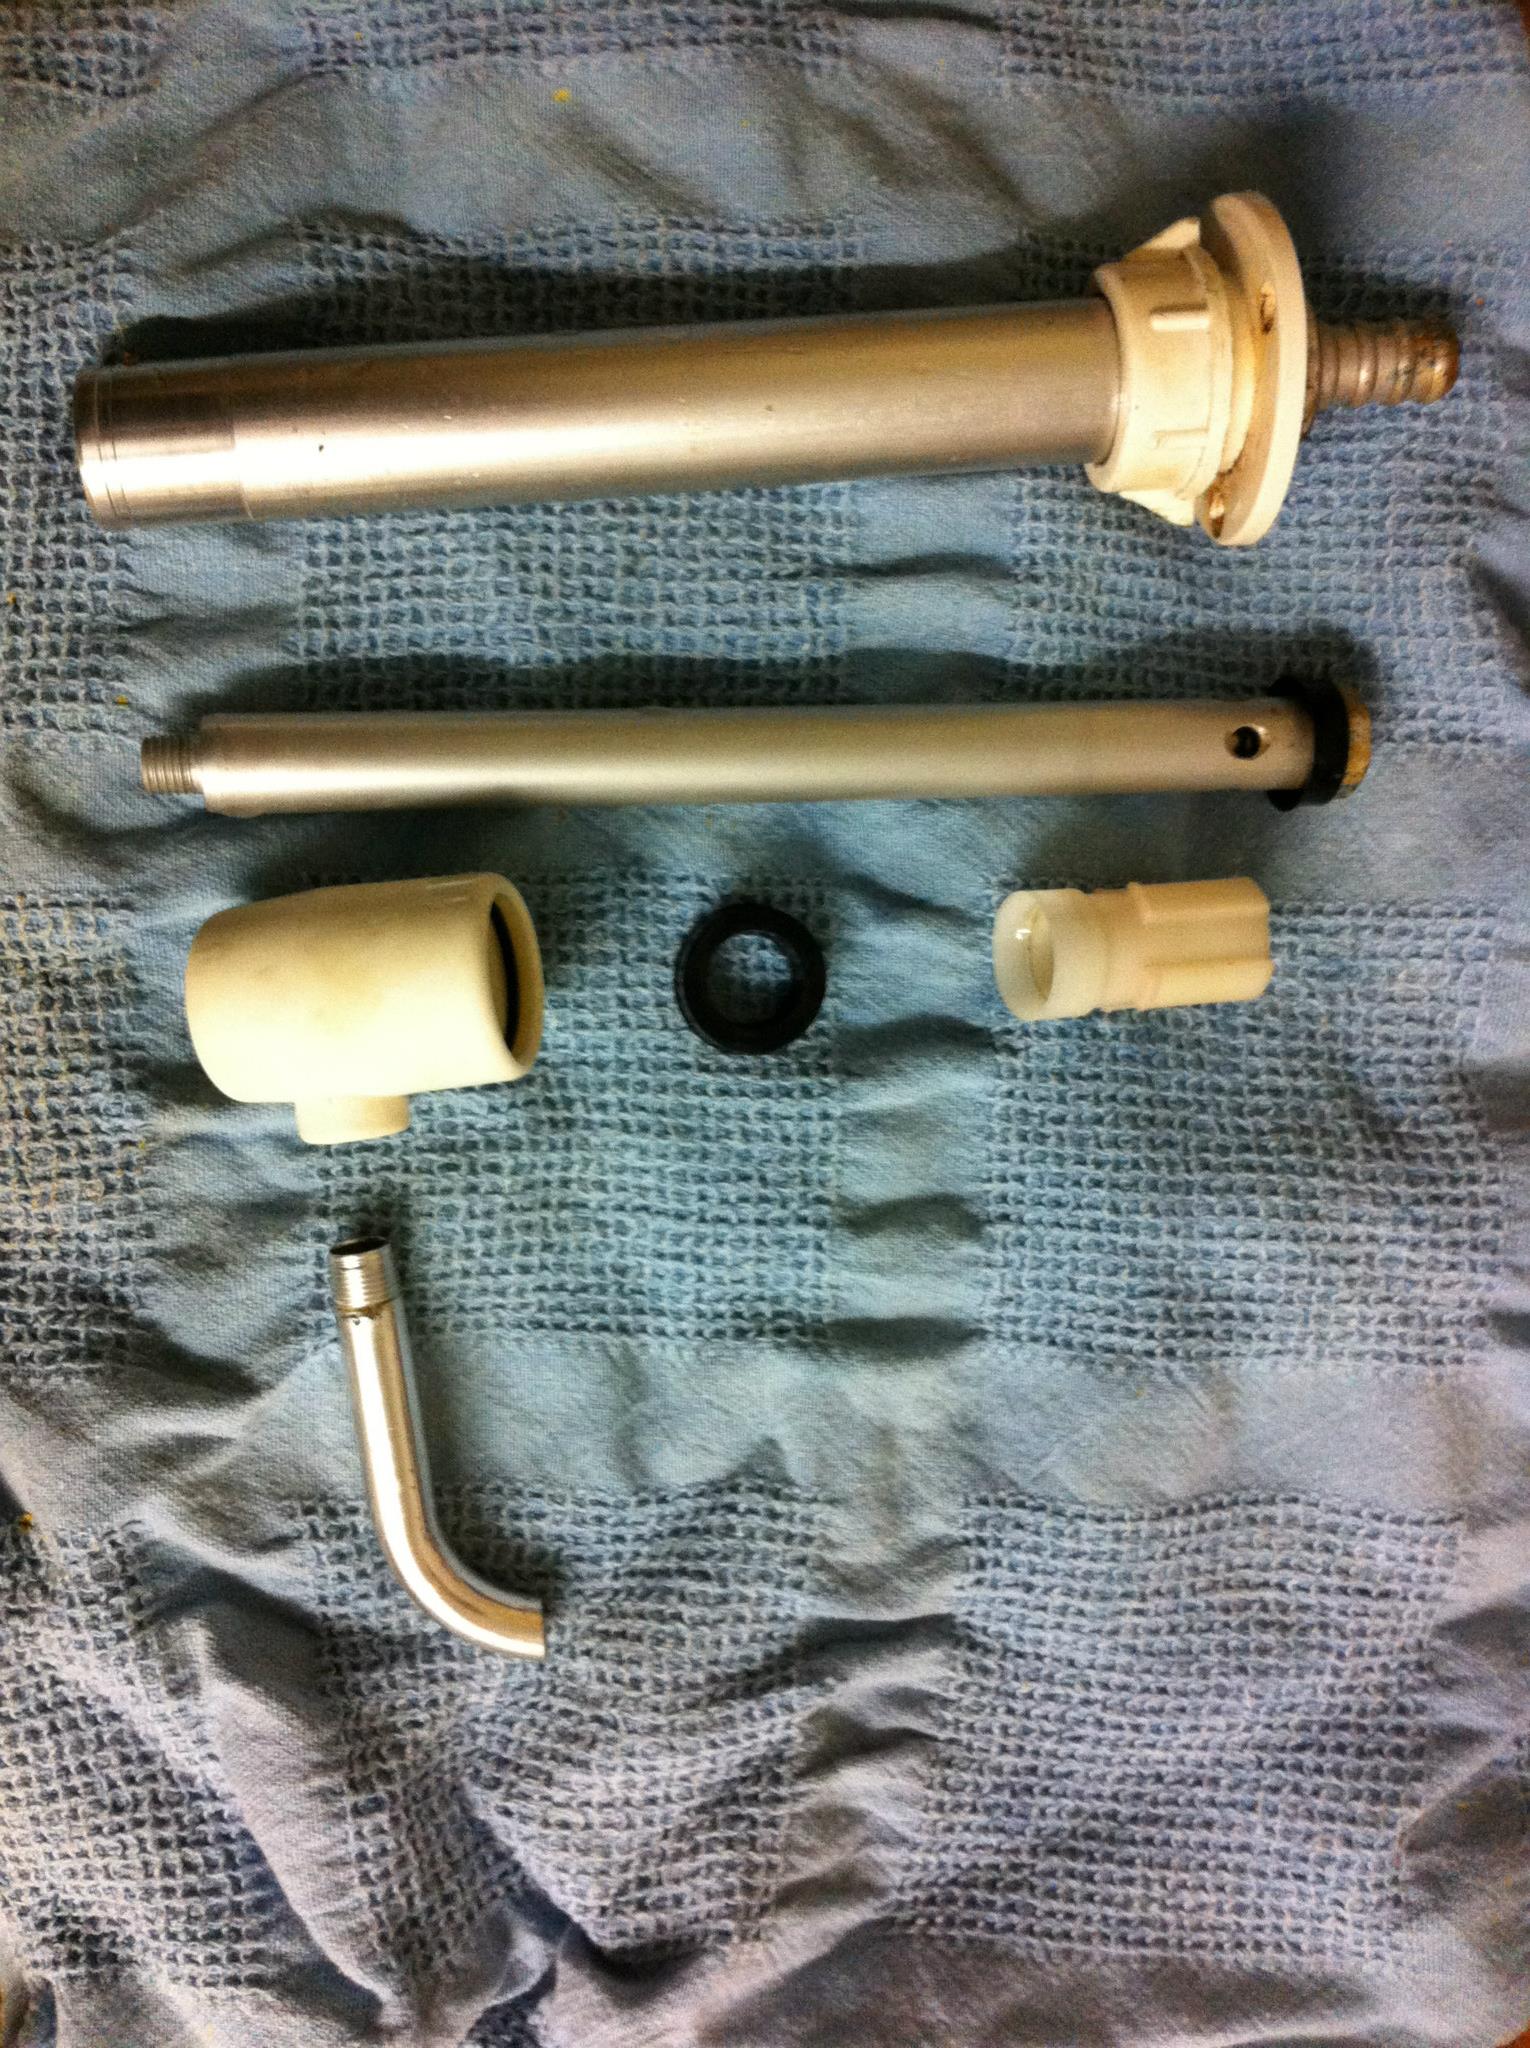
The disassembled pump. Why did I want it out in the first place? That black o-ring seal that should keep the water flowing out the tap spout leaks, and water flies out through the top of the tap. 
Unrelated to the pump work, but the log impeller is broken – rusted thoroughly. In the process of trying to knock the pin out, I split the plastic. New log time; at least they’re pretty cheap. 
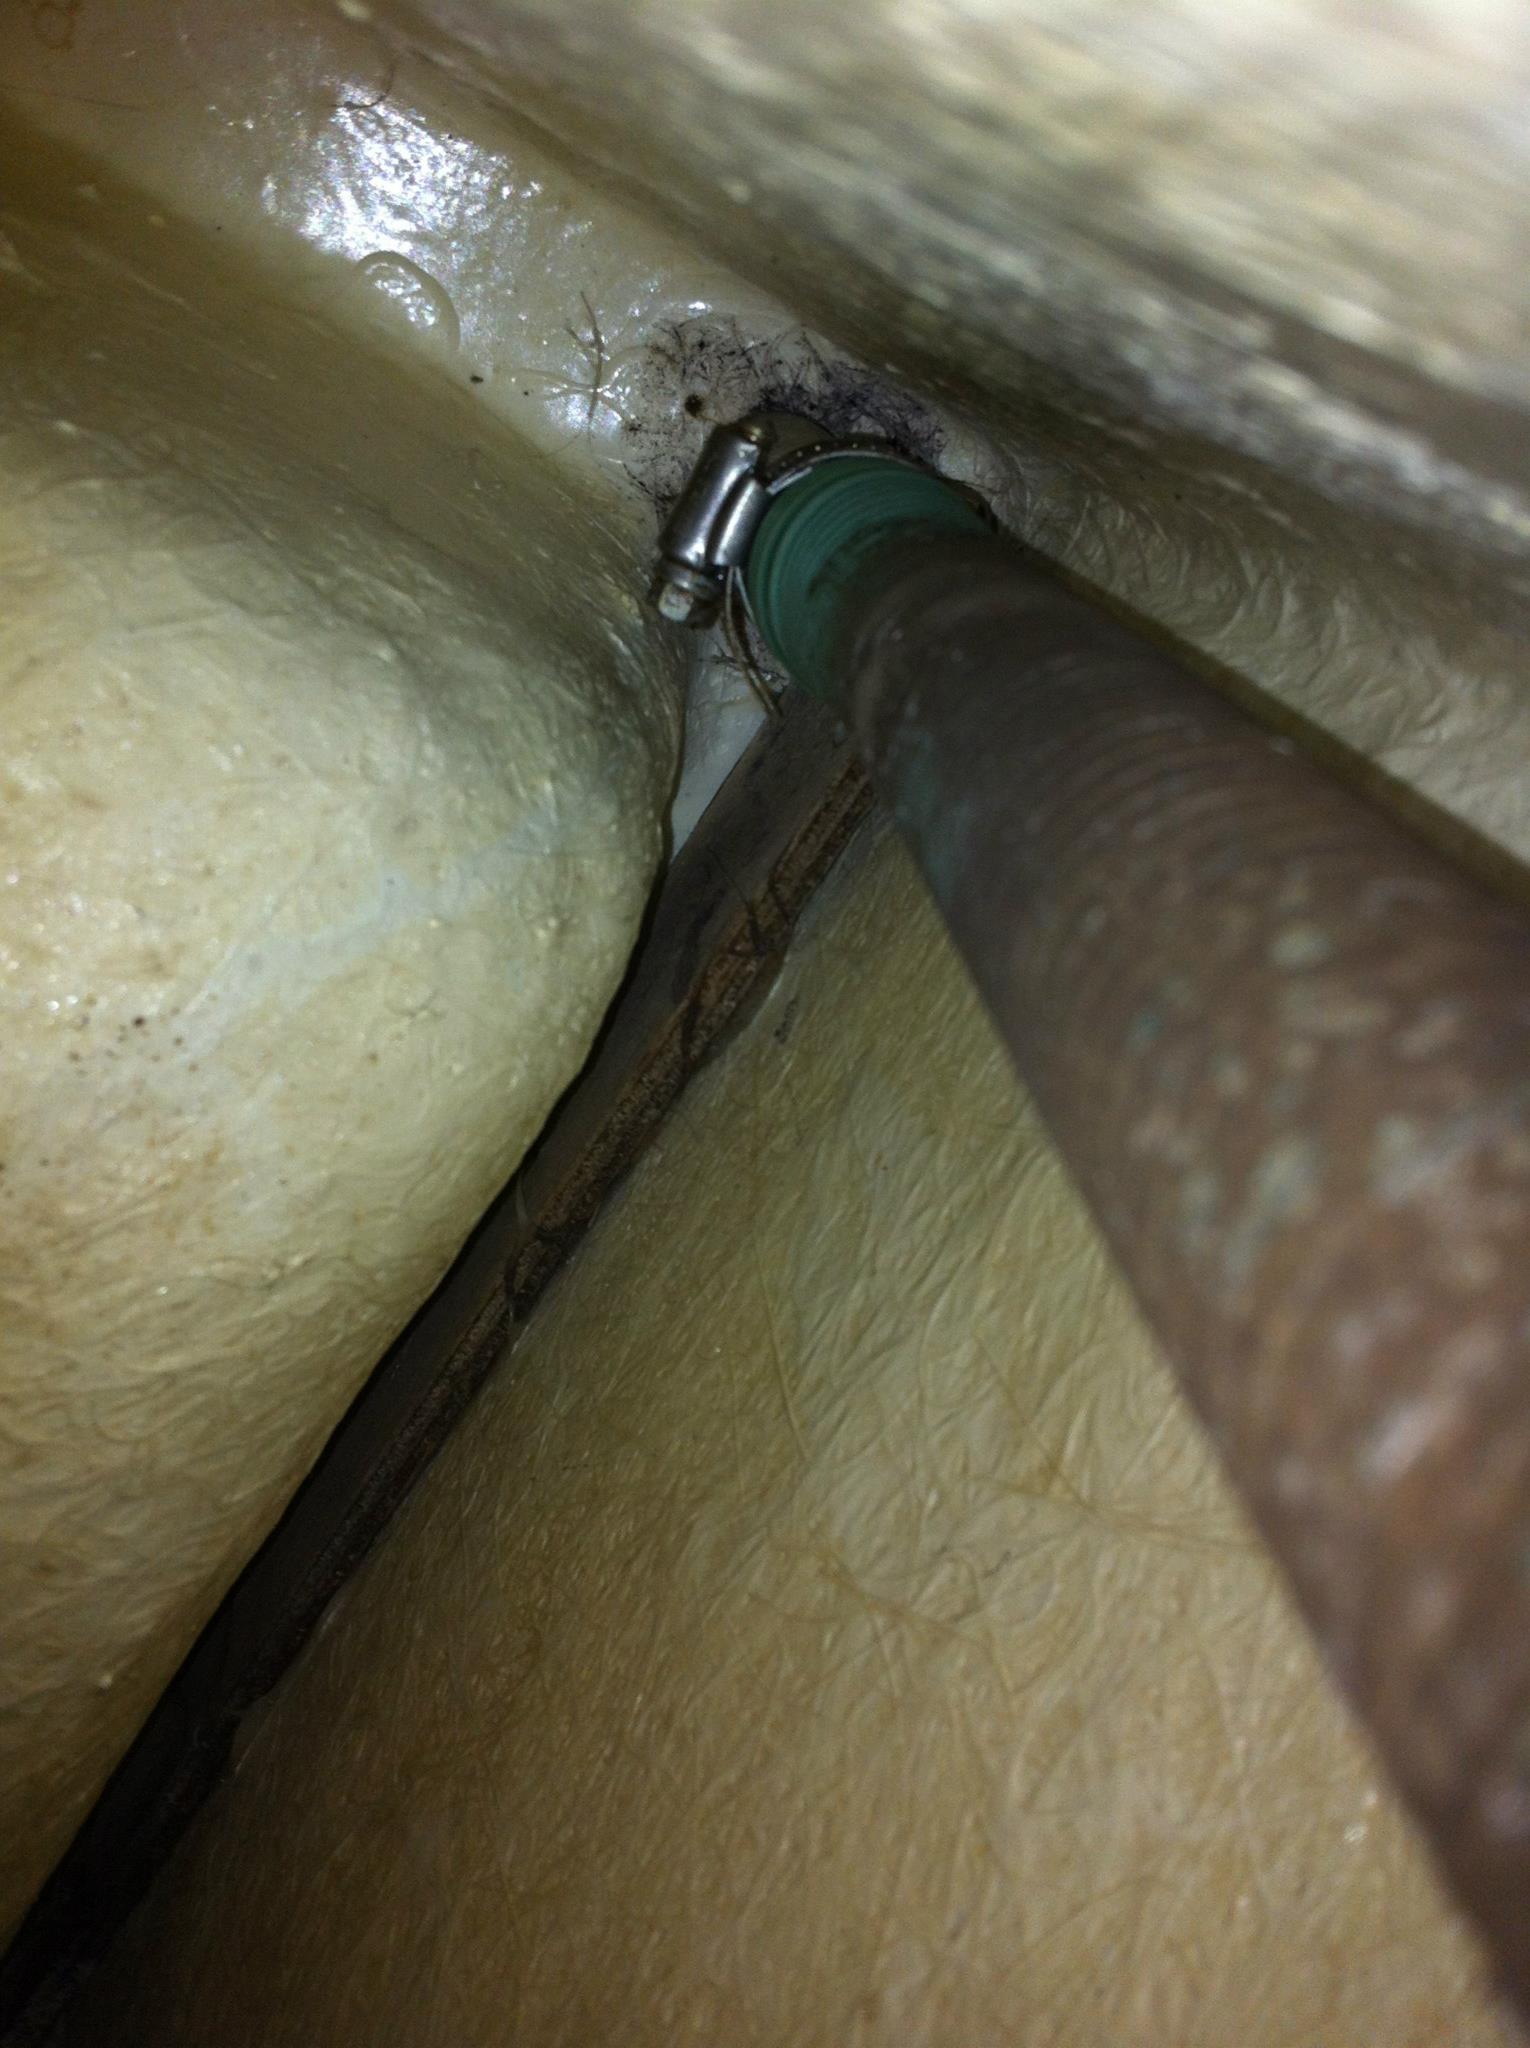
Engineering nut: How to unscrew the o-clamp holding the pipe onto the hand pump. Engineering nutcracker: Apply brute force to the pump and take it to pieces, then push the cylinder down the hole, making it easy to get at the o-clamp. 
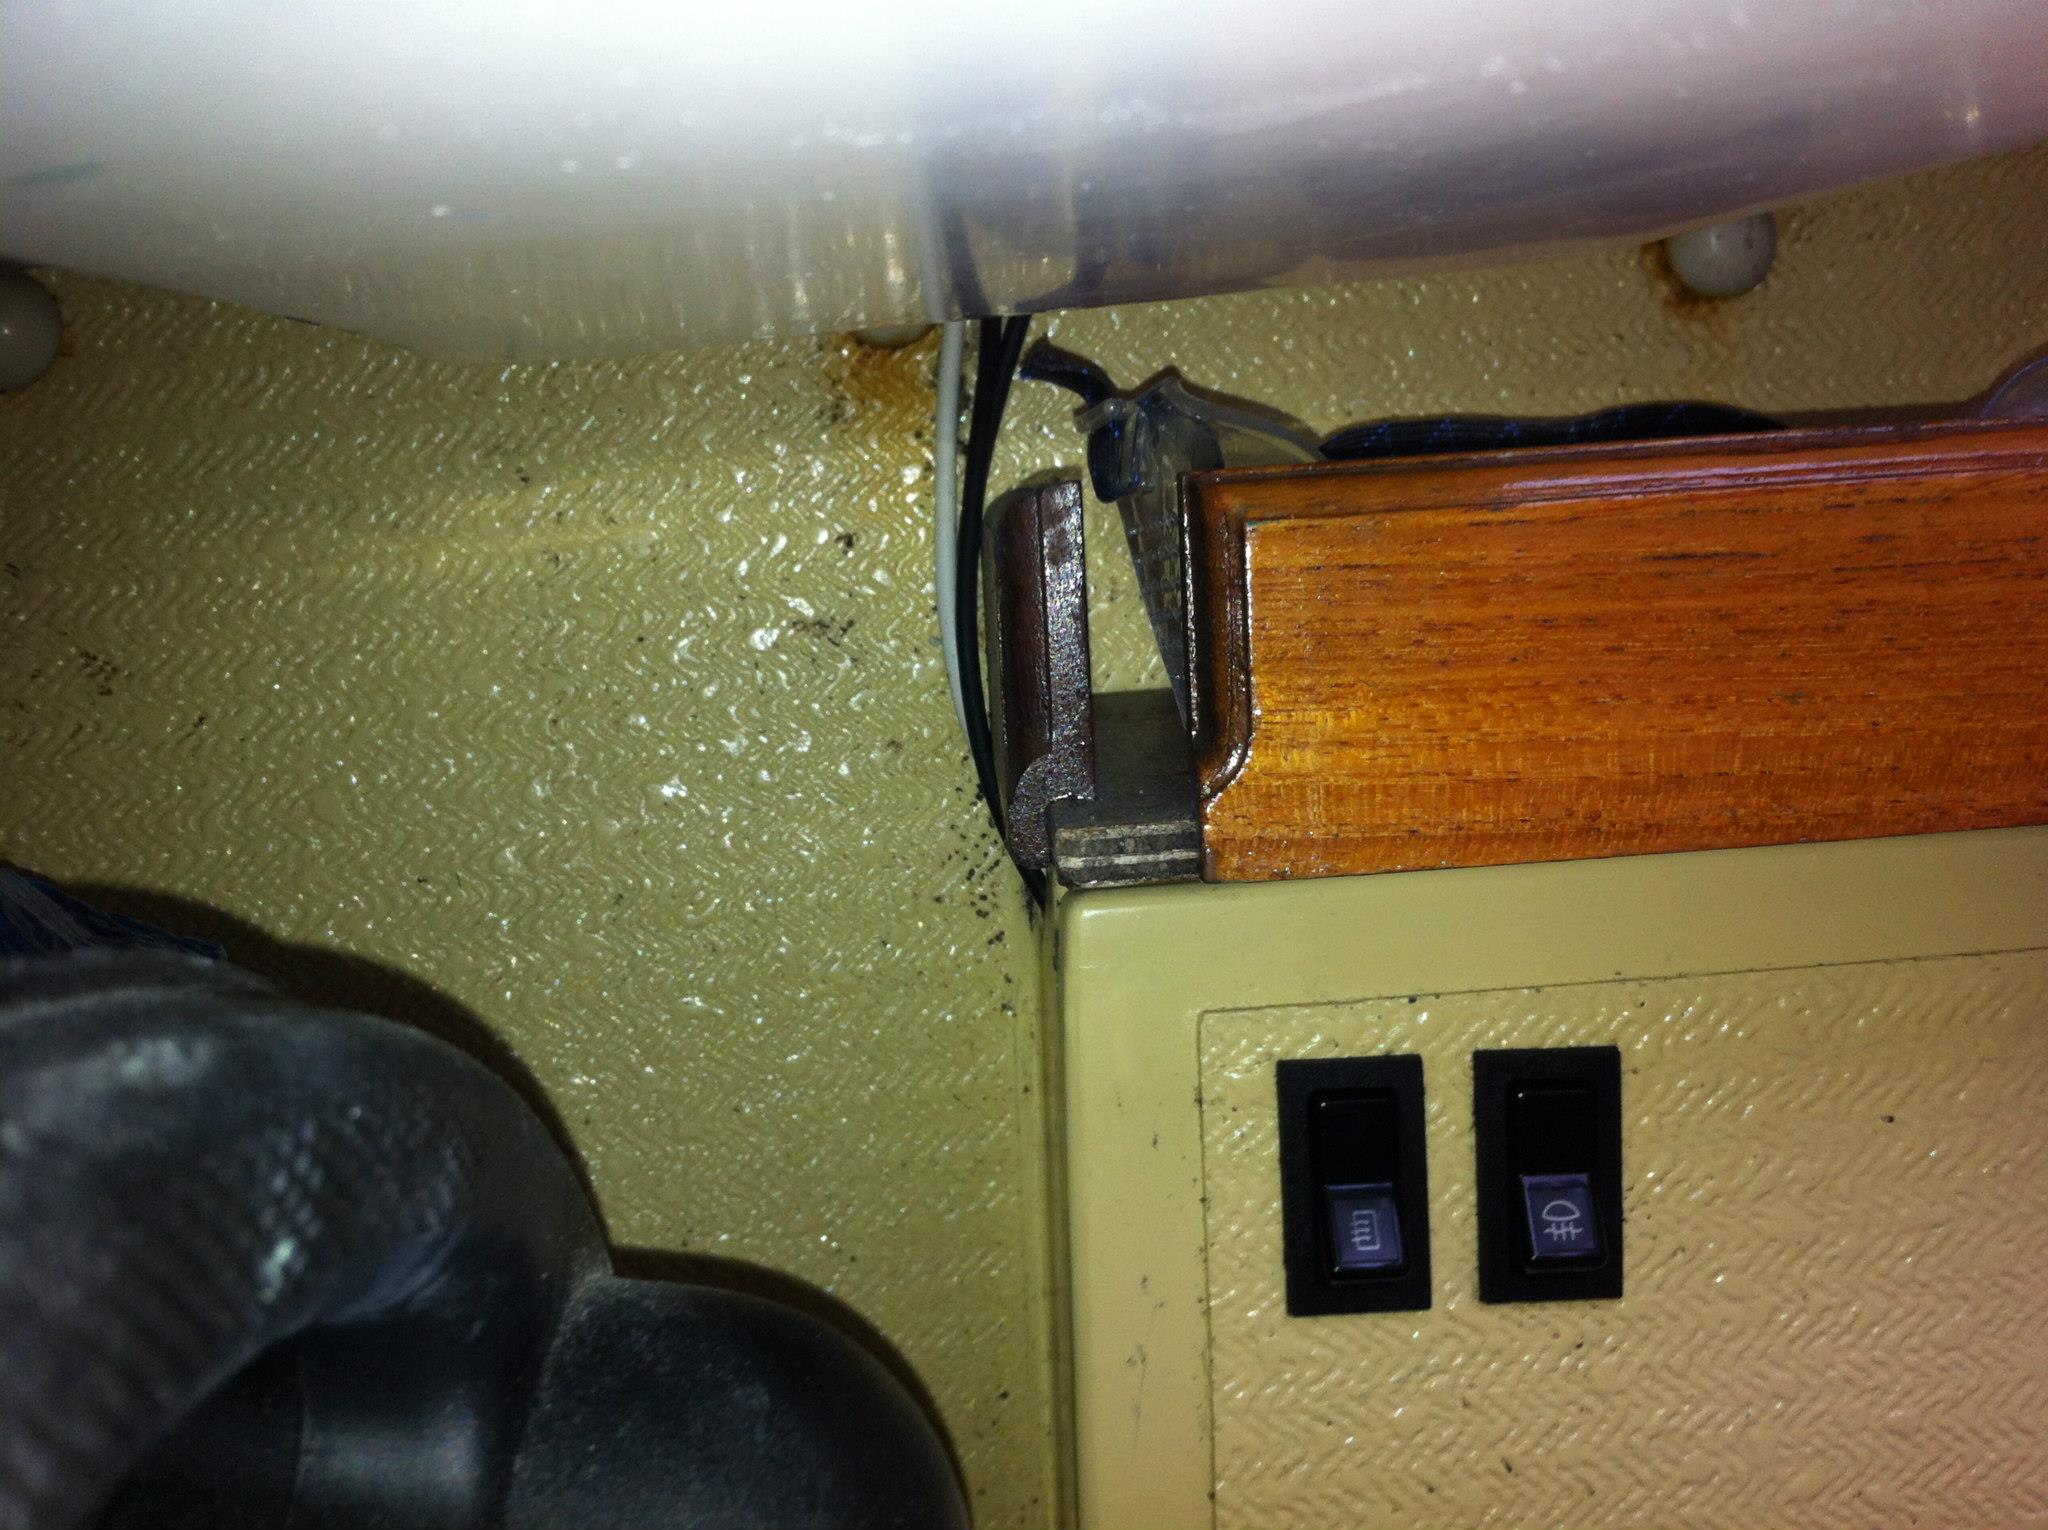
While looking at the pipe, I decided to see how it got to the water tank. It vanishes around the corner of the moulding that forms the chemical toilet box, and goes out of reach. 
All the rivets need to be drilled out so that the cover for the water tank can be removed. Probably going to put a flexible container inside the existing one (after drying it out) and running a 13mm pipe instead of the existing 22mm pipe. You can also see where someone cut an access hole to the tank to fit the 22mm pipe, then fibreglassed it back. 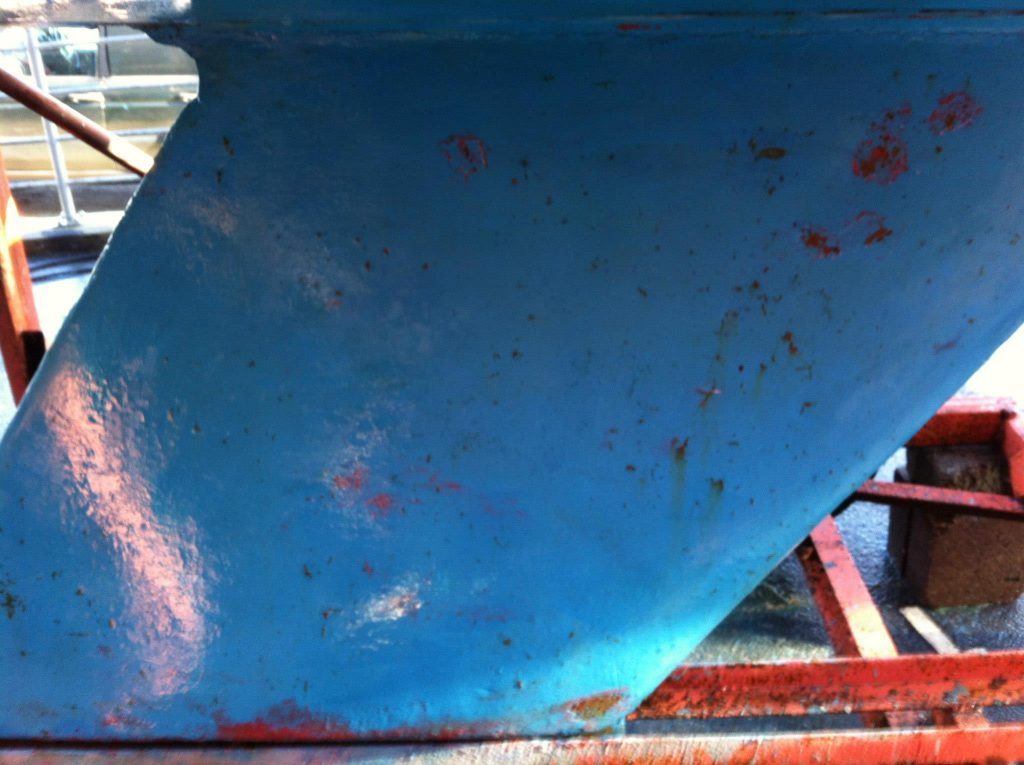
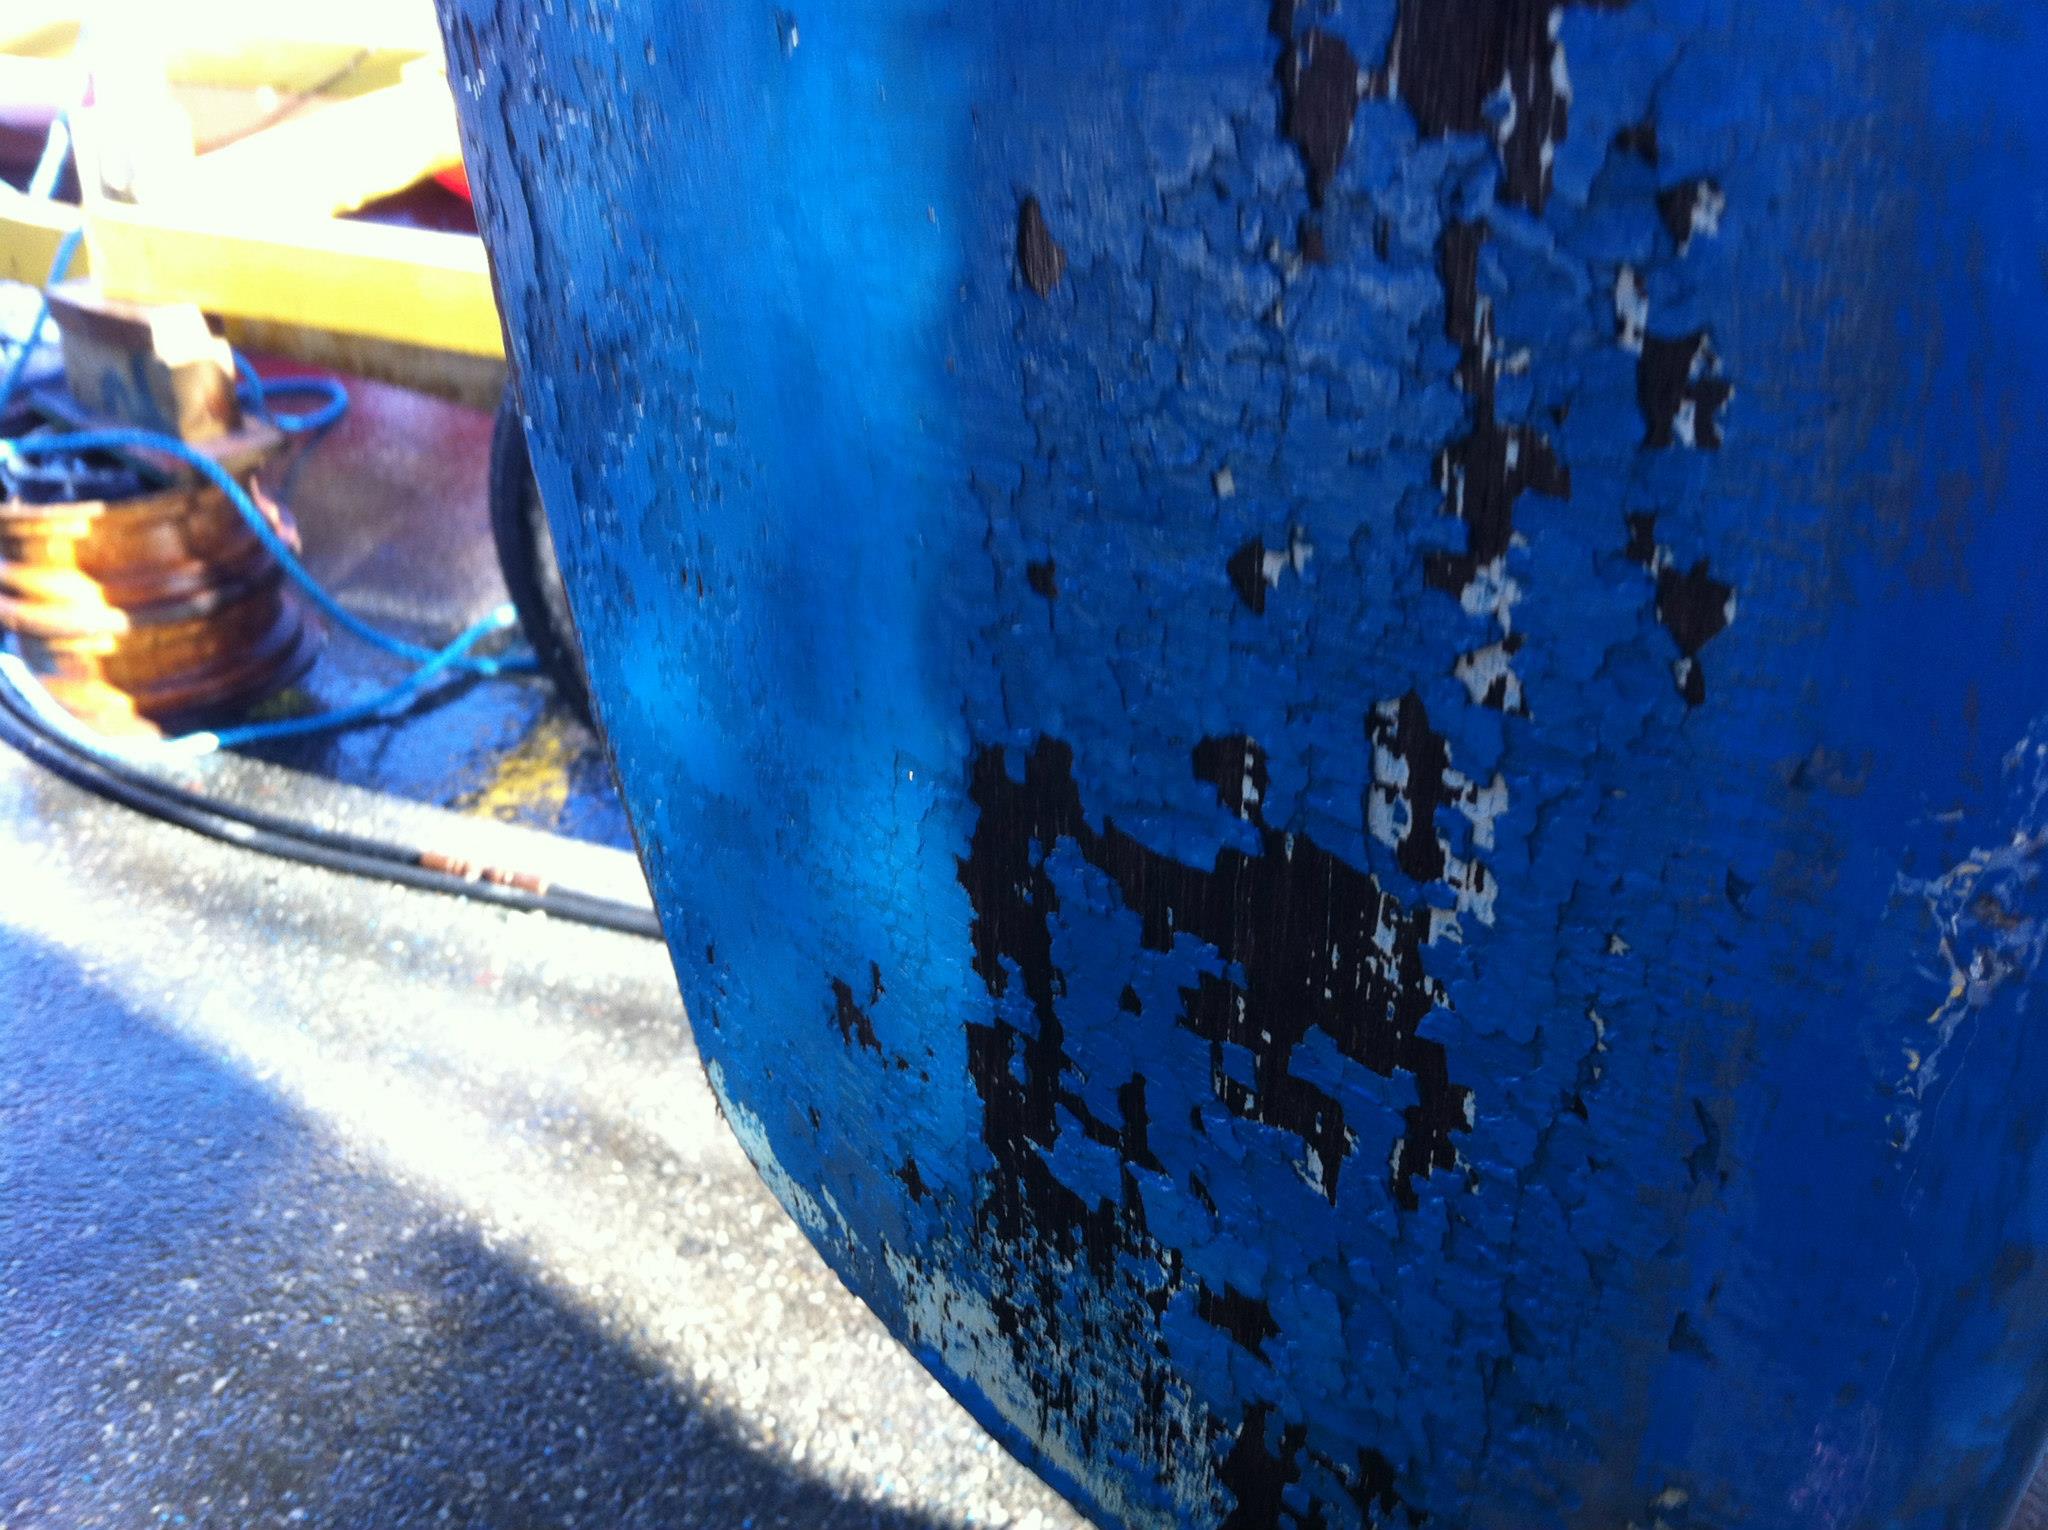
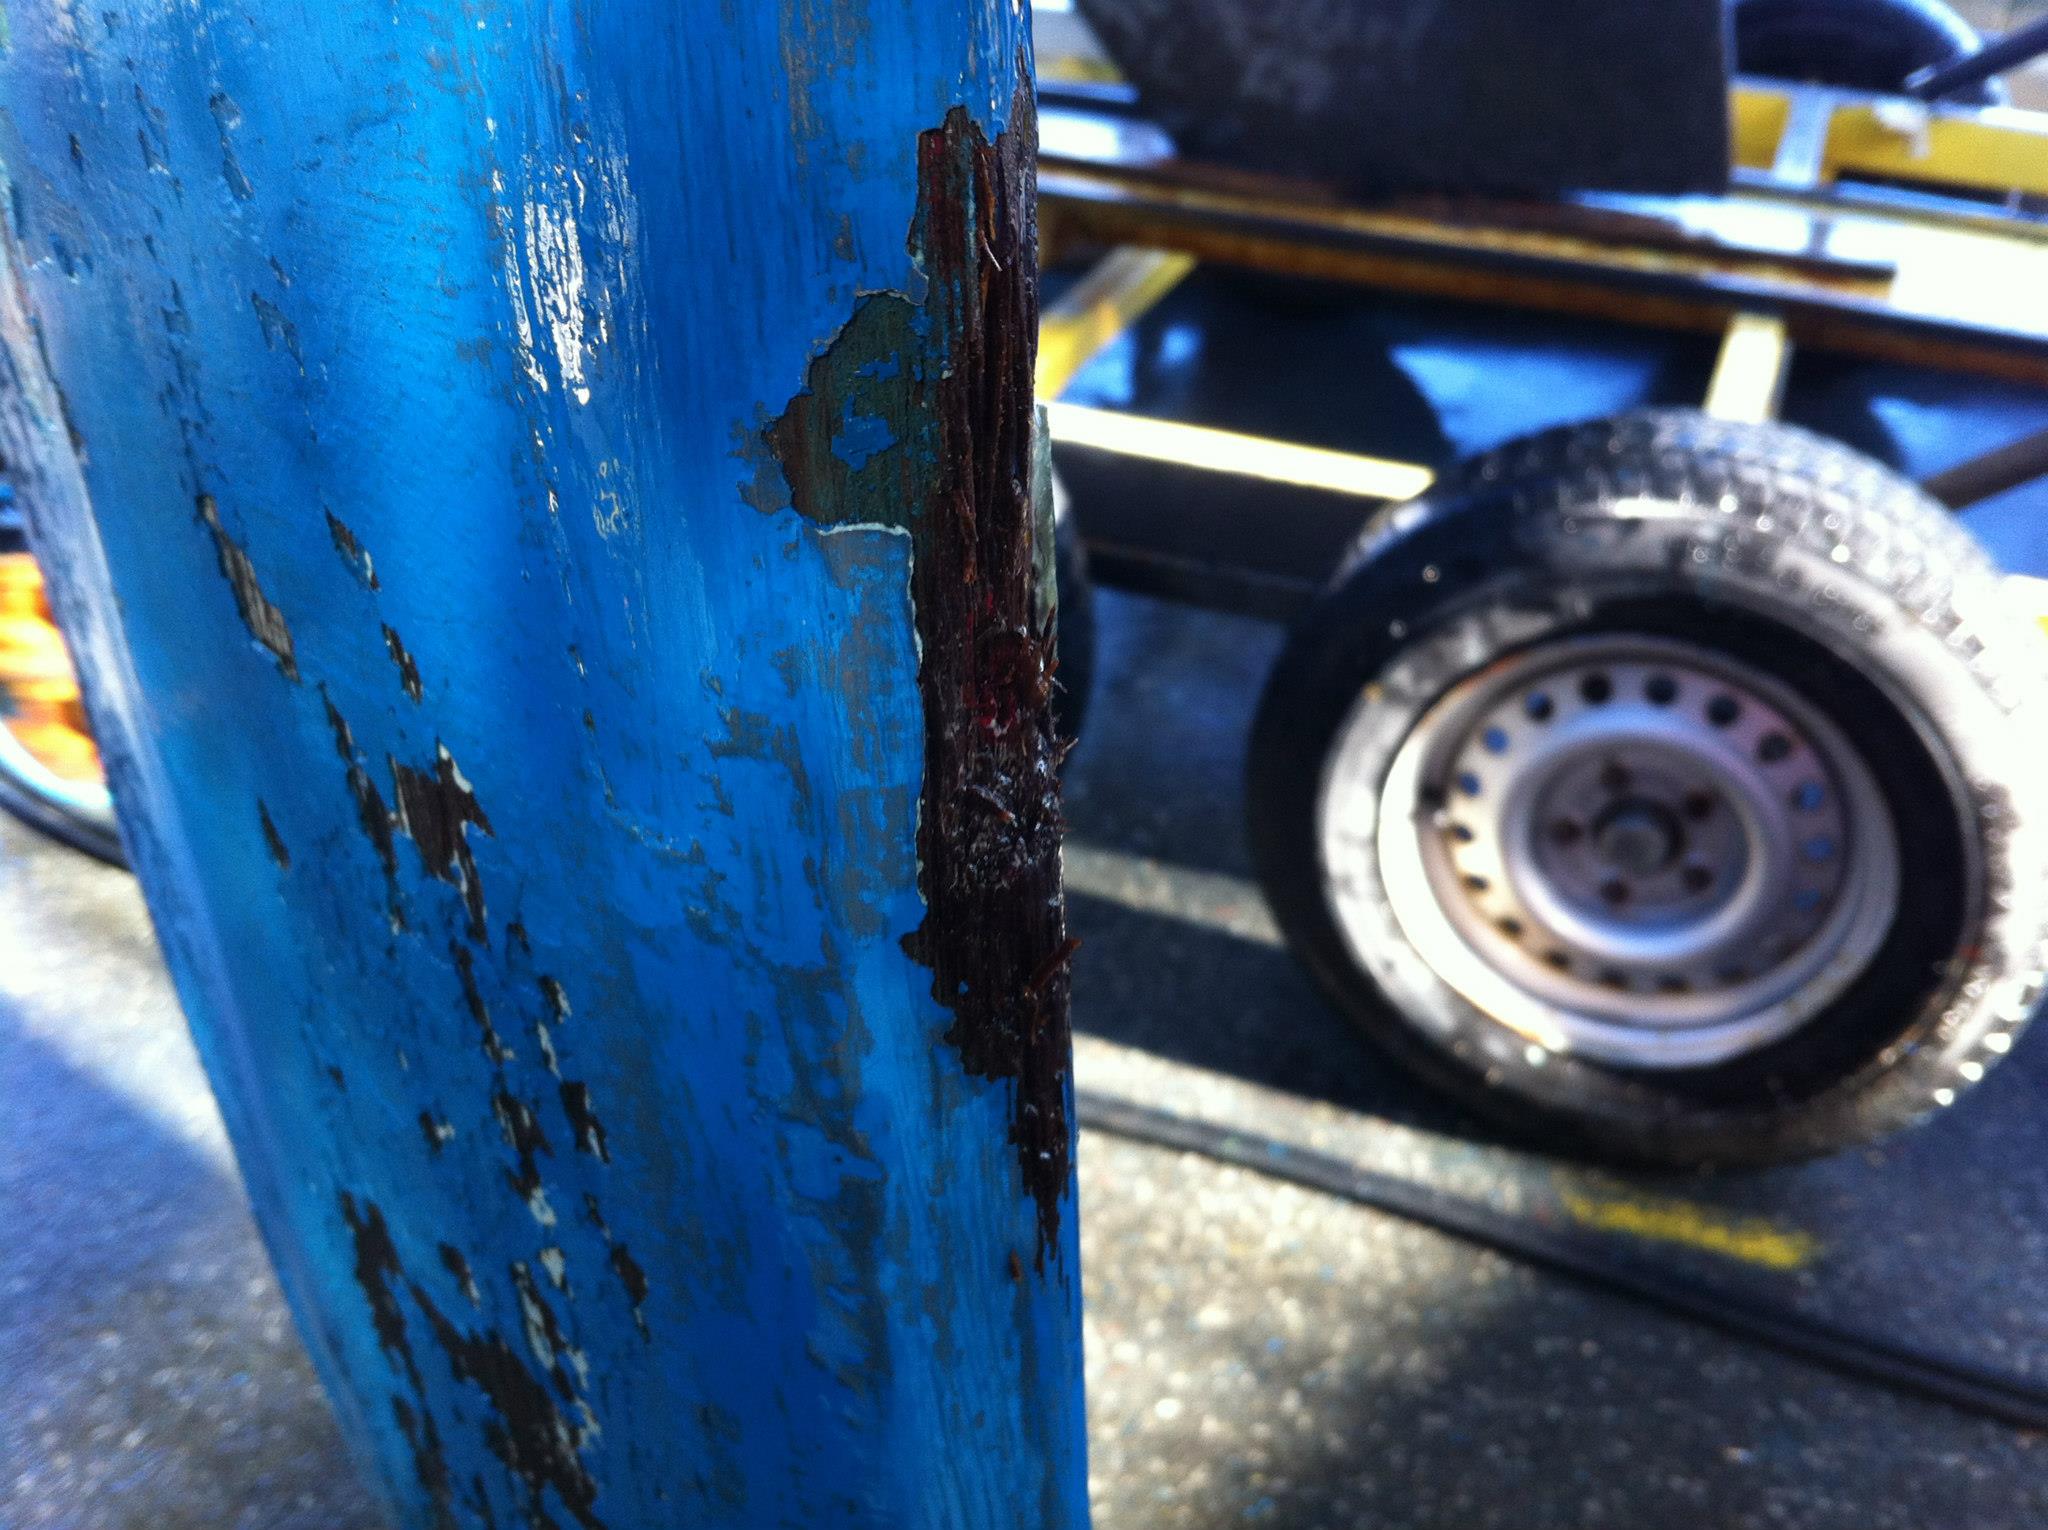
More rust spots. 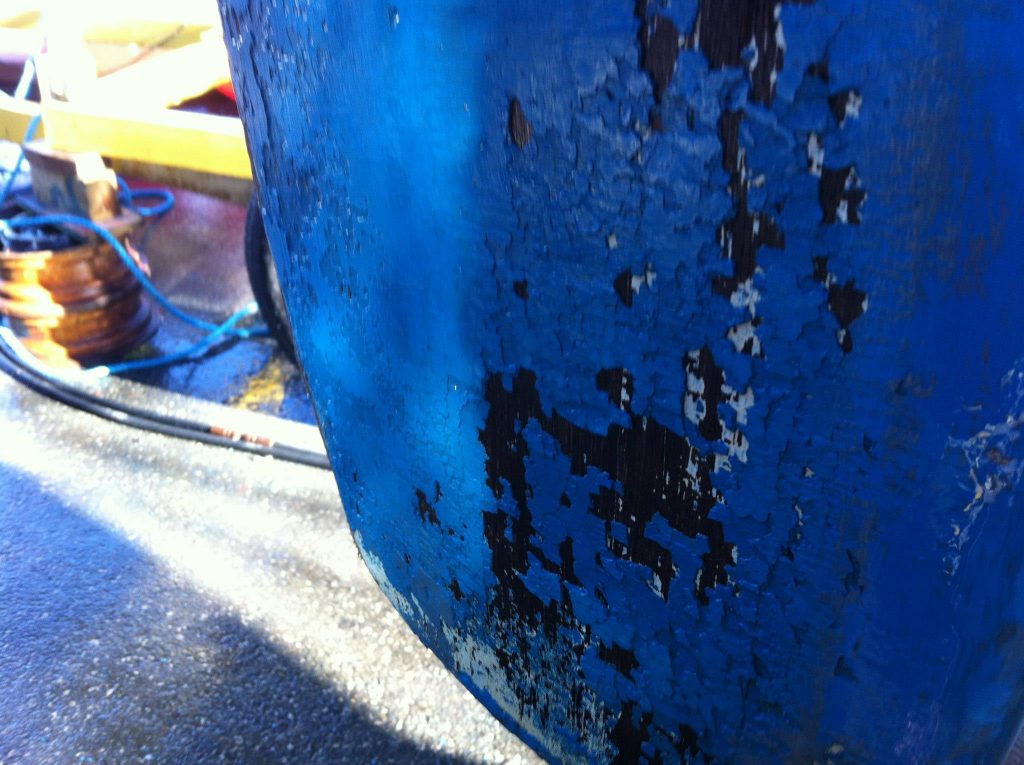
More pressure washer flaking on the rudder. The wood is solid though, so it’s a fairly light job (ie, not a whole new rudder). 
Ding/gouge on the front of the rudder, and some spots where the anti-foul came off under the pressure washer. Scrape and sand to bare wood, dry it out in the apartment for a month or two, then build it back up. 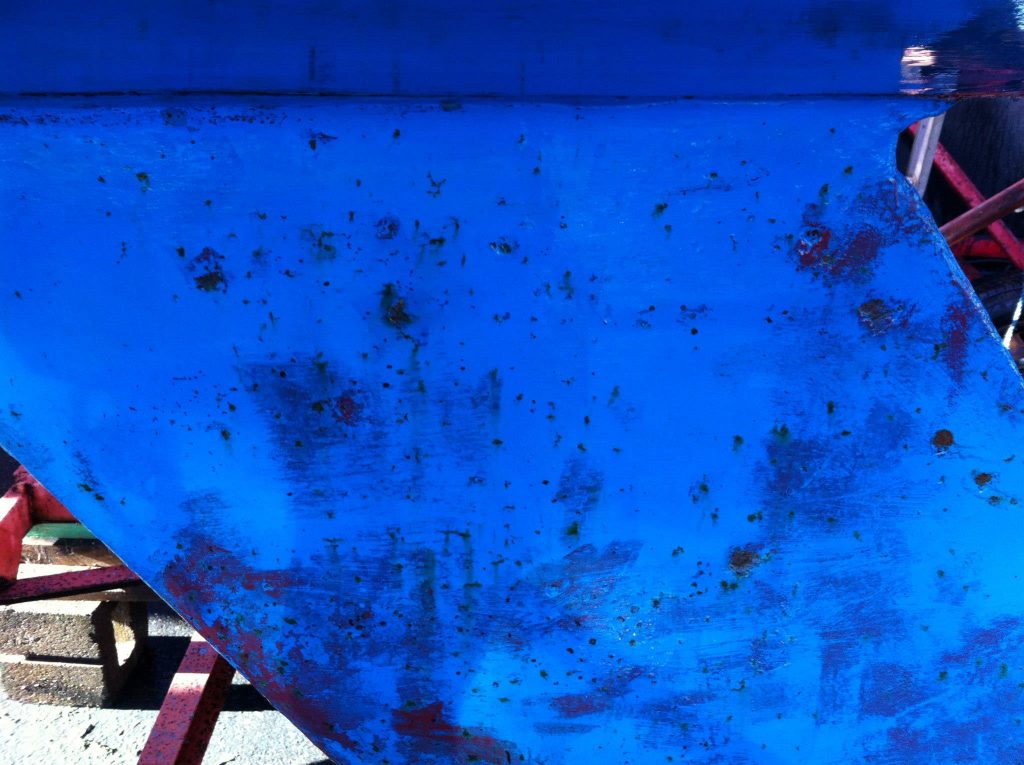
Most of the dark spots are rust spots. Wire brush, heavy sanding and some anti-rust primer are called for. 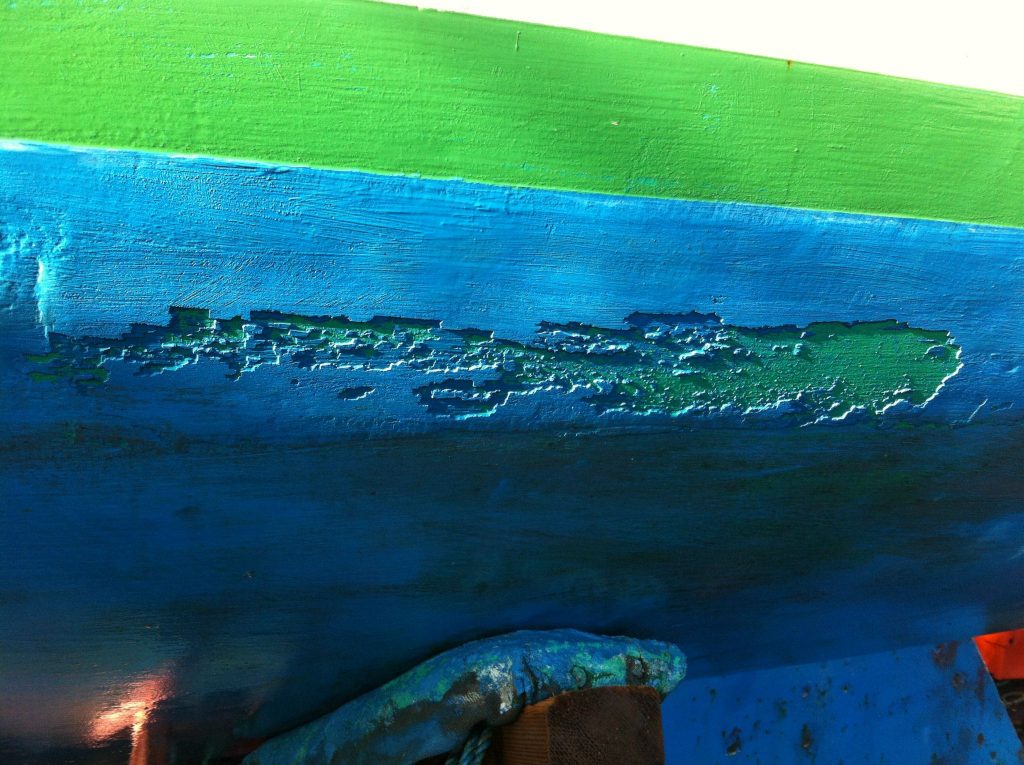
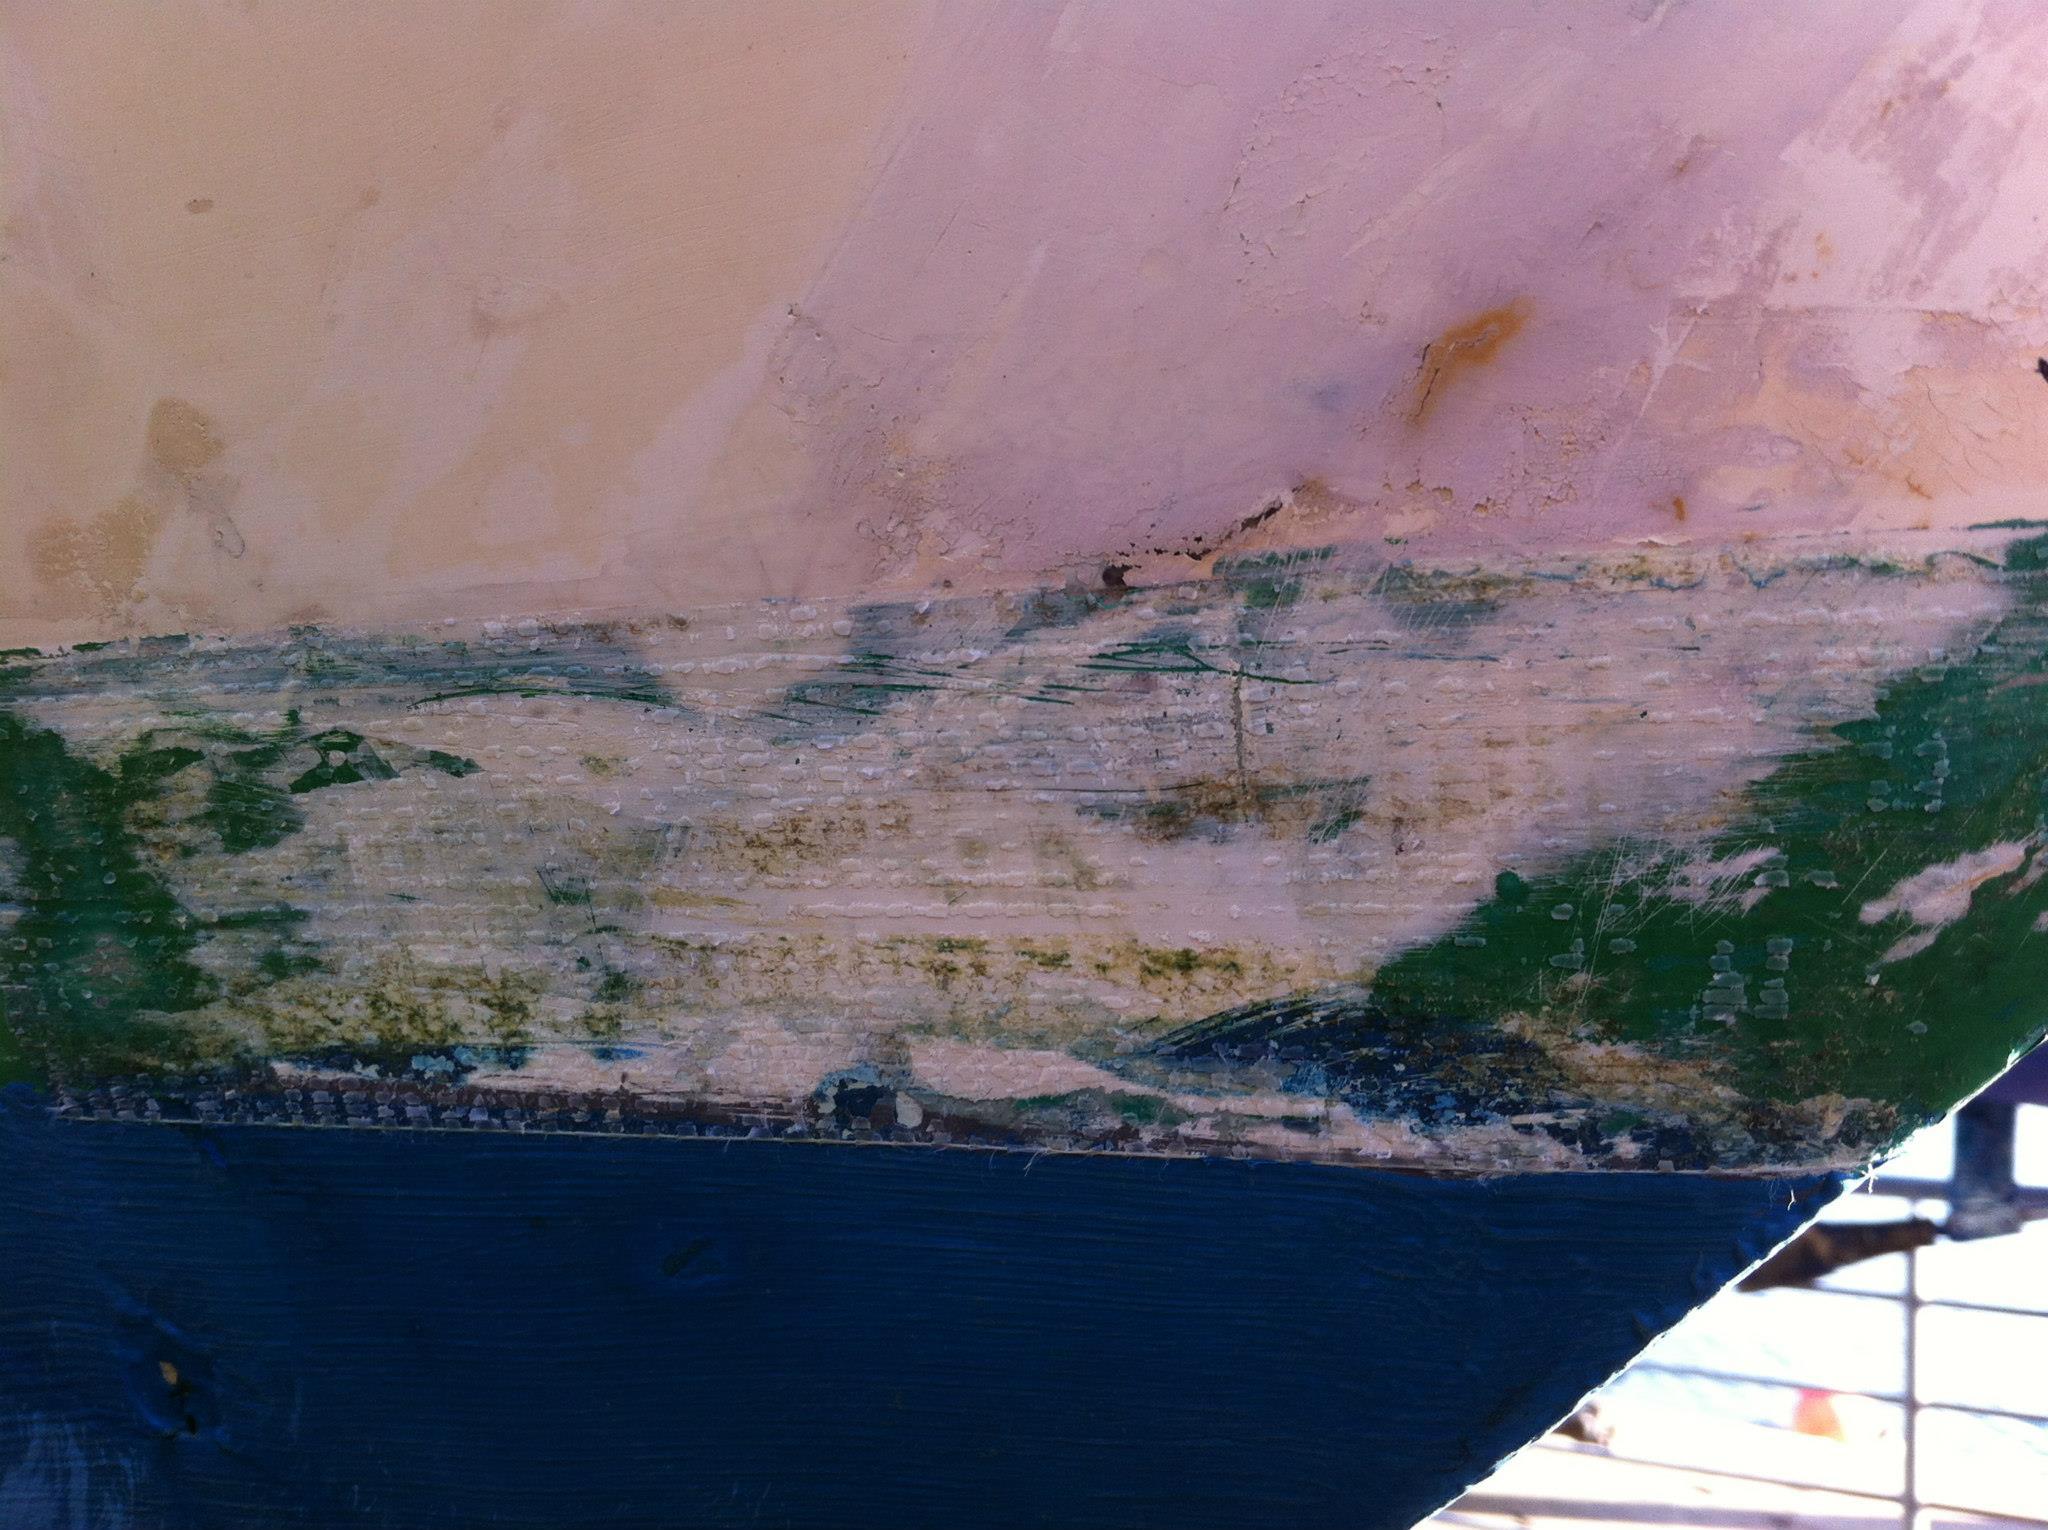
Pressure wash took the anti-foul right off down to the underlying coat of paint. The build-up is several mm, so this’ll be a sanding job. 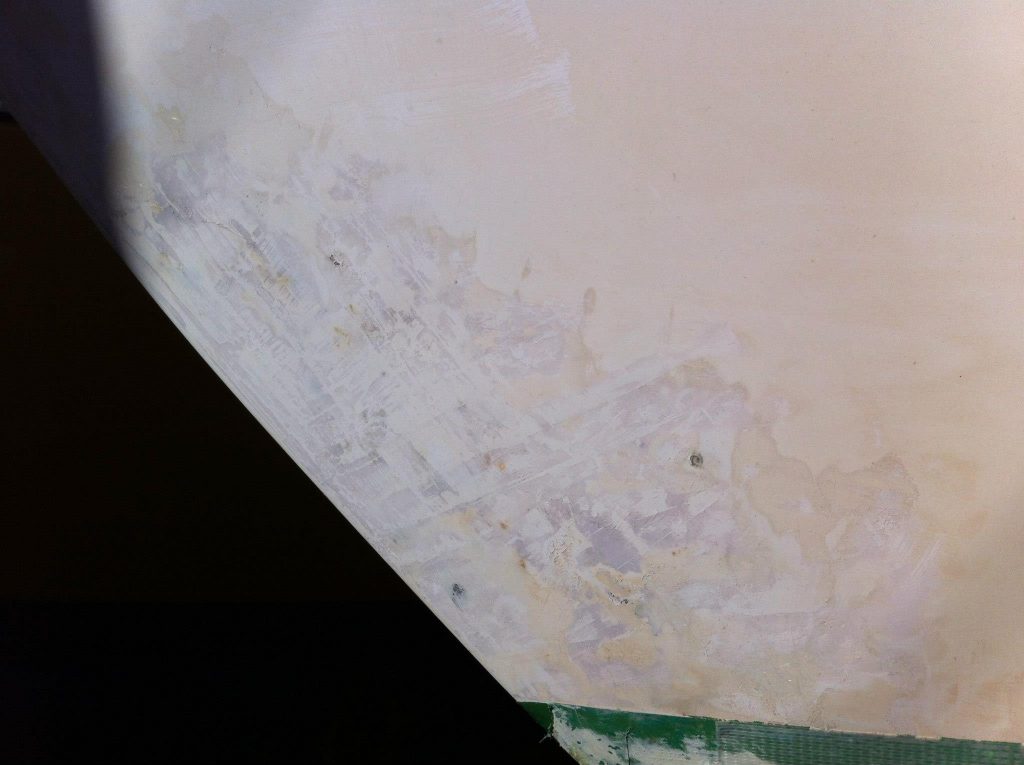
The other side of the bow patch. Sanding required, and a way to put a gel coat over it. Perhaps a good spot for a mermaid? 
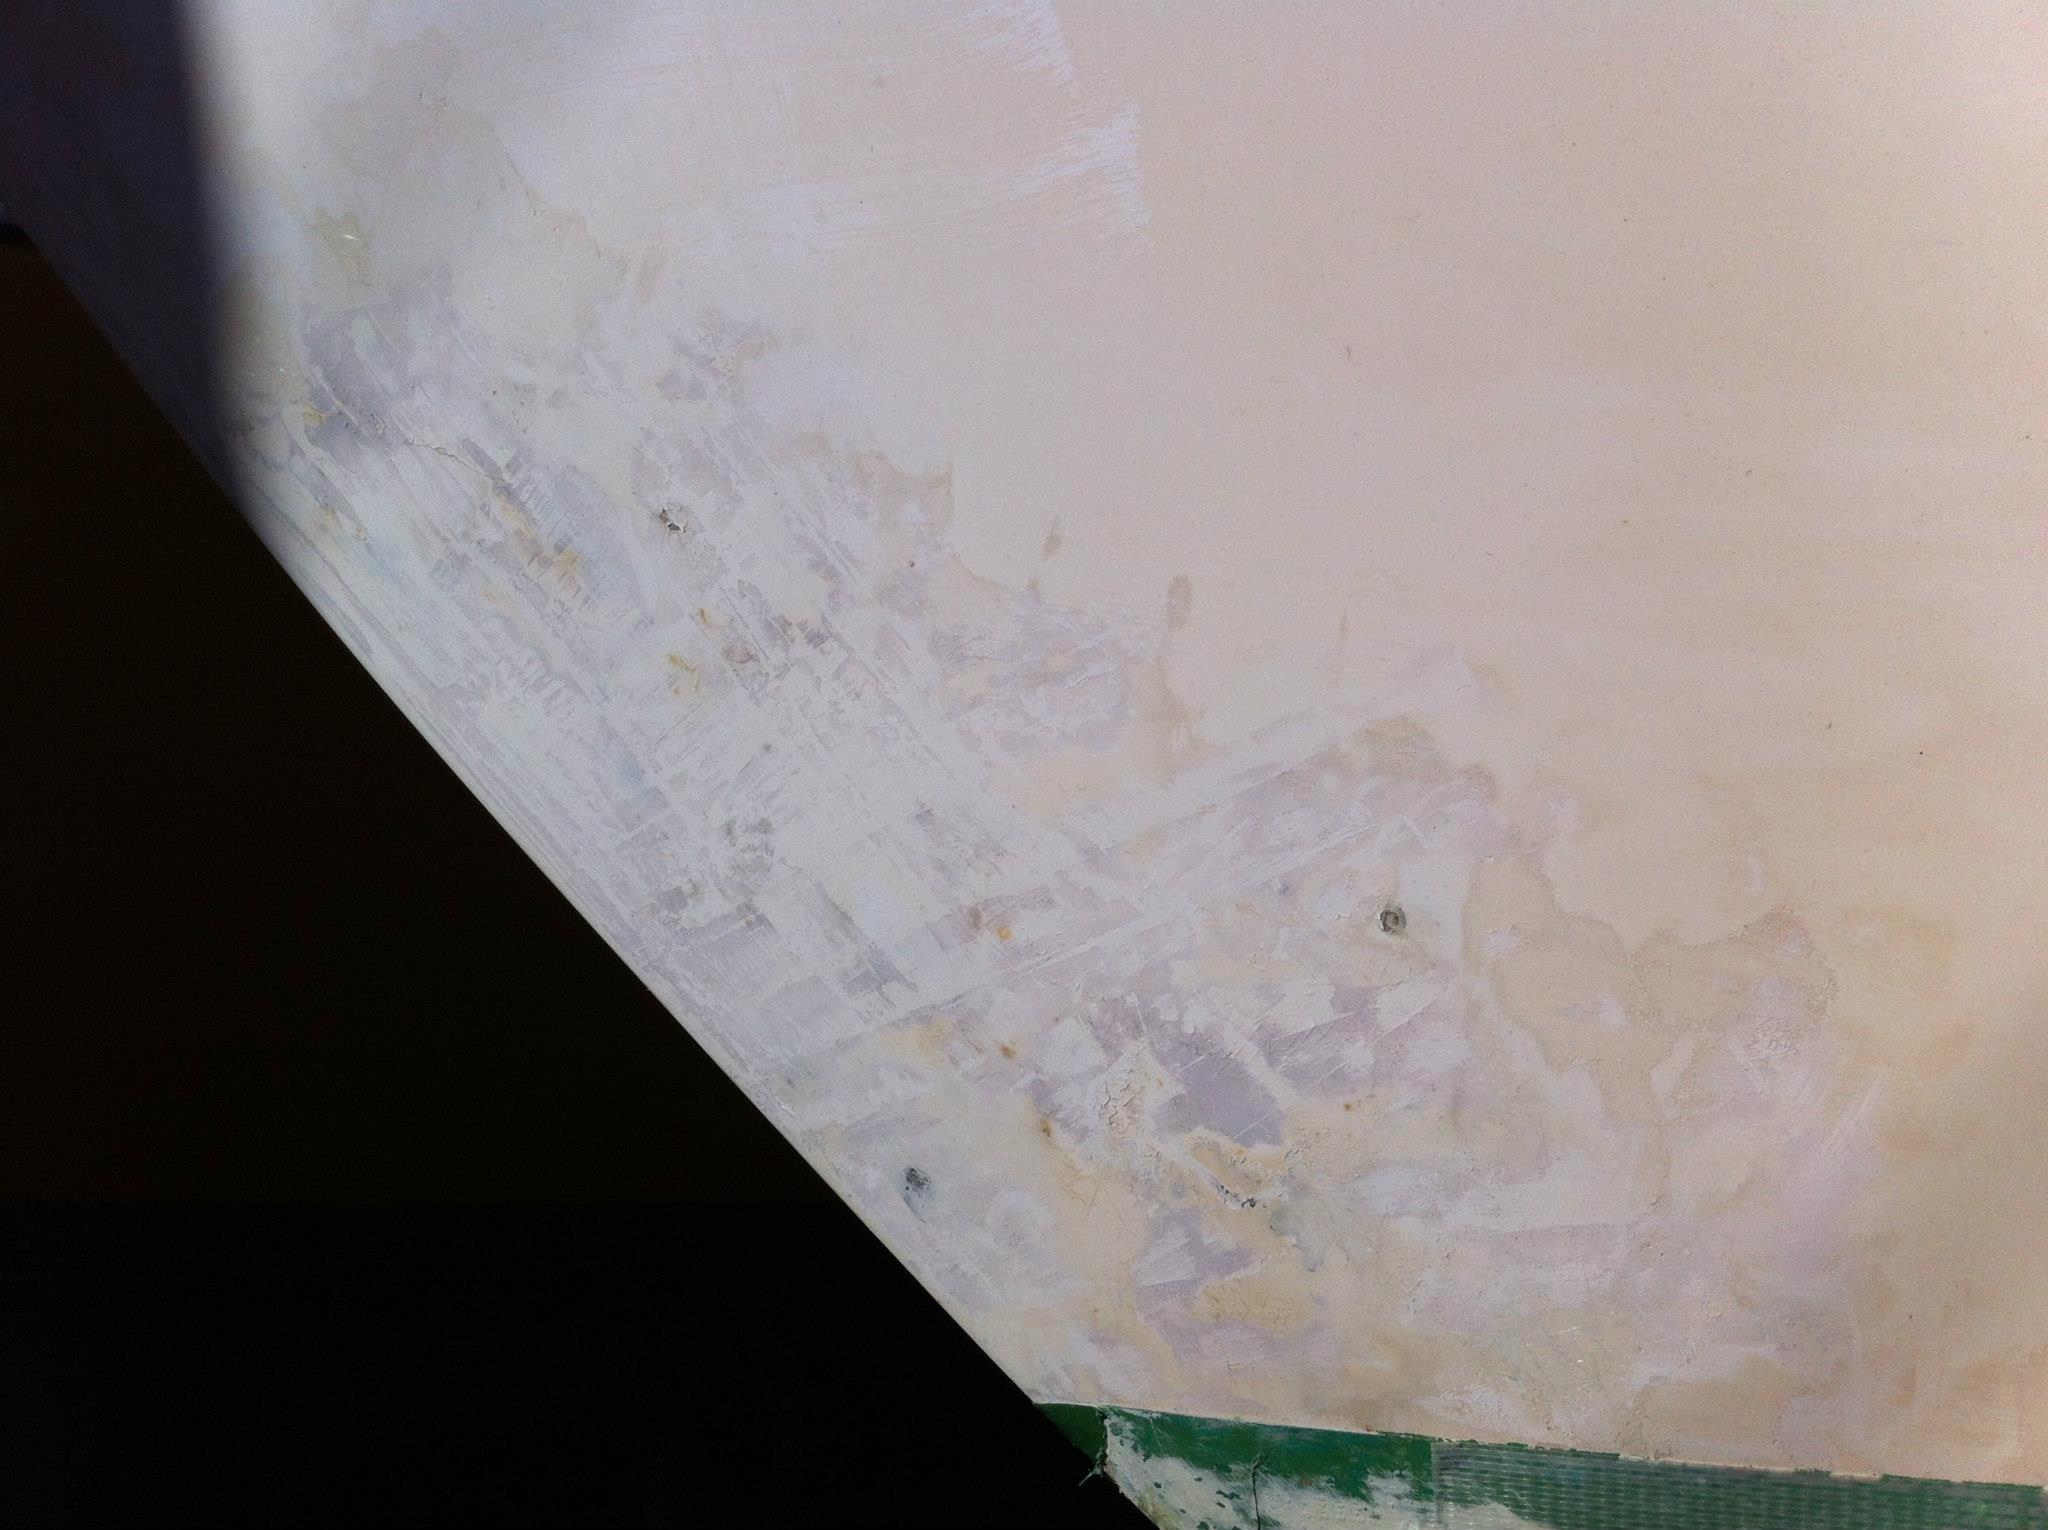
After taking the tape off. She’s had a bow patch done, and needs cleaning up. 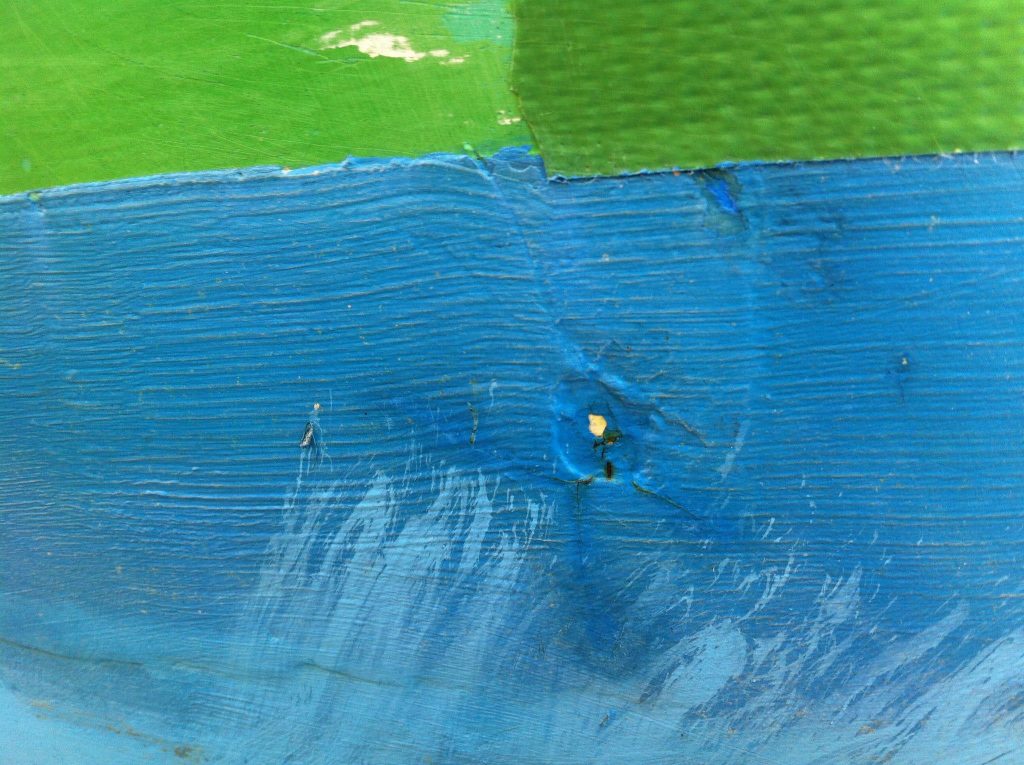
Before taking the tape off. There’s a bit of impact damage or similar below the tape; won’t be hard to fix. 
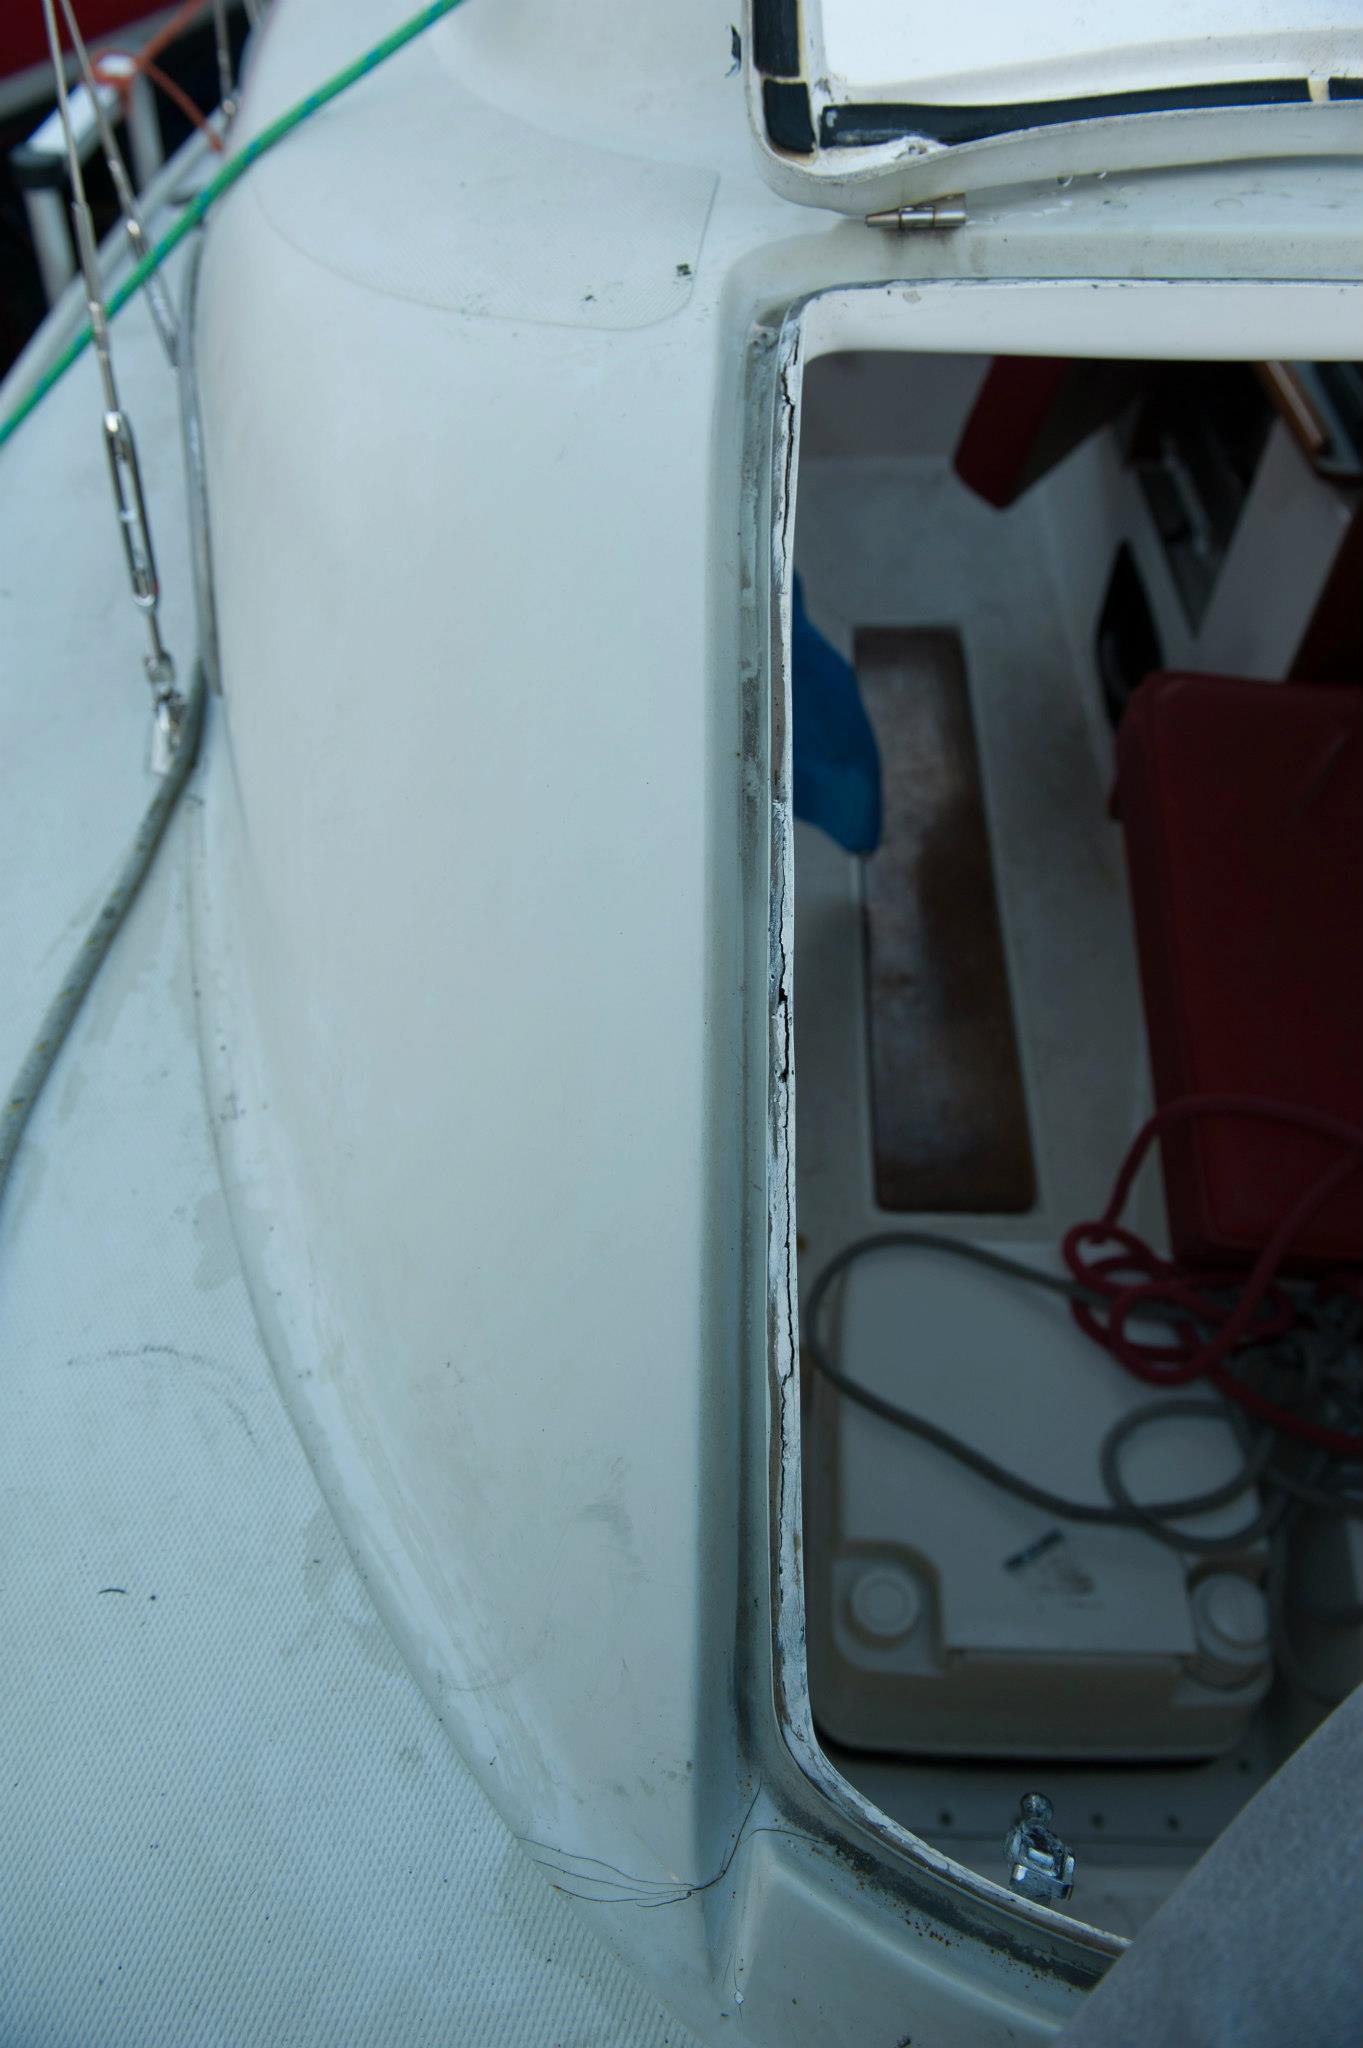
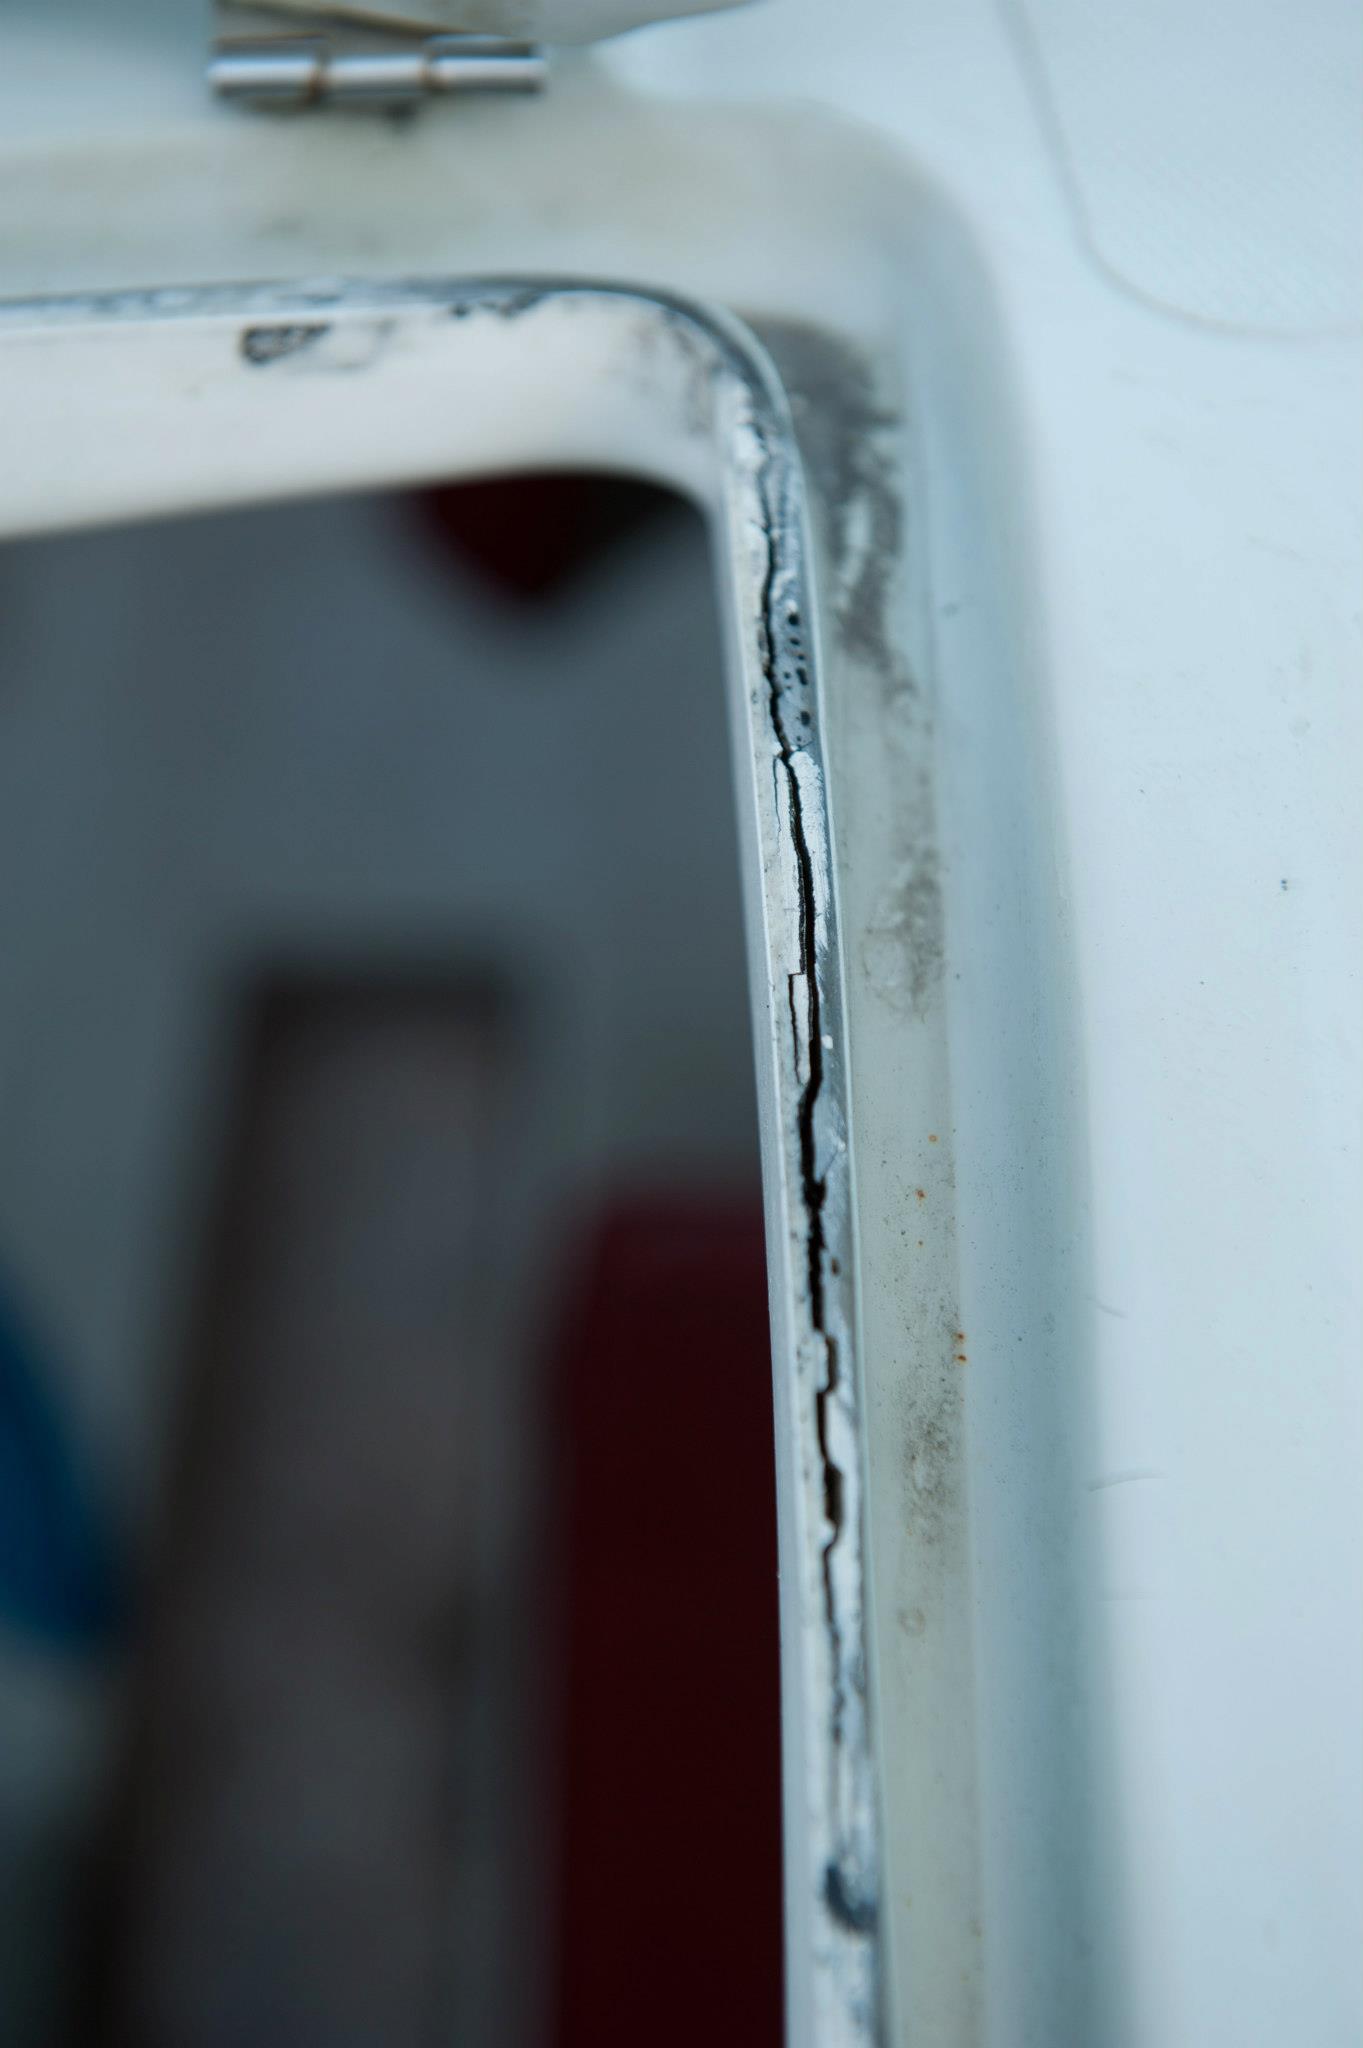
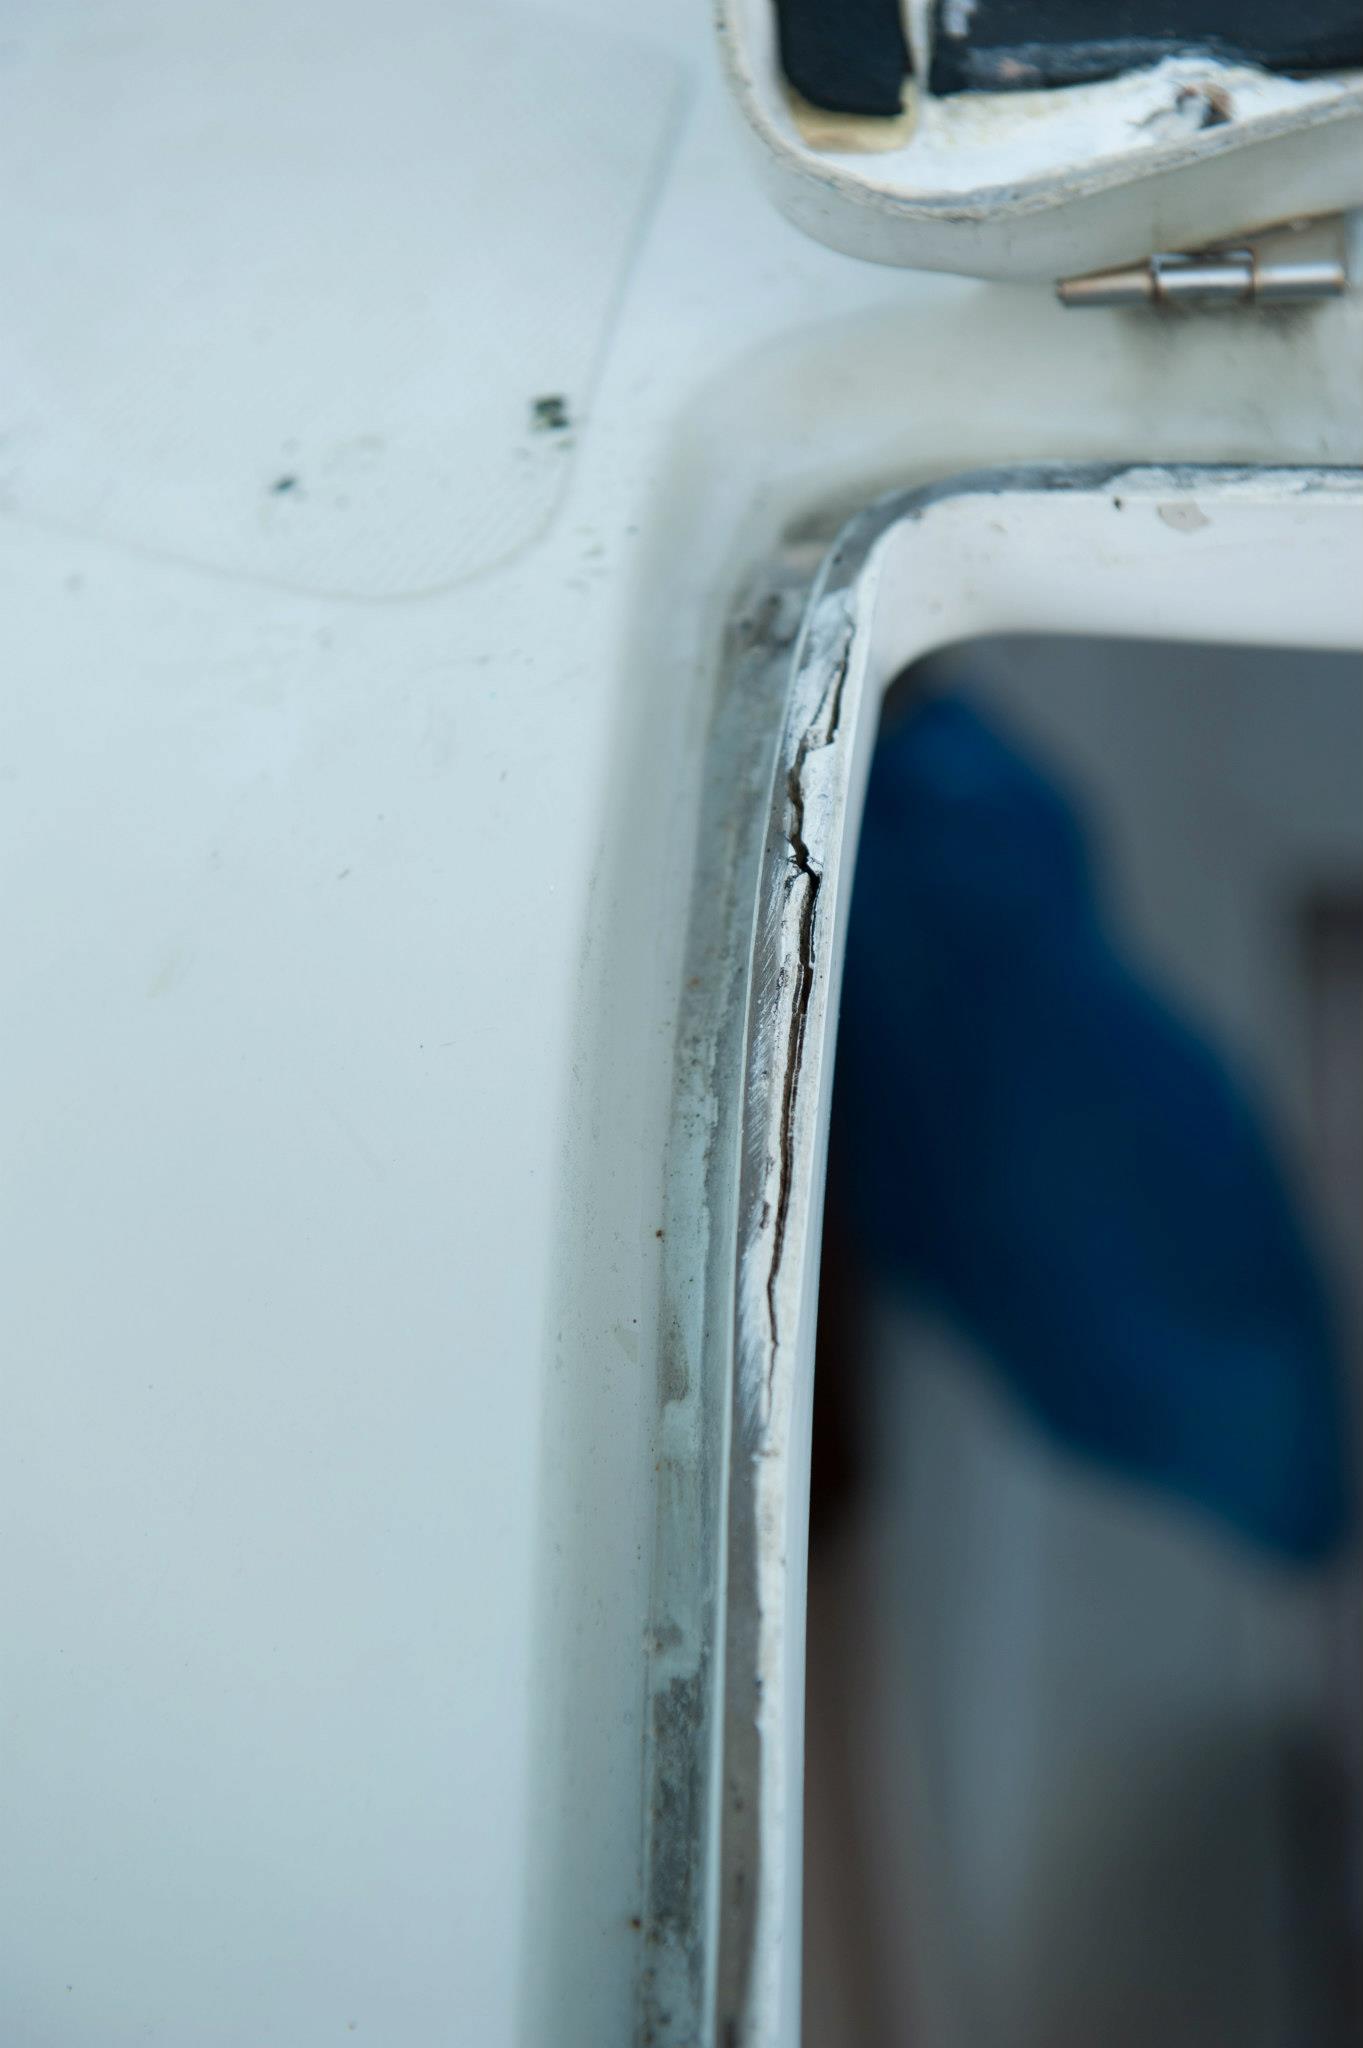
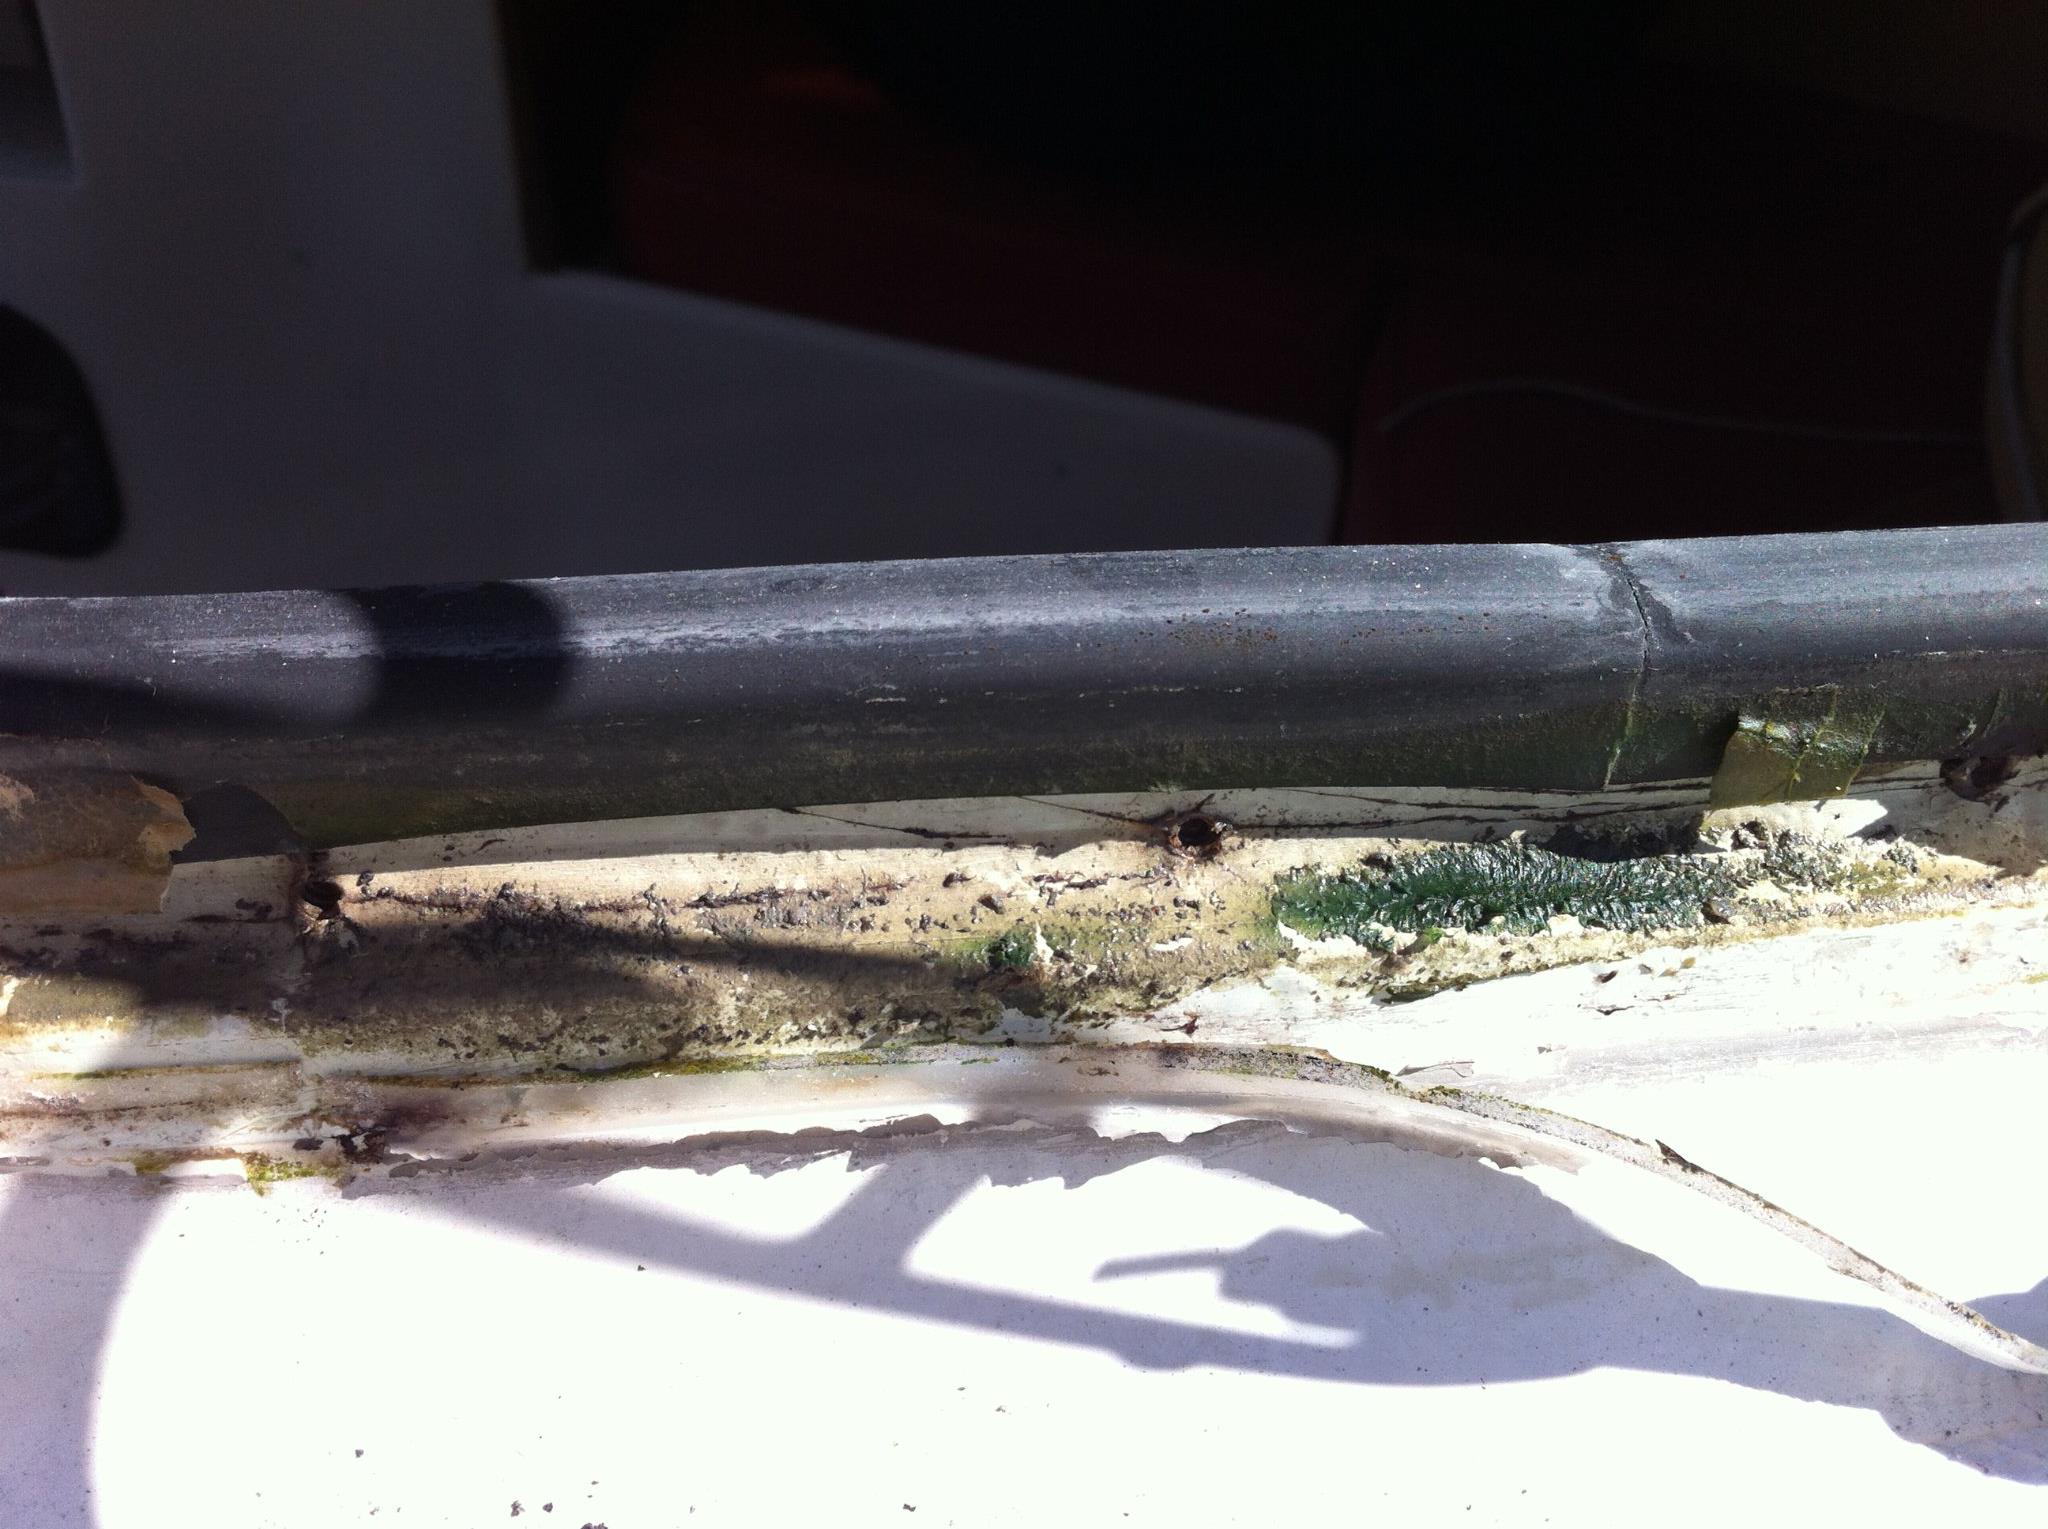
The extent of the delamination. 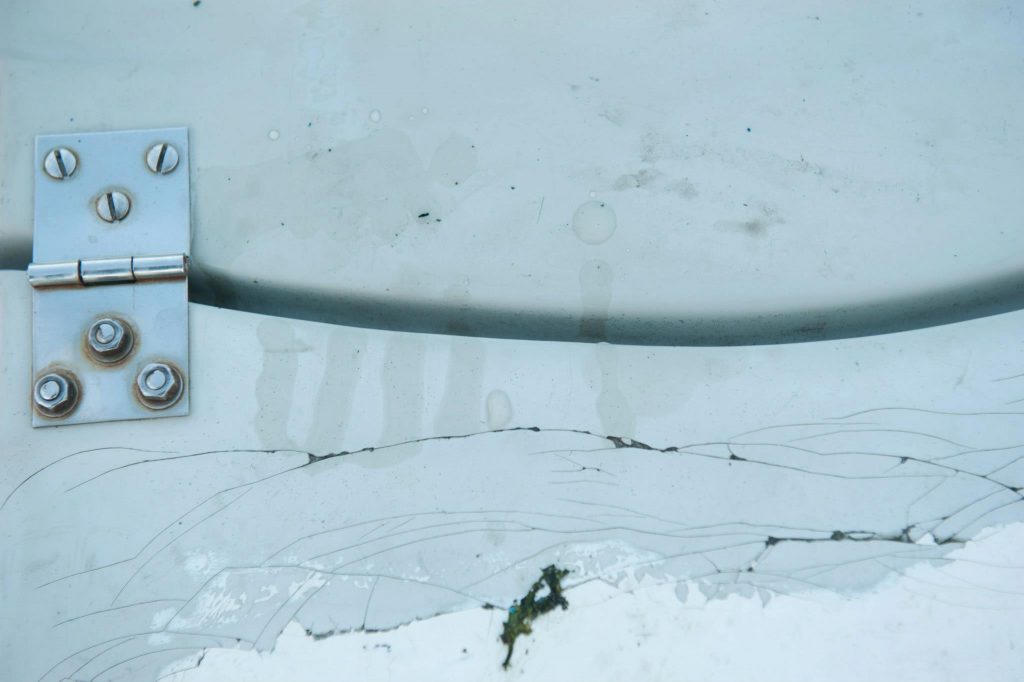
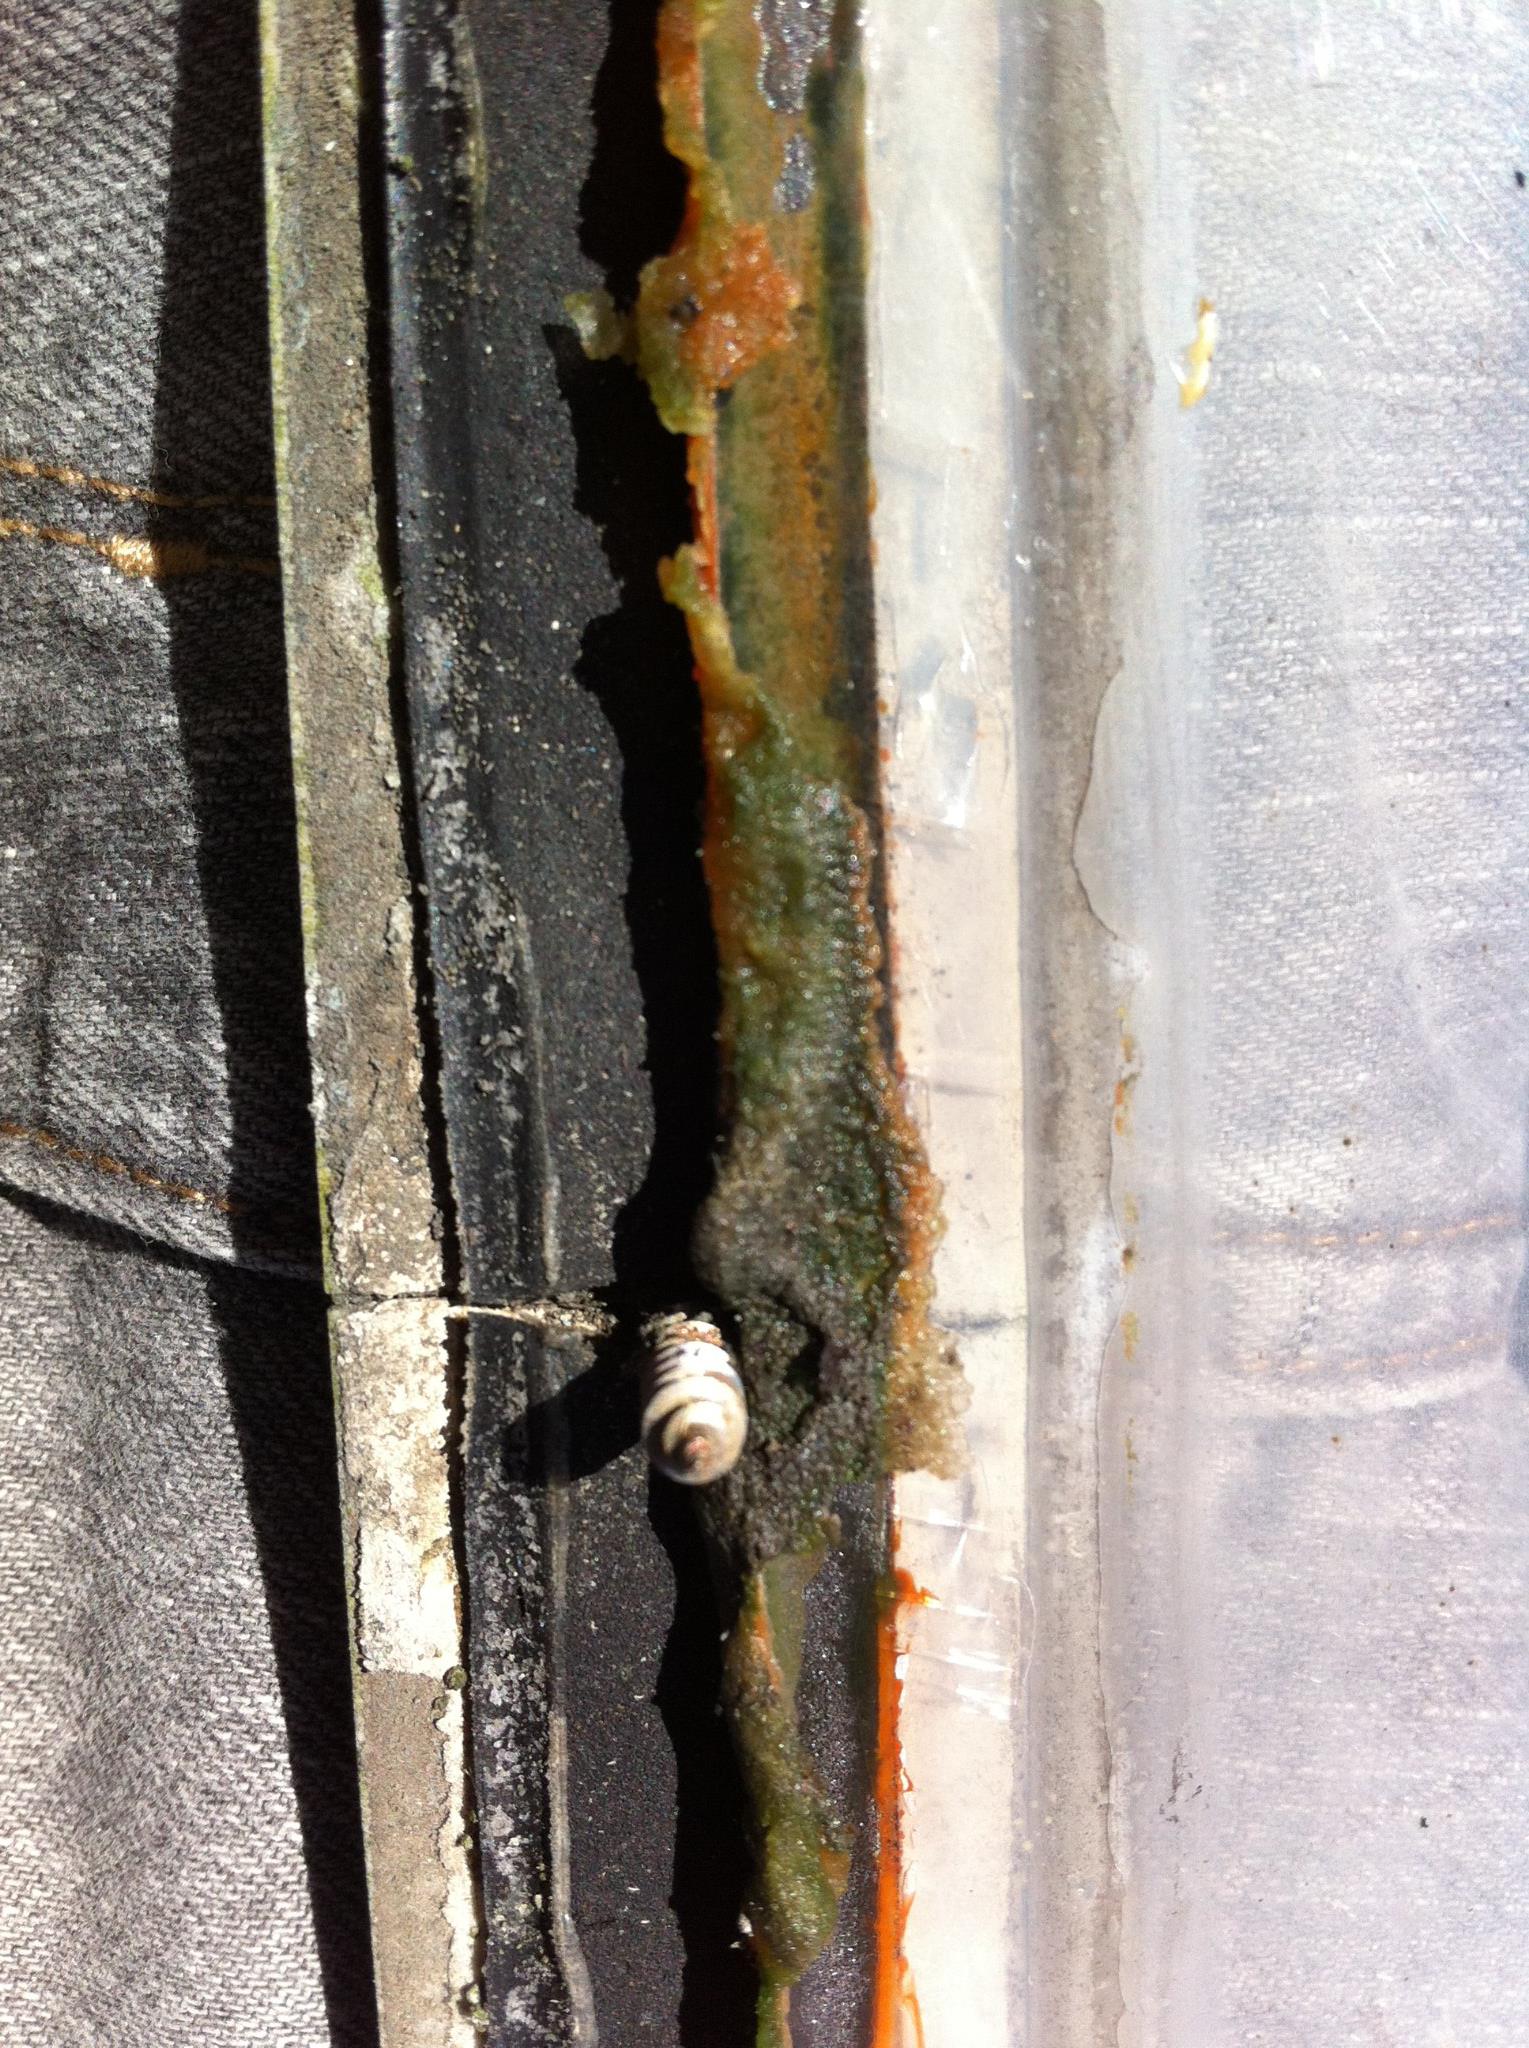
Another thing to fix, but this will take a bit of work. Need to dry the interior of the hatch out, then seal the cracks. 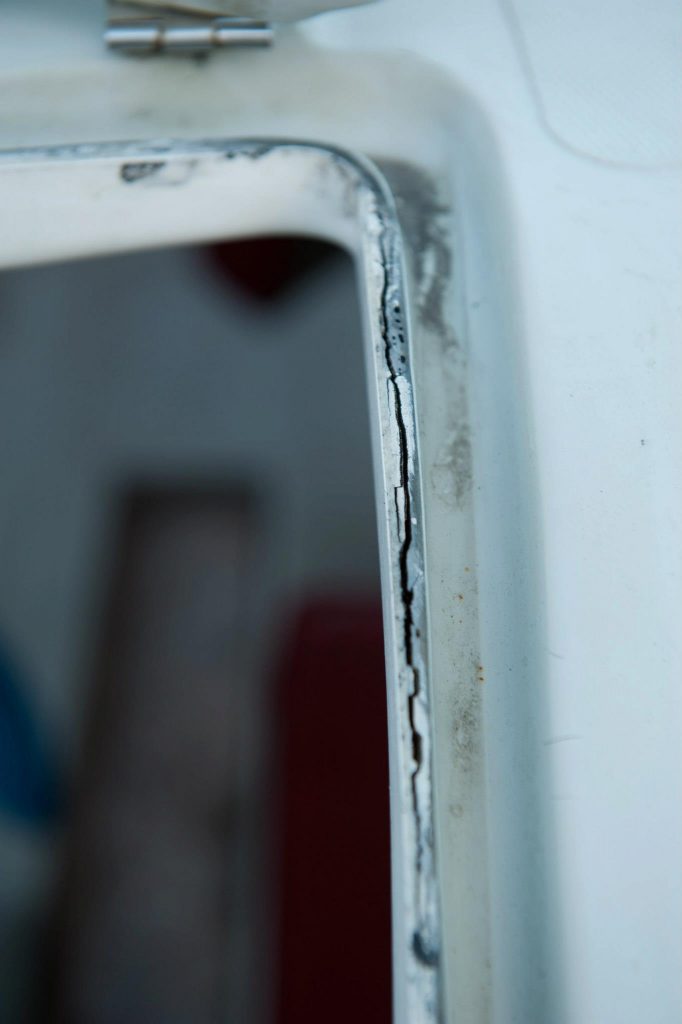
More delamination. 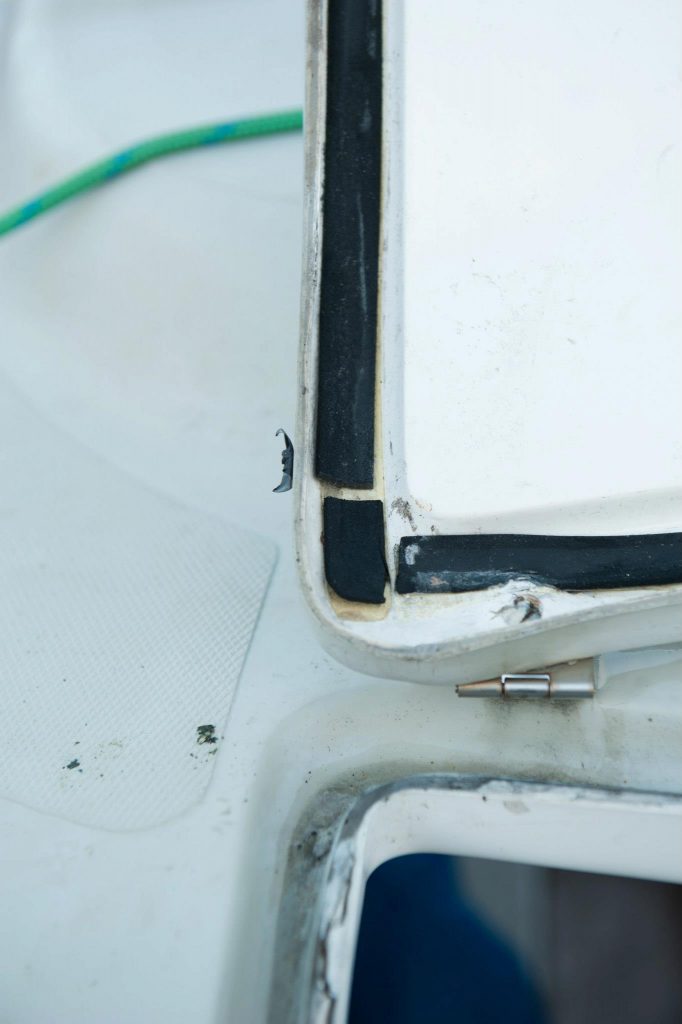
This seal is so old; it’ll need replacing. 
Delaminating hatch coaming. 
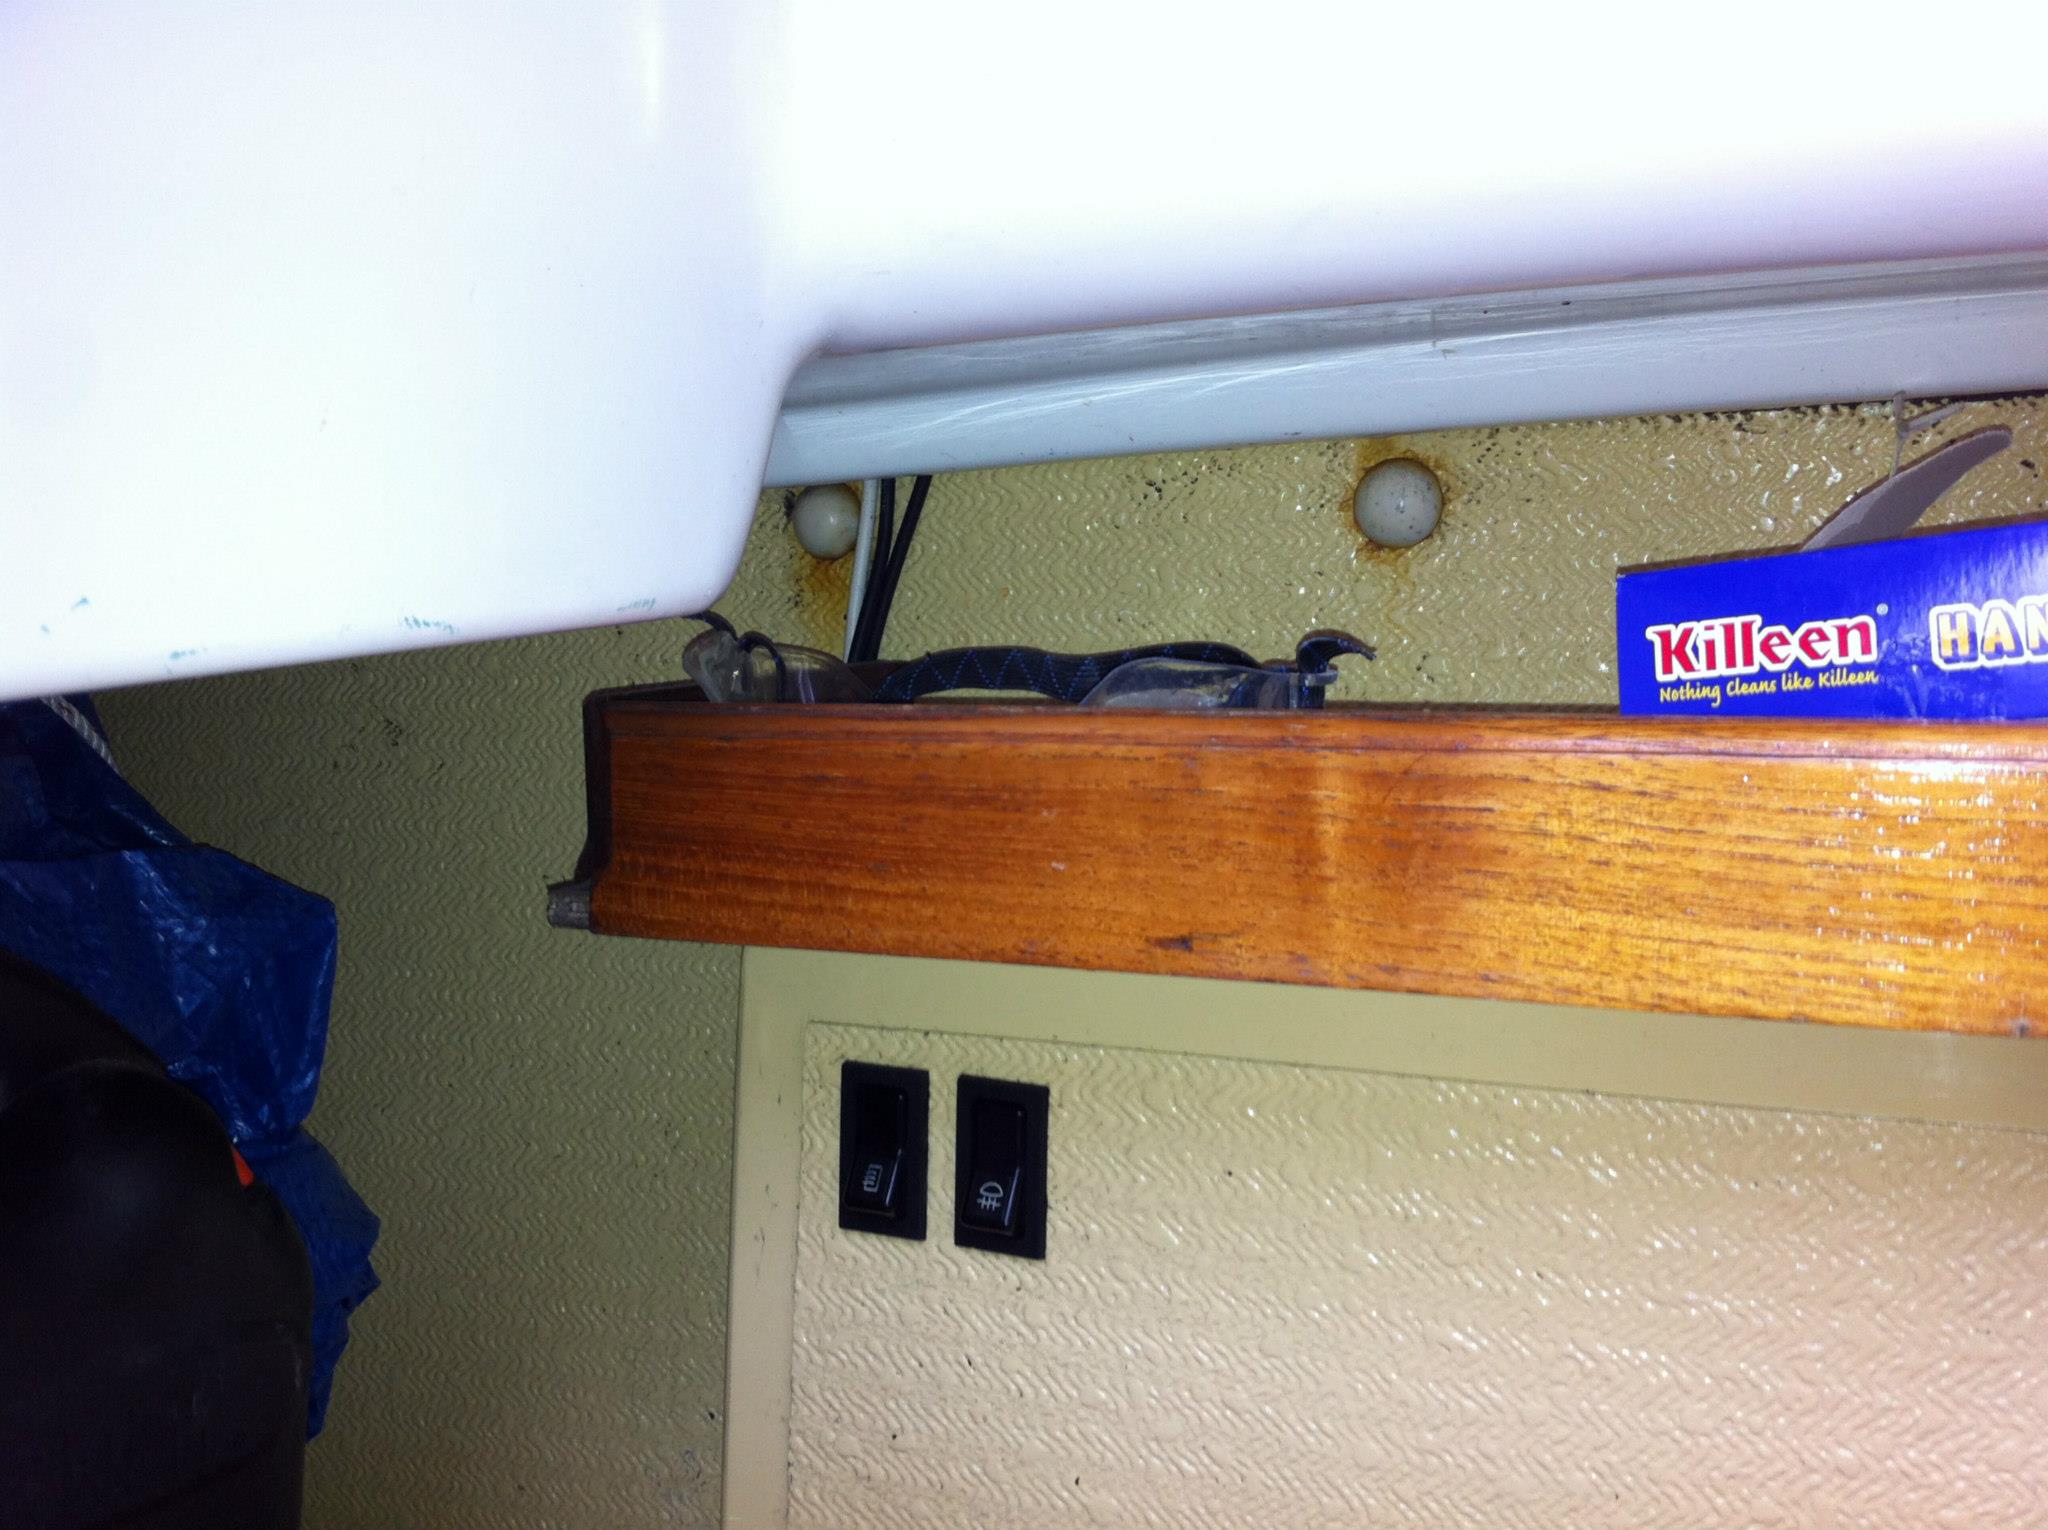
The top-of-the-line switch panel. 
Two car switches, and only one of them is hooked up. 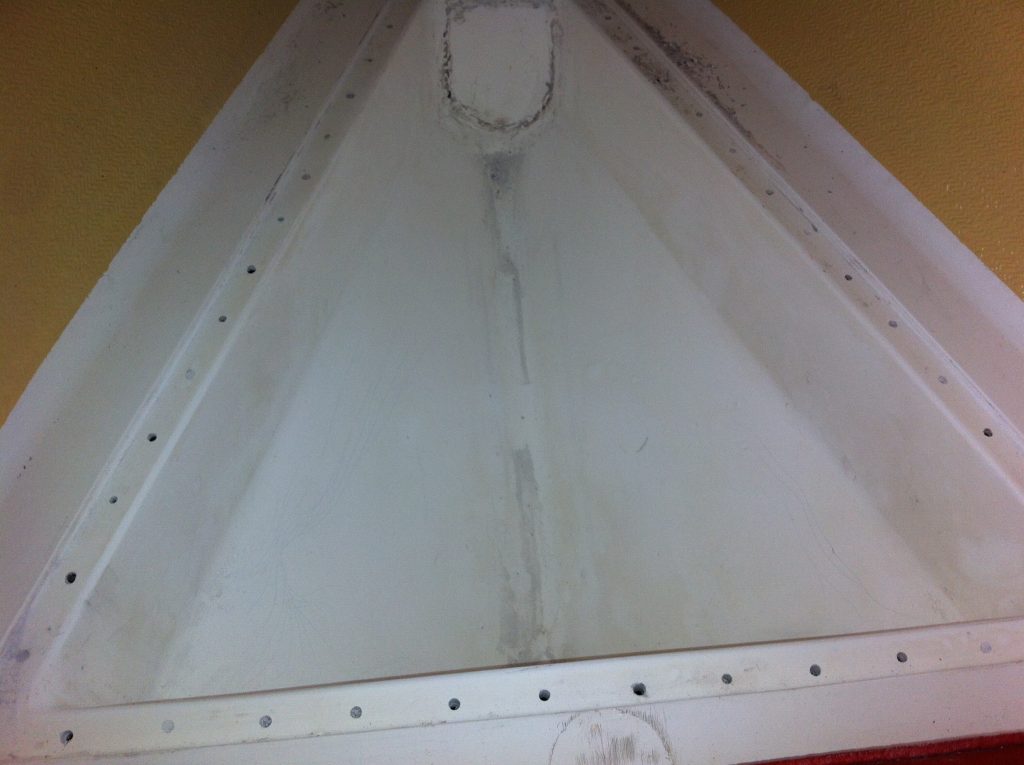


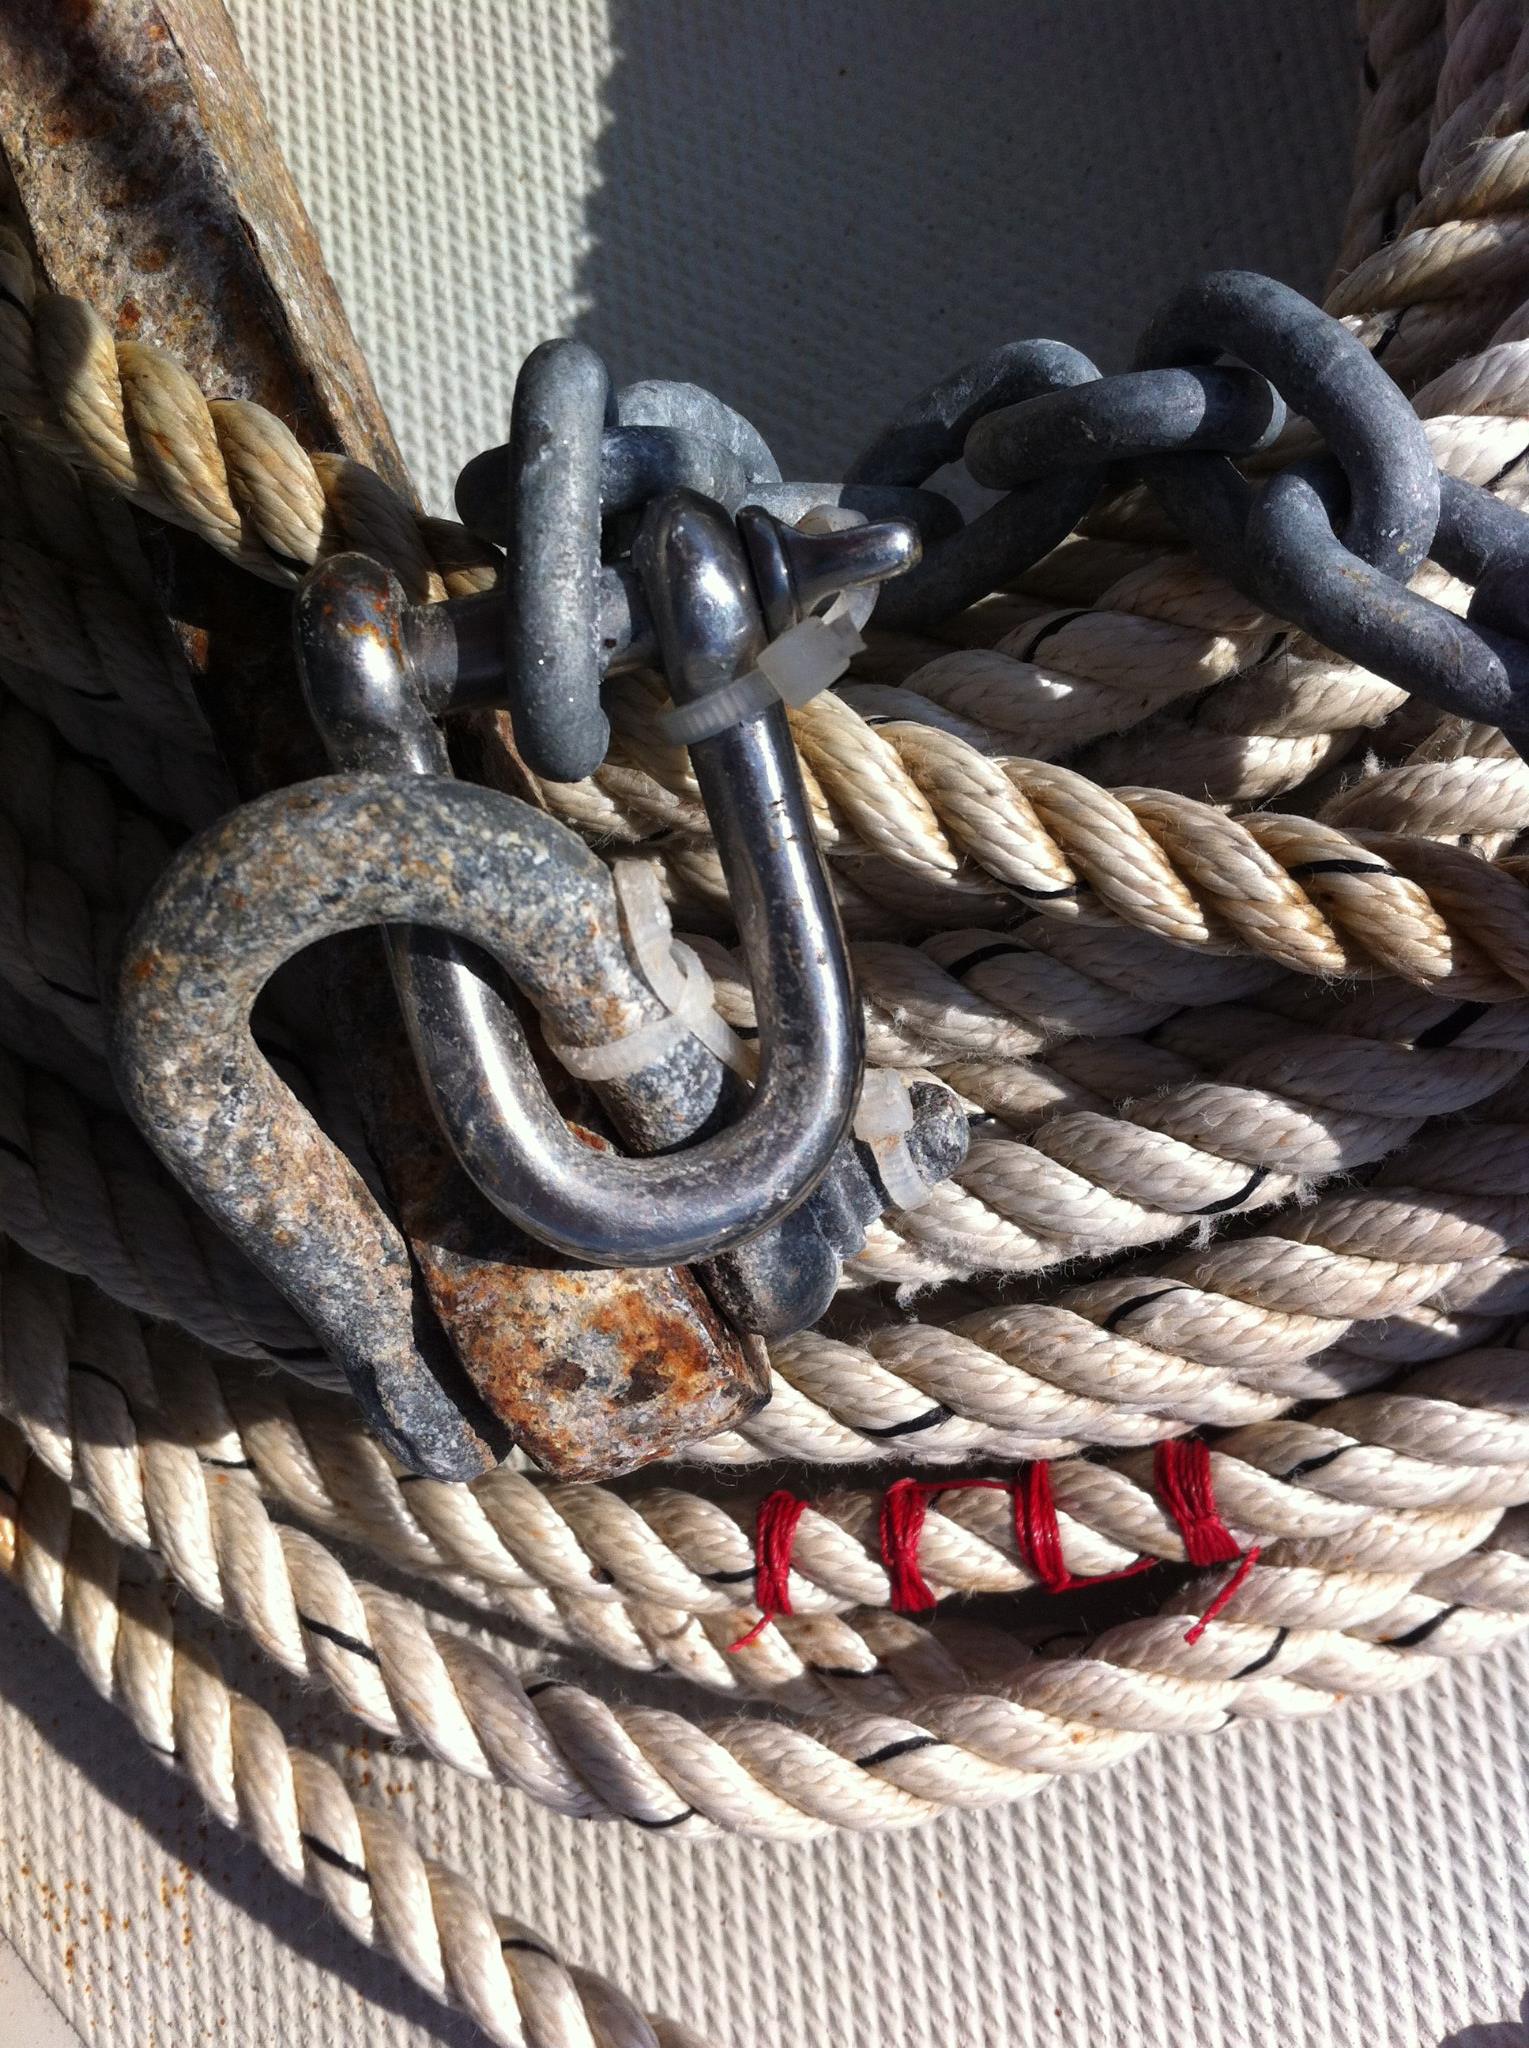
The zip-tied shackles 
Blech. Scraped off with a chisel, wiped with a damp rag and then with spirits. 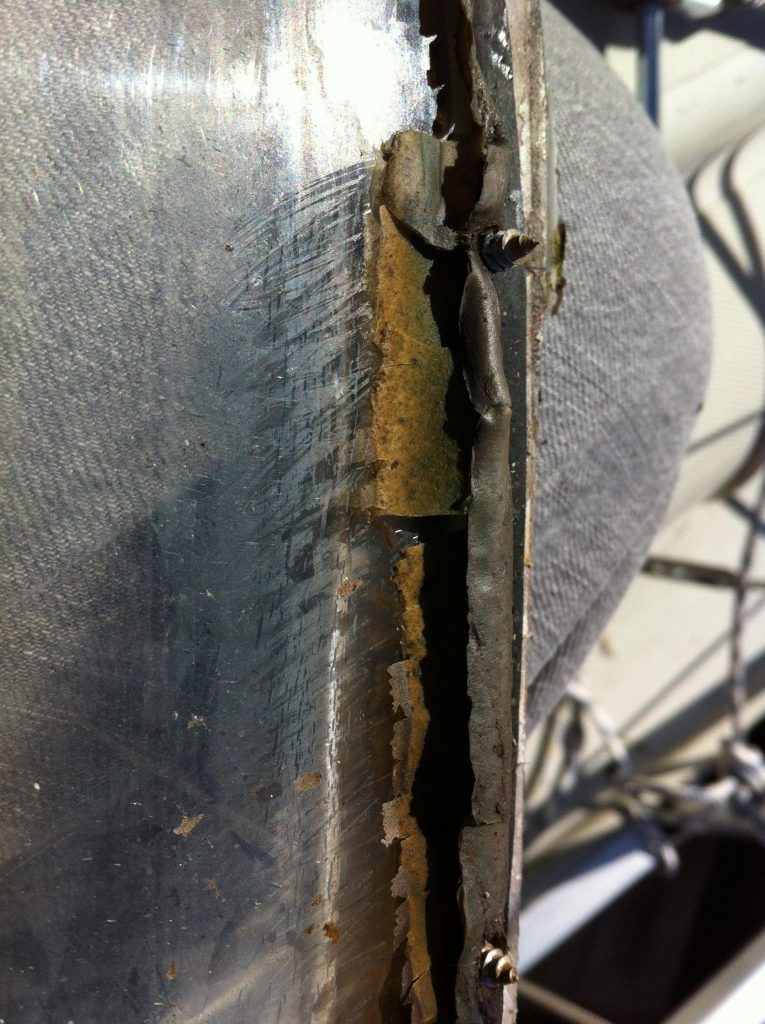
Whatever it was, it got taken off and binned. 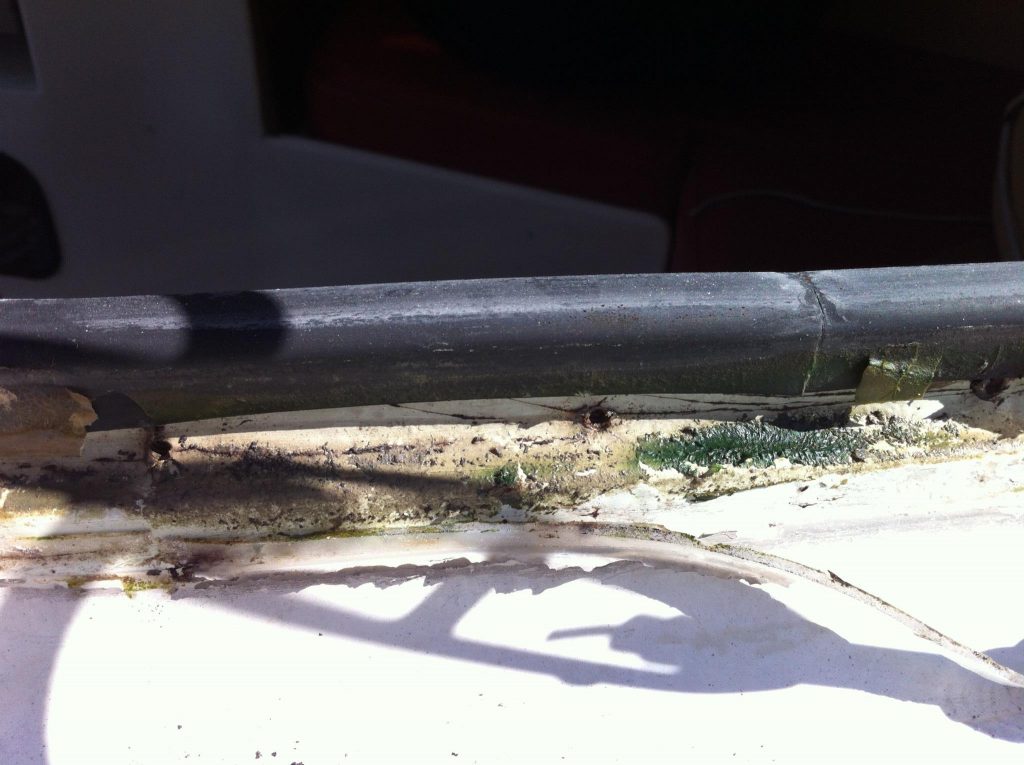
The starboard deadlight socket mounting area. Port was worse.